In “How to remove gel nail polish without peeling your nails”
Can I peel the last little piece?
Avoid pulling it. That can damage the natural nail underneath. If gentle wiping does not remove it, have the remaining coating assessed.
218 useful answers · Page 9 of 10
Small practical skills for travel, gifts, mail, and more.
Search this topicIn “How to remove gel nail polish without peeling your nails”
Avoid pulling it. That can damage the natural nail underneath. If gentle wiping does not remove it, have the remaining coating assessed.
In “How to remove gel nail polish without peeling your nails”
It may not dissolve this coating effectively. Match the removal instructions to the exact product; this guide is for acetone-soluble gel.
Rinse the bristles with lukewarm water, gently wash with a suitable cleanser, rinse until clear, squeeze with a clean towel and dry flat with the bristles over the edge. Plan regular washing about every 7–10 days.
In “How to clean makeup brushes and dry them properly”
Air drying avoids heat damage to fibers and glue. Follow specific manufacturer directions before using any drying appliance.
In “How to clean makeup brushes and dry them properly”
Quick surface cleaning does not replace a thorough wash that removes buildup throughout the bristles.
Cast on 16 stitches, knit every stitch in every row, then bind off when the piece is roughly square. Count stitches after each row to catch extra loops early.
In “How to knit a simple practice square”
You may have looped yarn over the needle between stitches or knitted into the same stitch twice. Count regularly and undo the newest error while you can still see it.
In “How to knit a simple practice square”
Not for this garter-stitch square. Purling comes later when you want patterns such as stockinette or ribbing.
Pass line through the eye, wrap the tag end around the standing line five or six times, pass it through the small loop at the eye and then through the new large loop. Moisten and tighten smoothly before testing.
In “How to tie a fishing hook with an improved clinch knot”
Do not assume the same knot works with every slick braid. Use the line maker’s recommended knot and test it.
In “How to tie a fishing hook with an improved clinch knot”
Leave a small visible tag after the knot is seated. A flush cut makes small amounts of slippage harder to notice.
Build a wrap on each side of the knot, pass the wide end across the front, bring it up through the neck opening and tuck down behind that front band. Tighten gently and adjust the finished length.
In “How to tie a full Windsor knot”
Flatten the wide end before each wrap. If a twist is trapped inside a shoulder, loosen back to that step instead of trying to smooth only the outside.
In “How to tie a full Windsor knot”
No. This full Windsor includes wraps on both sides and creates a larger knot.
For a harmless stain, wash gently with mild soap and water first. If needed, use a dye-stain remover specifically labeled for skin, avoiding eyes and following its rinse directions. Stop if irritation develops.
In “How to remove hair dye stains from skin gently”
Avoid adding more dye to already exposed skin. A gentle wash or a labeled skin stain remover is the clearer, more controlled choice.
In “How to remove hair dye stains from skin gently”
No. Stop before abrasion or irritation. Faint cosmetic staining is preferable to damaged skin.
Divide a top section into three strands, cross the right strand over the middle and then the left over the middle. Add a small section of loose hair to each outer strand before crossing it over again. Finish with an ordinary braid.
In “How to French braid your hair one section at a time”
You may be crossing the outer strands under the middle, which creates a Dutch-style braid. For this French braid, cross over.
In “How to French braid your hair one section at a time”
Secure enough to hold without pain, scalp tenting or strong tension at the hairline. Loosen or remove a braid that hurts.
Place hands slightly wider than shoulder width, brace your trunk and lower your body as one unit. Press back up without sagging through the lower back. Use a wall or stable incline if you cannot control the floor version.
In “How to do a push-up with a beginner-friendly progression”
They are a useful lower-load variation for learning and progression. Track the variation so comparisons are meaningful.
In “How to do a push-up with a beginner-friendly progression”
Keep breathing. Exhaling during the press is a straightforward rhythm for ordinary practice.
Check the maker’s instructions, remove loose dust and wipe with a lightly damp lint-free cloth. Only hand-wash a plain pad if its maker allows it. Keep electronics dry and air dry completely before reconnecting or using.
 How to tie a four-in-hand knotAbout 5 minutes
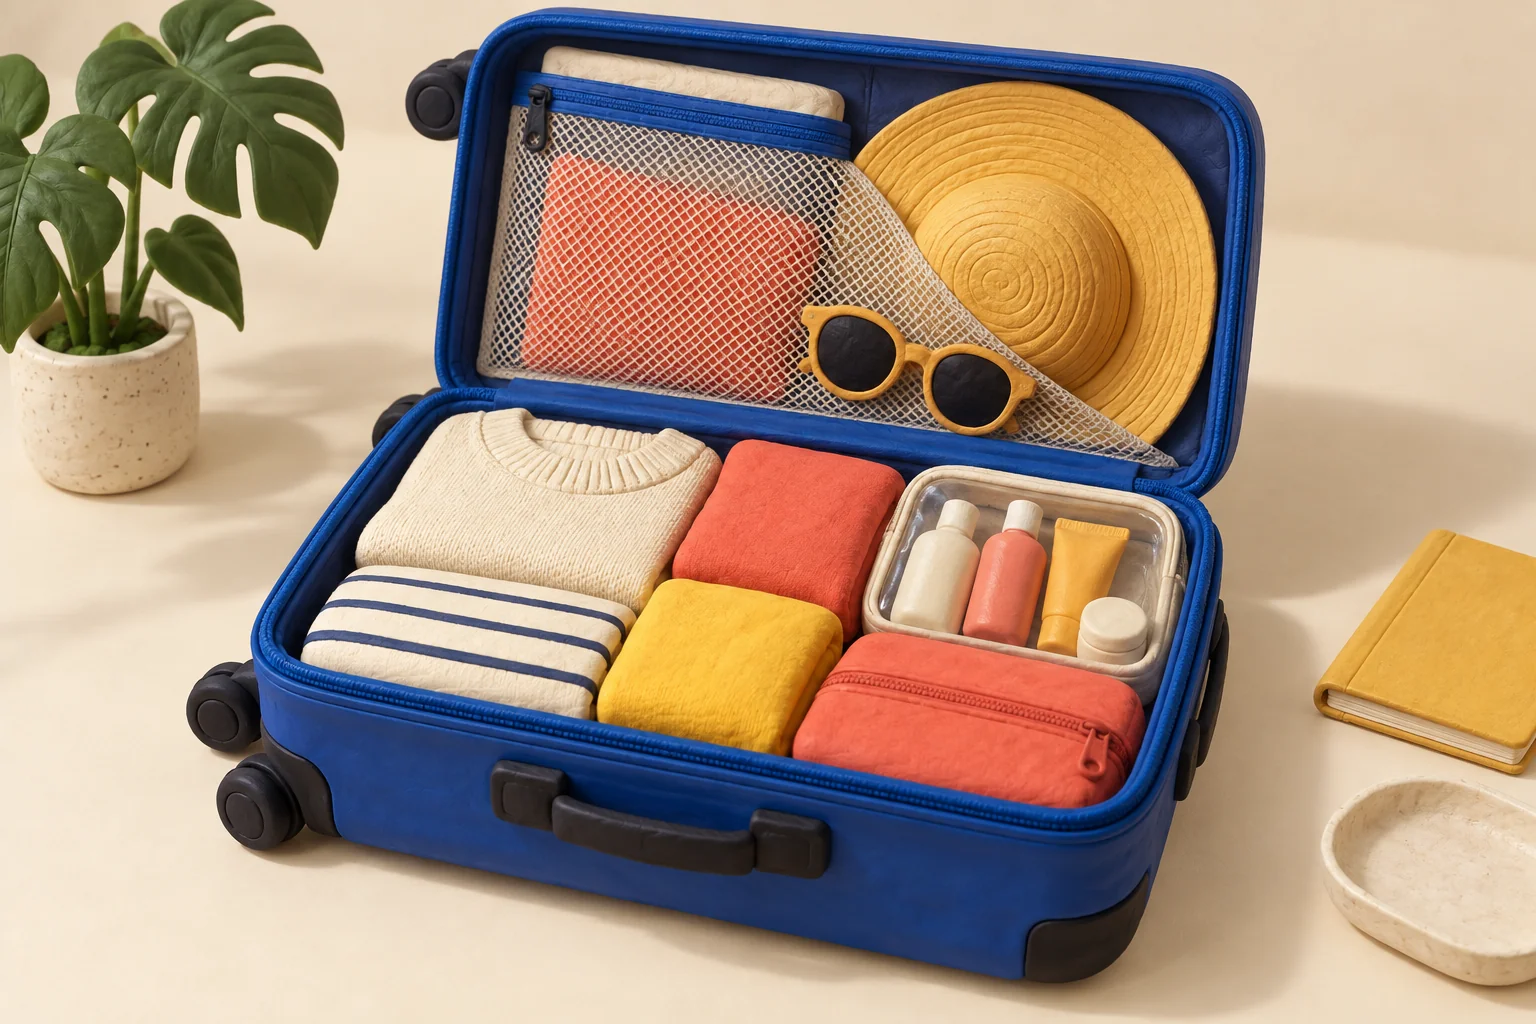 How to pack a carry-on bag for a short tripAbout 30 minutes
 How to address an envelope for US mail5 minutes
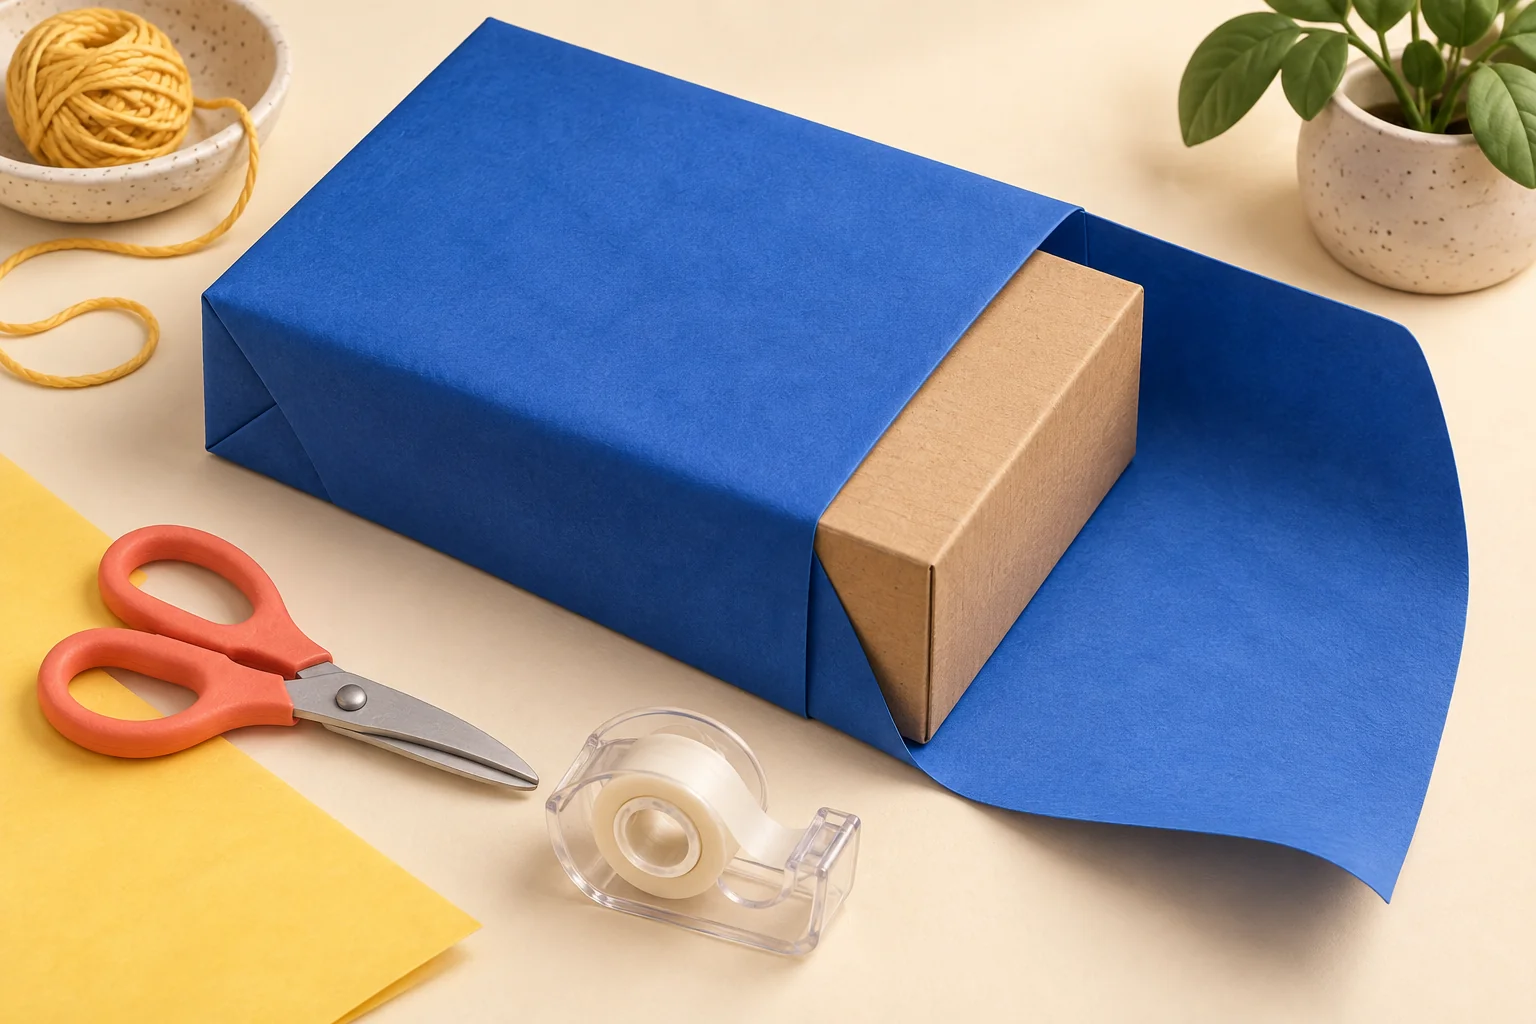 How to wrap a gift box with neat corners10–15 minutes
 How to start listening with Audible and choose the right plan15–20 minutes
 How to use Kindle Unlimited without buying a Kindle15–20 minutes
Source checks for these answers: September 24, 2026. Product instructions and local requirements can vary.