A clearly addressed envelope helps the postal system get your letter to the intended place. Work from the recipient’s complete address rather than a remembered street name. This guide covers ordinary US domestic mail; international, military, and specialized mail can need additional formatting.
Put the recipient’s complete address in the center area, your return address in the upper left, and postage in the upper right.
Go straight to the stepsBefore you begin
Postage depends on the mailpiece’s size, weight, shape, and service. Do not assume every envelope can travel with one stamp.
What you’ll need
- An envelope suitable for the contents
- The complete destination address
- A pen or printed label
- Correct postage for the mailpiece
Let’s do this
Step by step
- 01
Write the return address
Put your name and mailing address in the upper-left corner on the front. Include the city, state abbreviation, and ZIP Code.
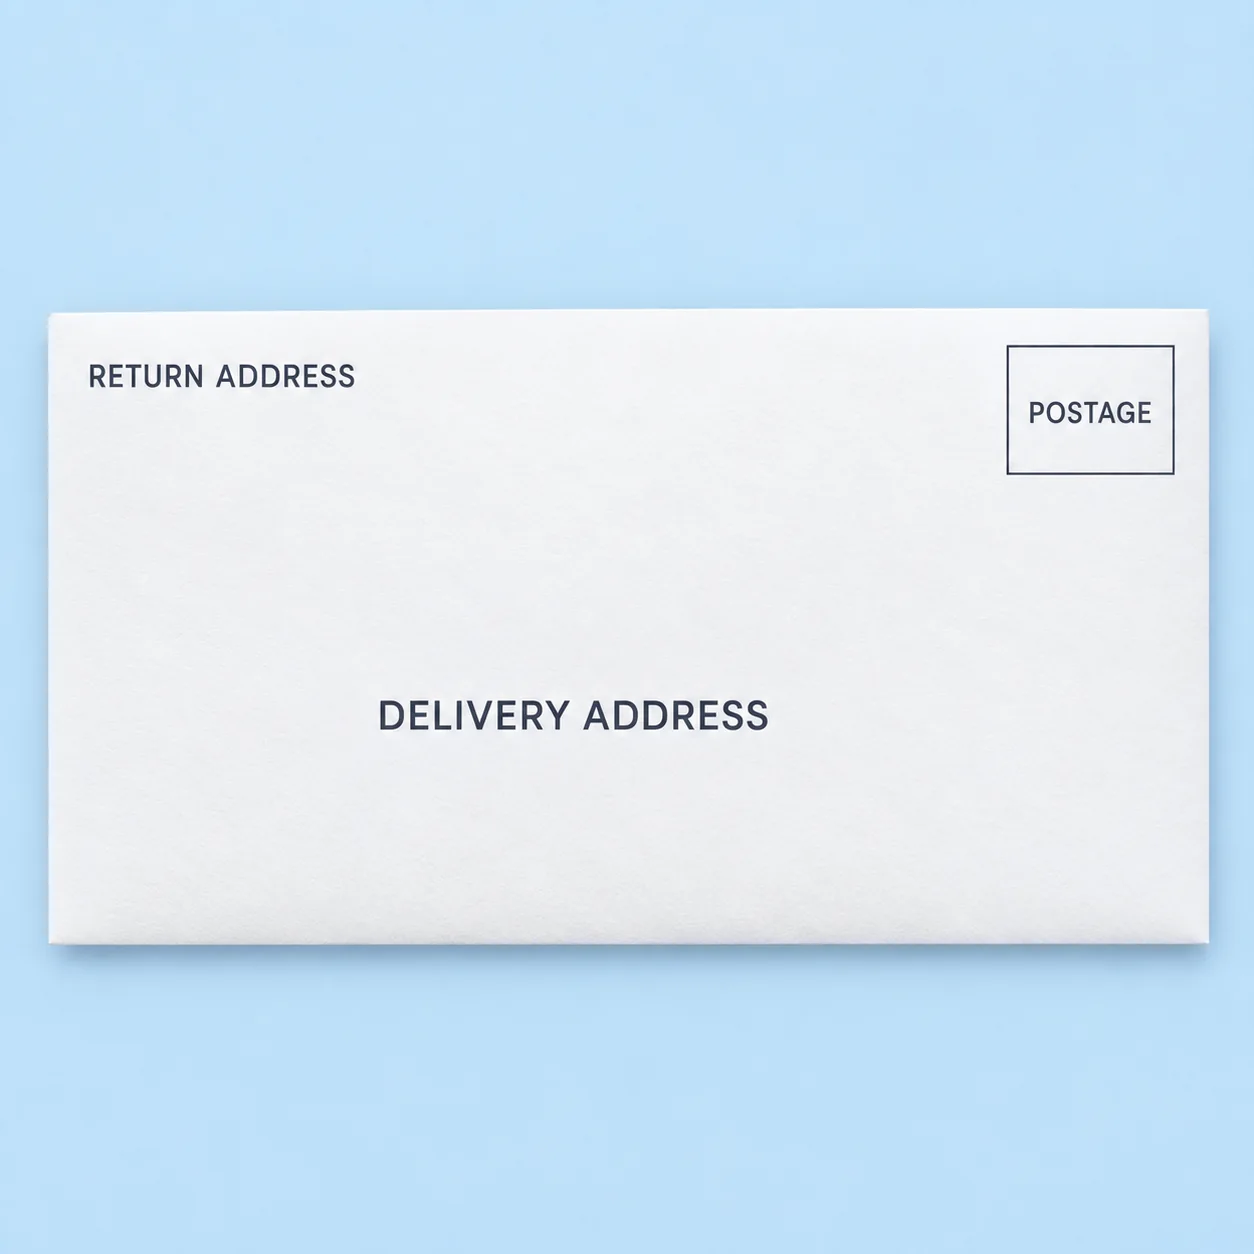
Front of a domestic envelope: your return address at upper left, the recipient’s address in the center, and postage at upper right.Open full-size image - 02
Write the recipient’s name
Place the delivery-address block in the center area. Use clear, readable lettering and keep all its lines aligned on the left.
- 03
Add the delivery address
Write the street number and name, including a required apartment or unit number. Use the address supplied by the recipient; do not guess a missing unit.
- 04
Add city, state, and ZIP
Write the city, two-letter state abbreviation, and correct ZIP Code on the final domestic-address line. Check each digit carefully.
- 05
Check postage and seal
Put the appropriate postage in the upper right. Verify the contents, seal the envelope, and check the address once more before mailing.
Optional supplies on Amazon
Affiliate disclosure: As an Amazon Associate I earn from qualifying purchases. How our links work.
Use what you already have. These links open Amazon search results so you can compare suitable supplies; they are not individual product reviews.
A useful layout to copy
Use this structure for the destination: recipient name; street address and unit; city, state abbreviation, ZIP Code. Keep the full delivery address together on the same side as the postage. Use a plain area where the writing is easy to see.
For an apartment, the unit number can be the detail that distinguishes dozens of recipients at one street address. Compare your finished envelope against the source address line by line, rather than reading it from memory.
Separate address problems from postage problems
An accurate address does not make an unusually thick, square, rigid, or heavy envelope eligible for ordinary letter postage. If the contents change the shape or thickness, check USPS’s current mailing requirements or ask at a Post Office. Rates change, so this guide deliberately does not print a stamp price.
A quick final check
- The recipient’s unit number is included if needed.
- The ZIP Code matches the supplied address.
- The mailpiece has suitable postage and is sealed.
Common questions & sticking points
Where does my address go?
The return address belongs in the upper-left corner on the front.
Can I use this for international mail?
Use destination-specific and USPS international guidance. Country names and address formats can differ from this domestic layout.
Sources & further reading Optional
References used to check this guide. Follow your product’s own safety instructions where its design differs.
Last source check: September 21, 2026