Clean bristles make it easier to blend fresh makeup instead of yesterday’s residue. The trick is to wash the working end thoroughly without soaking the glued joint or wooden handle. Set up a drying space before you begin.
Rinse the bristles with lukewarm water, gently wash with a suitable cleanser, rinse until clear, squeeze with a clean towel and dry flat with the bristles over the edge. Plan regular washing about every 7–10 days.
Go straight to the stepsYour project helper
Follow the steps and check them off as you go →Before you begin
Follow the brush maker’s care instructions, especially for natural hair or specialty glue. Do not share brushes. Discard brushes that cannot be cleaned effectively or have damaged, shedding heads.
What you’ll need
- Gentle brush-compatible cleanser
- Lukewarm water
- Clean towel
- Optional textured brush-cleaning mat
Let’s do this
Step by step
- 01
Separate the brushes
Set aside sponges, powered tools and applicators with special washing directions. Remove loose powder by gently tapping bristles over a bin. Keep clean brushes away from the dirty pile.
- 02
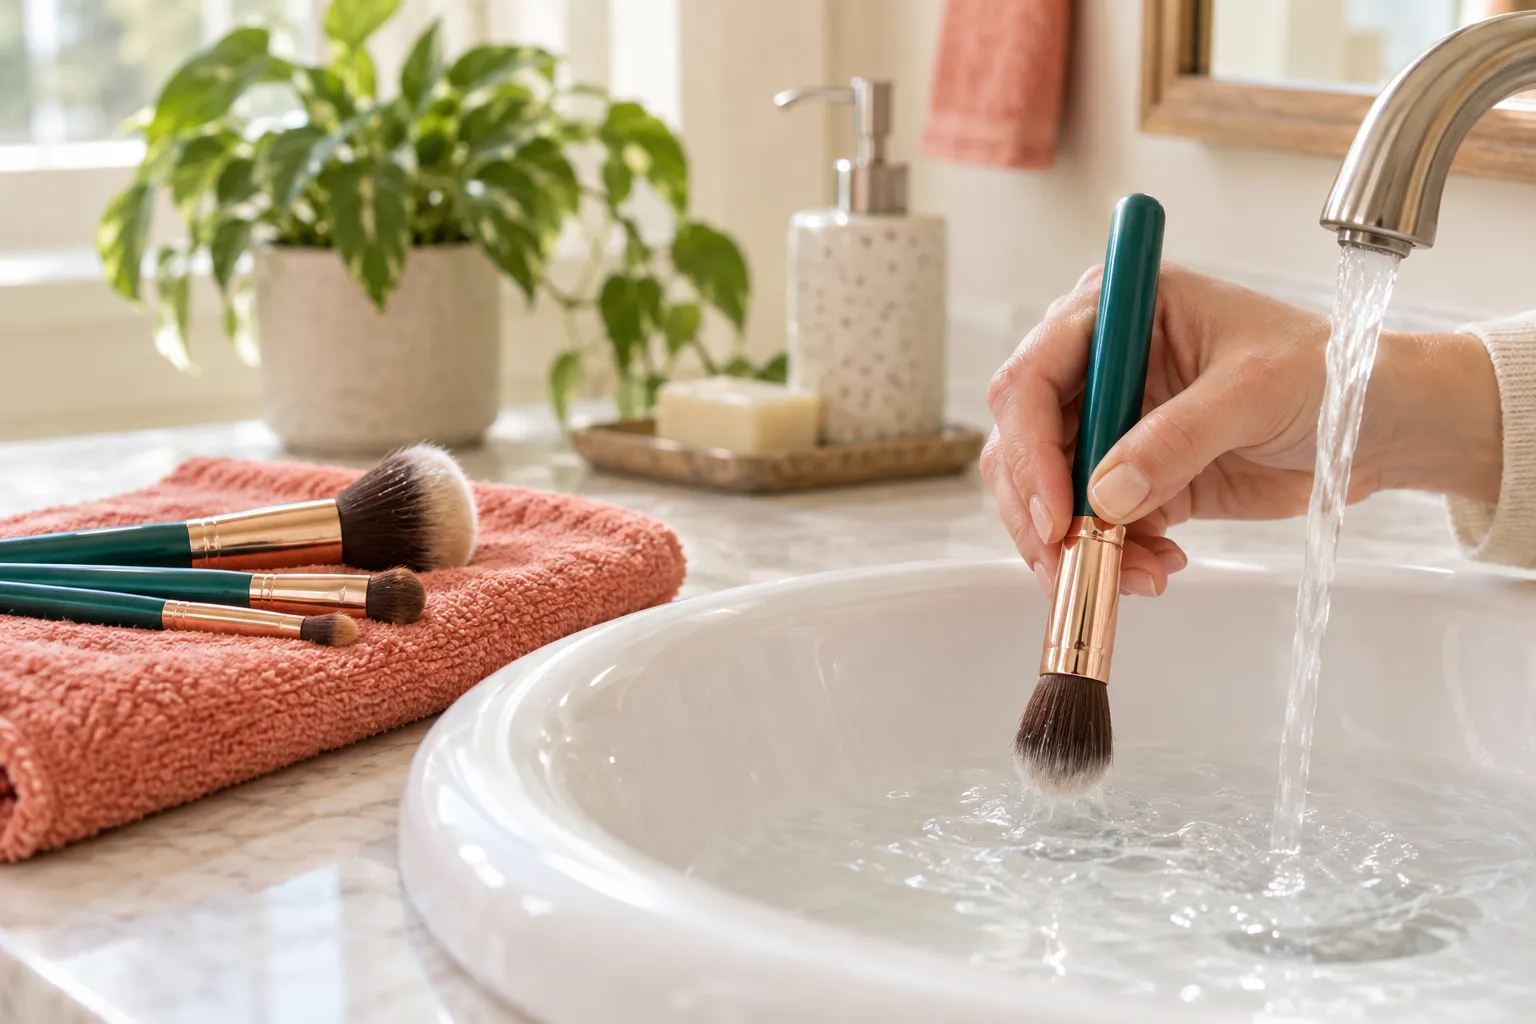
Rinse only the bristles
Point the brush downward under lukewarm water. Keep the ferrule—the metal joint—and handle out of the stream as much as possible. Soaking the whole brush can loosen glue.
- 03
Loosen the makeup
Swirl the tips gently in a small amount of cleanser and water or on a compatible mat. Avoid pressing hard enough to splay the bristles. Repeat with fresh cleanser if a dense foundation brush still releases product.
- 04
Rinse and squeeze
Rinse until the water is clear. Press the brush in a clean towel without twisting or wringing its head. Reshape the bristles with clean fingers so they dry in their usual outline.
- 05
Dry before putting away
Lay brushes flat with the heads extending beyond the counter edge. Do not store them wet or upright with water draining into the handle. Use only after the bristles and joint are dry.
Checks stay on this page while you work and reset when you leave.
Build a small rotation
Wash the brushes you use most when you have time for them to dry. A second simple brush can be more useful than a large collection if it keeps you from using a wet one.
Check the result in good light
Part a dense brush gently and inspect the center. A clean-looking outside can hide makeup inside. Repeat gentle washing if needed rather than adding more pressure.
A quick final check
- Separate the brushes
- Rinse only the bristles
- Loosen the makeup
- Rinse and squeeze
- Dry before putting away
Common questions & sticking points
Can I use a hair dryer?
Air drying avoids heat damage to fibers and glue. Follow specific manufacturer directions before using any drying appliance.
Is a spray cleaner enough?
Quick surface cleaning does not replace a thorough wash that removes buildup throughout the bristles.
Sources & further reading Optional
References used to check this guide. Follow your product’s own safety instructions where its design differs.
Last source check: September 24, 2026