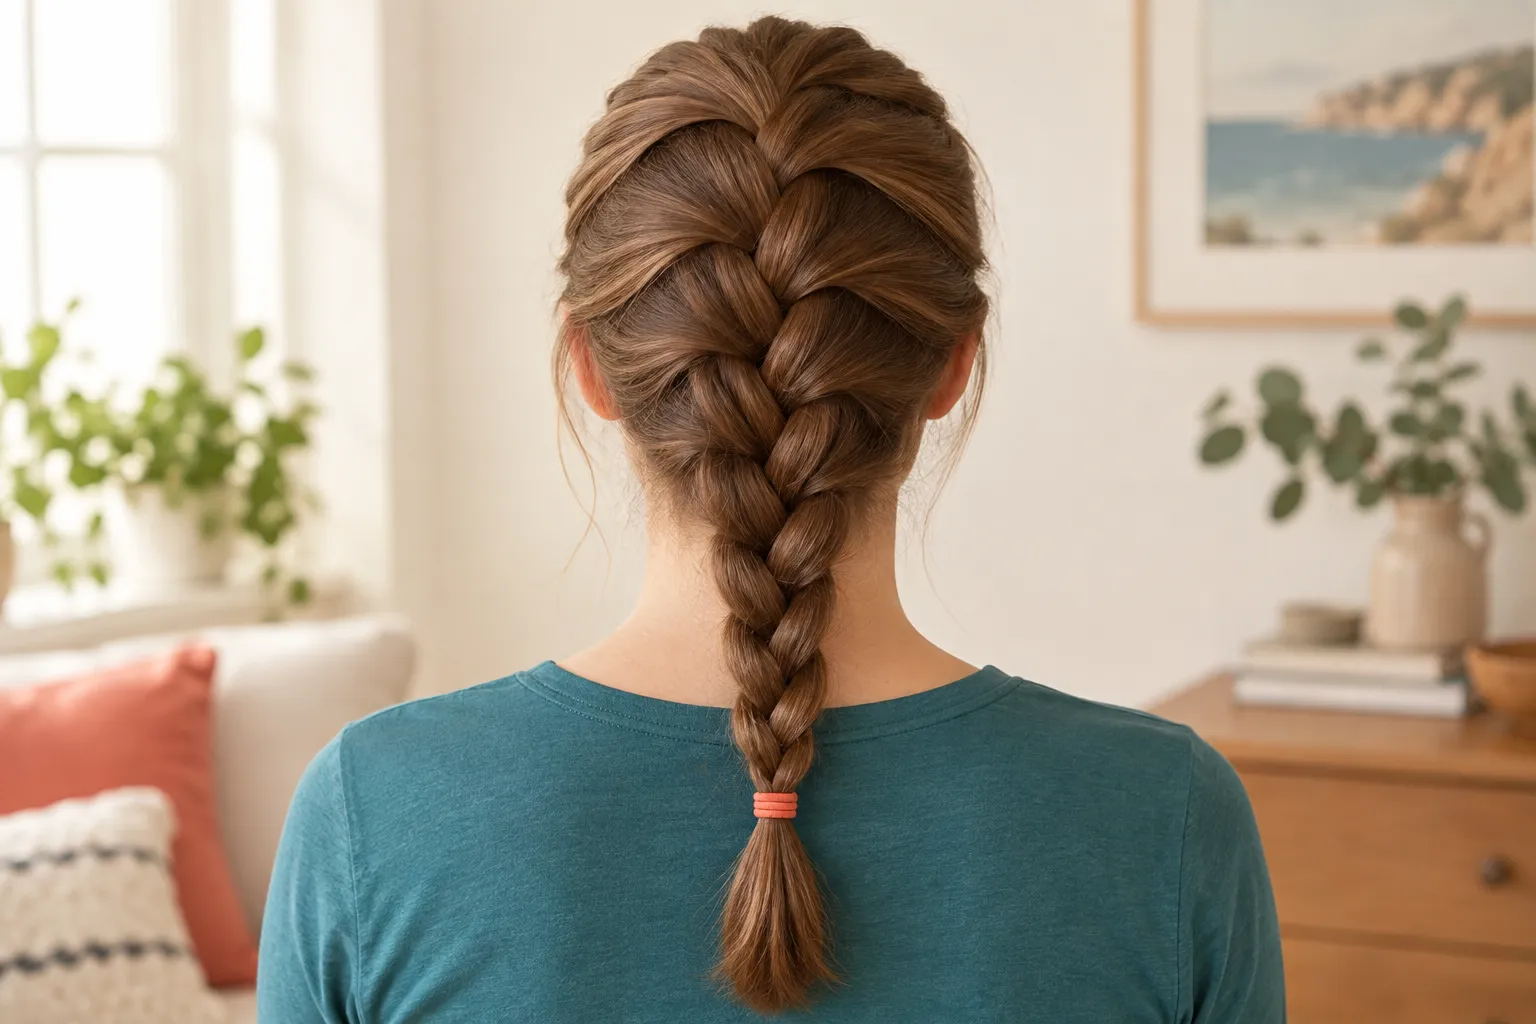
The extra step in a French braid is adding a little loose hair before each crossing. Practise the three-strand motion first, then start near the crown and work toward the nape. A neat braid should still feel comfortable.
Divide a top section into three strands, cross the right strand over the middle and then the left over the middle. Add a small section of loose hair to each outer strand before crossing it over again. Finish with an ordinary braid.
Go straight to the stepsYour project helper
Follow the steps and check them off as you go →Before you begin
Detangle gently from the ends upward. Avoid braiding over an irritated scalp or pulling the hairline tightly. Pause if your arms tire; a looser practice braid is fine.
What you’ll need
- Detangling brush or comb
- Sectioning clips
- Soft snag-free hair tie
- Two mirrors if working on yourself
Let’s do this
Step by step
- 01
Prepare the hair
Detangle and brush the hair in the direction of the braid. Choose one central braid for your first attempt. Put clips and the finishing tie within reach so you do not need to release every section later.
- 02
Divide the starting section
Take a manageable section near the crown and split it into three similar strands. Keep the remaining hair loose. Hold the strands apart with your fingers so the left, middle and right pieces stay identifiable.
- 03
Make two ordinary crossings
Cross the right strand over the middle; it becomes the new middle. Then cross the left strand over that new middle. Keep even, gentle tension without tugging the scalp.
- 04
Add hair before crossing
Gather a small section from the right side, join it to the right outer strand and cross that combined strand over the middle. Repeat on the left. Alternate sides, adding similar amounts each time.
- 05
Continue to the nape
Keep the braid close to the head by holding your hands near the newest crossing. Smooth a section before adding it rather than pulling on the completed braid. Once all loose hair is included, stop adding sections.
- 06
Finish and check comfort
Braid the remaining three strands normally and secure the end with a soft tie. Loosen any painful area. Use a mirror to check for missed sections and redo only the part that needs attention.
Checks stay on this page while you work and reset when you leave.
Choose a repeatable rhythm
Say “add, cross, change hands” while learning. Slowing the hand transfer down can be more helpful than watching another full demonstration at normal speed.
Adapt to the hair in front of you
Short layers may need smaller added sections and a few clips. Very slippery hair may be easier to manage with a suitable light styling product, but product is optional and should not replace clear sectioning.
A quick final check
- Prepare the hair
- Divide the starting section
- Make two ordinary crossings
- Add hair before crossing
- Continue to the nape
- Finish and check comfort
Common questions & sticking points
Why does my braid sit on top of the hair?
You may be crossing the outer strands under the middle, which creates a Dutch-style braid. For this French braid, cross over.
How tight should it be?
Secure enough to hold without pain, scalp tenting or strong tension at the hairline. Loosen or remove a braid that hurts.
Sources & further reading Optional
References used to check this guide. Follow your product’s own safety instructions where its design differs.
Last source check: September 24, 2026