Peeling gel can take layers of your nail with it. A controlled soak-off is a better starting point for ordinary soak-off gel polish. Hard gel extensions and damaged skin need a different plan, so first identify what is on your nails.
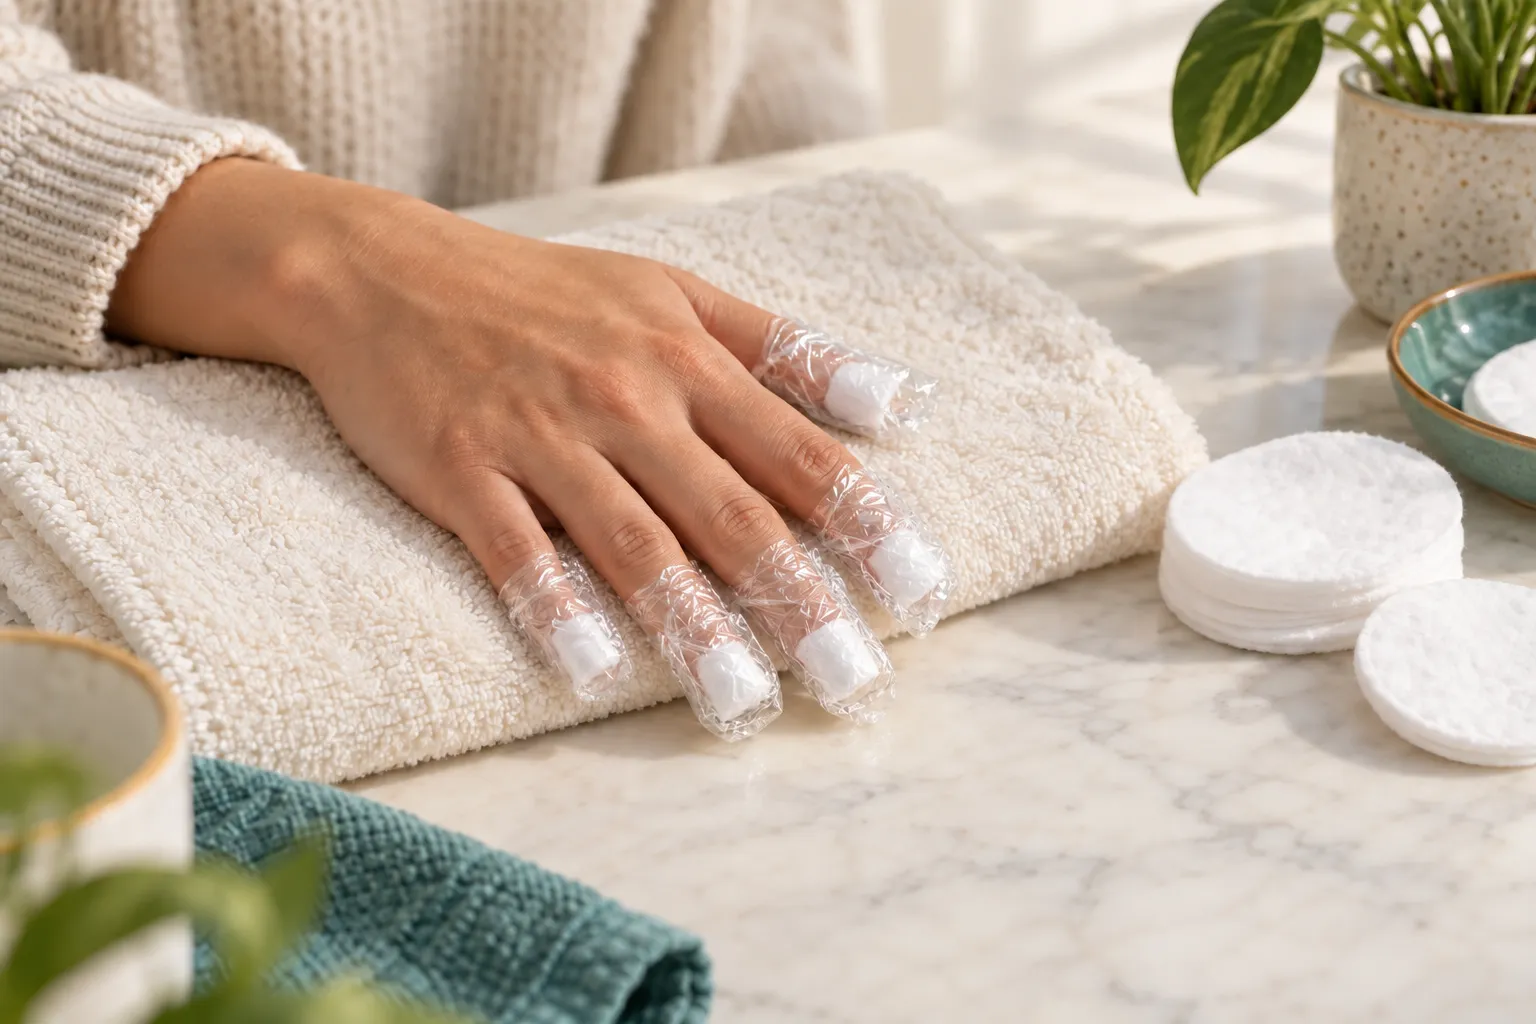
For soak-off gel only, protect the surrounding skin, place nail-sized acetone-soaked cotton on the polish and wrap each nail. After about 10 minutes, wipe away loosened polish gently. Do not force off material that stays attached.
Go straight to the stepsYour project helper
Follow the steps and check them off as you go →Before you begin
Work in ventilation away from flames, cigarettes and hot appliances. Protect the table from acetone, which damages many finishes. Do not treat broken or irritated skin. Keep remover away from children and eyes; do one hand at a time.
What you’ll need
- 100% acetone labeled for nail removal
- Cotton cut to nail size
- Plastic food wrap
- Petroleum jelly
- Washcloth, towel and mild soap
Let’s do this
Step by step
- 01
Confirm it is soak-off gel
Check the service or product information. If you have hard gel, extensions, an unknown overlay or pain, ask the nail professional how it should be removed. More soaking or aggressive filing is not a universal solution.
- 02
Prepare small wraps
Cut cotton to cover the nail plate without covering much surrounding skin. Apply a thin barrier of petroleum jelly to cuticles and nearby skin. Arrange the cotton, wrap and towel before opening the acetone.
- 03
Wrap and wait
Moisten the cotton with acetone, place it on the nail, and hold it in place with plastic food wrap. The wrap should stay put without squeezing the finger. Allow about 10 minutes; never heat the acetone to speed this up.
- 04
Lift softened color gently
Remove a wrap and wipe the loosened gel with a warm, wet washcloth. If the coating remains firmly stuck, stop rather than prying with a metal tool. An uncertain product or stubborn coating belongs with a professional.
- 05
Wash and moisturize
Wash off residue with mild soap and water, pat dry and moisturize. Give irritated nails a break from another manicure. Persistent pain, swelling or separation of the nail needs medical advice.
Checks stay on this page while you work and reset when you leave.
Make the next removal easier
Keep a photo of the polish system or salon receipt. “Gel” can describe products with very different removal instructions. Knowing the product saves you from guessing when it is time to remove it.
What you do not need
A powered nail drill is unnecessary for this basic soak-off approach. Start with a small bottle, cotton and a protected workspace rather than a large kit of sharp scraping tools.
A quick final check
- Confirm it is soak-off gel
- Prepare small wraps
- Wrap and wait
- Lift softened color gently
- Wash and moisturize
Common questions & sticking points
Can I peel the last little piece?
Avoid pulling it. That can damage the natural nail underneath. If gentle wiping does not remove it, have the remaining coating assessed.
Can I use regular non-acetone remover?
It may not dissolve this coating effectively. Match the removal instructions to the exact product; this guide is for acetone-soluble gel.
Sources & further reading Optional
References used to check this guide. Follow your product’s own safety instructions where its design differs.
Last source check: September 24, 2026