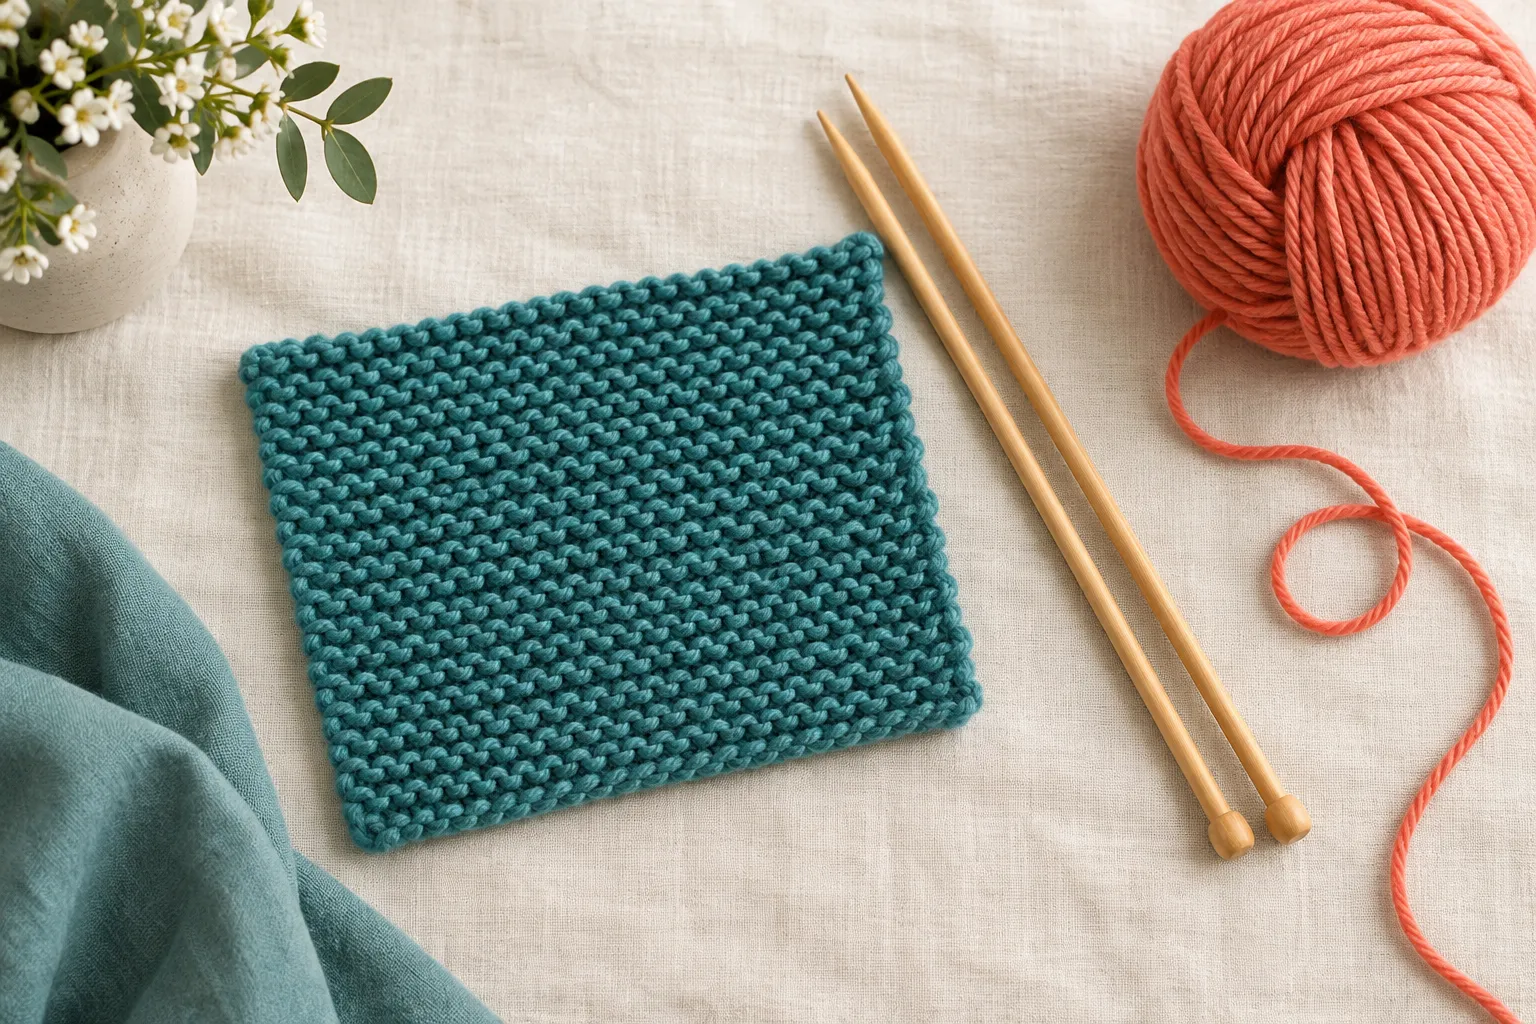
A small square lets you learn the complete process without committing to a scarf. Use smooth, light-colored yarn so you can see individual loops. You only need one pair of needles and a short practice session to start.
Cast on 16 stitches, knit every stitch in every row, then bind off when the piece is roughly square. Count stitches after each row to catch extra loops early.
Go straight to the stepsYour project helper
Follow the steps and check them off as you go →Before you begin
These directions describe right-handed English-style knitting. Choose a smooth medium-weight yarn and the needle size suggested on its label. Sit with relaxed shoulders and take breaks if your hands tire.
What you’ll need
- Medium-weight smooth yarn
- Matching pair of knitting needles
- Scissors
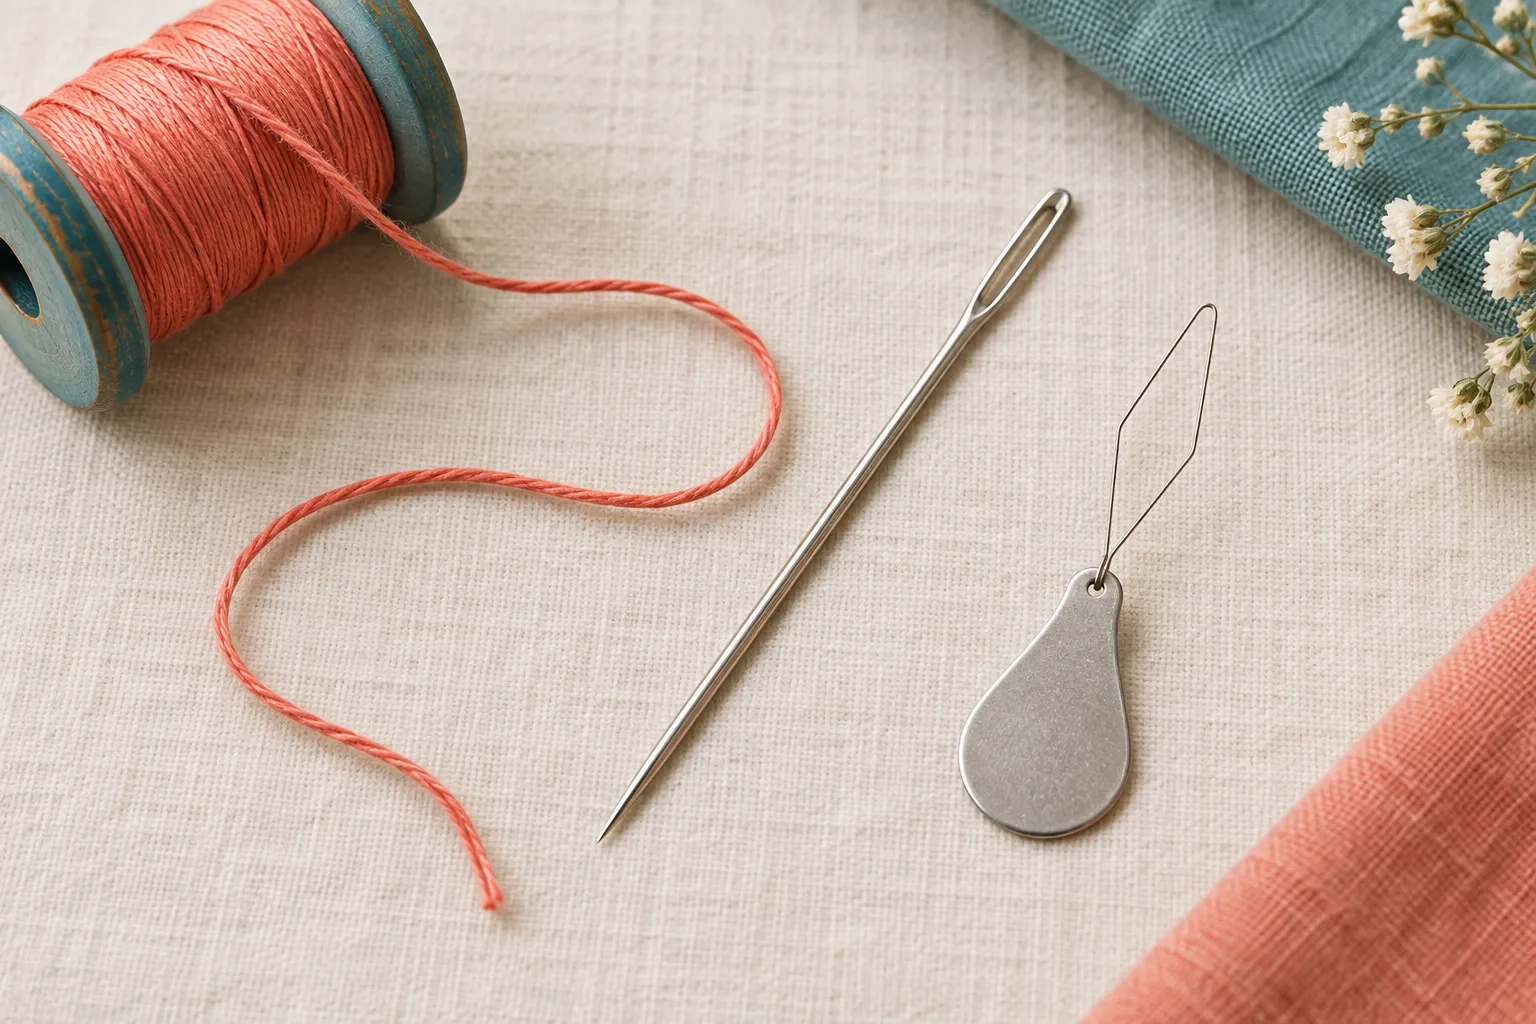
- Blunt yarn needle
Let’s do this
Step by step
- 01
Make a slip knot
Make a loop in the yarn, draw a bight of the ball-connected yarn through it and place that adjustable loop on the left needle. Tighten only enough that it slides easily. The slip knot counts as the first stitch.
- 02
Cast on 15 more stitches
Insert the right needle into the front of the loop from left to right. Wrap the working yarn around it, pull a new loop through, and place the new loop onto the left needle without dropping the original. Repeat into the newest stitch until there are 16.
- 03
Knit your first row
Keep the working yarn behind the needles. Insert the right needle into the front of the first stitch, wrap yarn around the right tip, draw the new loop through and slide the old loop off the left needle. Repeat across the row.
- 04
Turn and repeat
Move the needle holding the stitches to your left hand. Keep the yarn behind the work and knit another row. Knitting every row creates garter stitch: horizontal ridges on both sides. Count 16 loops at the end of each row.
- 05
Bind off loosely
Knit two stitches. Lift the first stitch on the right needle over the second and off. Knit one more, then lift the previous stitch over it. Continue until one loop remains, keeping the edge loose enough to match the fabric.
- 06
Secure the tail
Cut a tail about six inches long and draw it through the final loop. Thread the tail onto a blunt yarn needle and weave it through several bumps on the back, changing direction once. Repeat with the starting tail.
Checks stay on this page while you work and reset when you leave.
Keep the square a learning project
A crooked first edge is useful feedback, not a failed project. If the square gets wider, count for an accidental yarn-over or a stitch knitted twice. Stop at the first changed row rather than continuing for twenty more.
Choose one change for the next square
If the fabric feels rigid, loosen your grip or try the next appropriate needle size. If stitches slip off constantly, use needles with a little more grip. Keep the same yarn while learning so you can compare.
A quick final check
- Make a slip knot
- Cast on 15 more stitches
- Knit your first row
- Turn and repeat
- Bind off loosely
- Secure the tail
Common questions & sticking points
Why are there more than 16 stitches?
You may have looped yarn over the needle between stitches or knitted into the same stitch twice. Count regularly and undo the newest error while you can still see it.
Do I need to purl?
Not for this garter-stitch square. Purling comes later when you want patterns such as stockinette or ribbing.
Sources & further reading Optional
References used to check this guide. Follow your product’s own safety instructions where its design differs.
Last source check: September 24, 2026