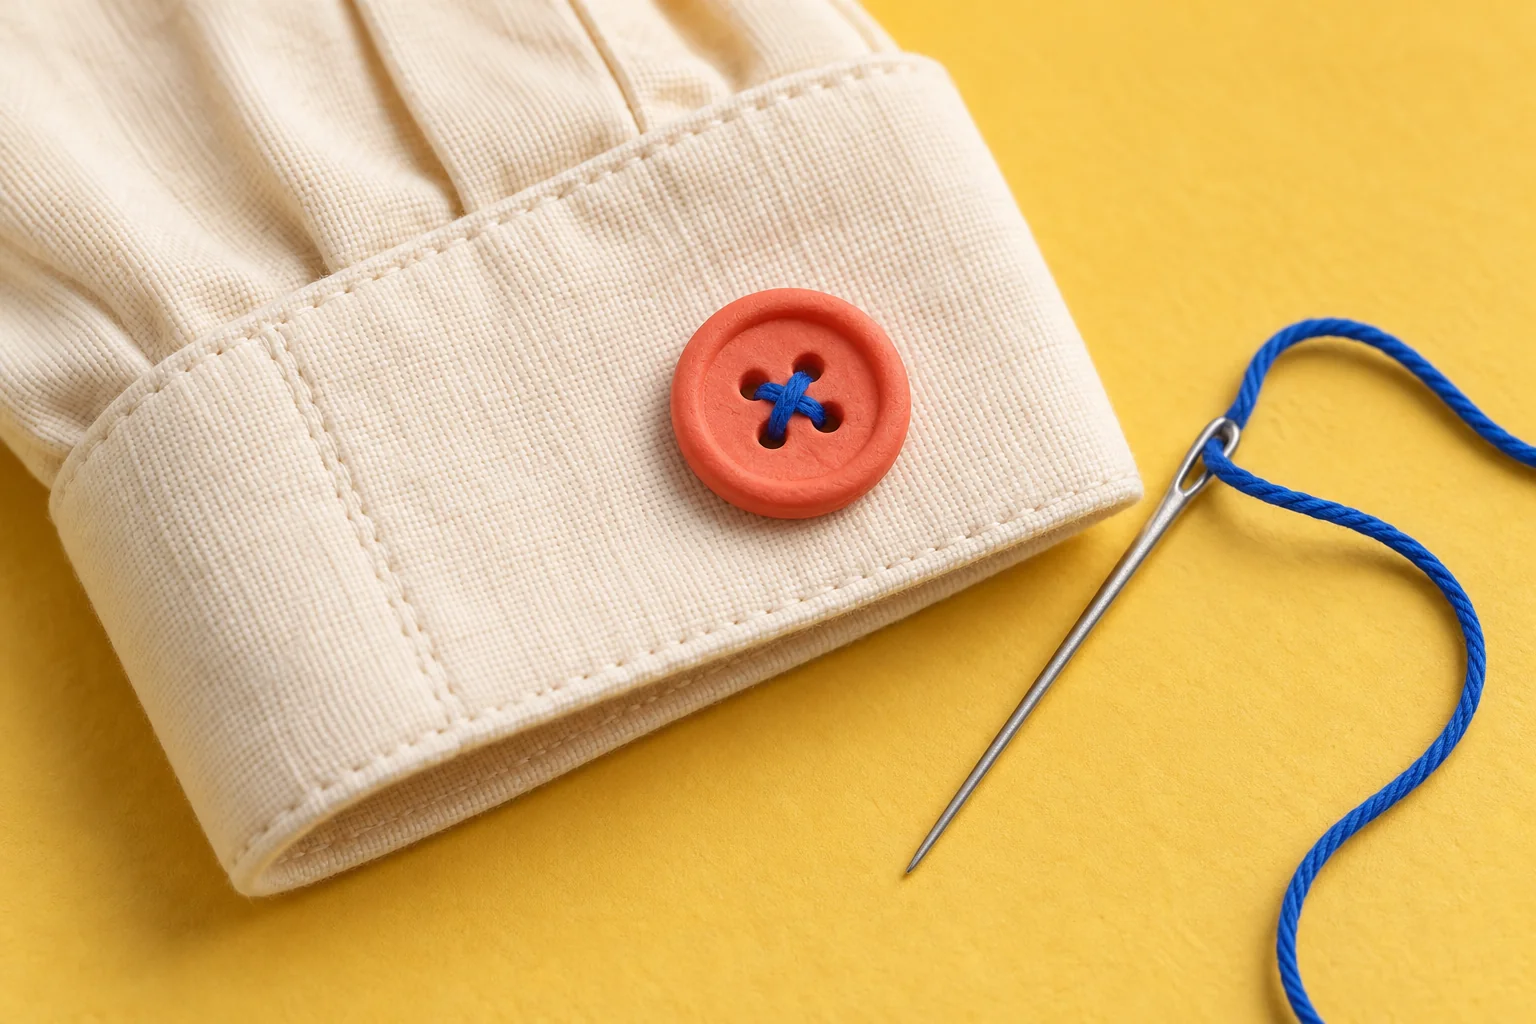
A frayed thread and a tiny eye are a frustrating combination. Freshly cut thread, good light and the right needle solve most of the problem before you reach for a gadget. Start with a needle that suits the fabric and thread.
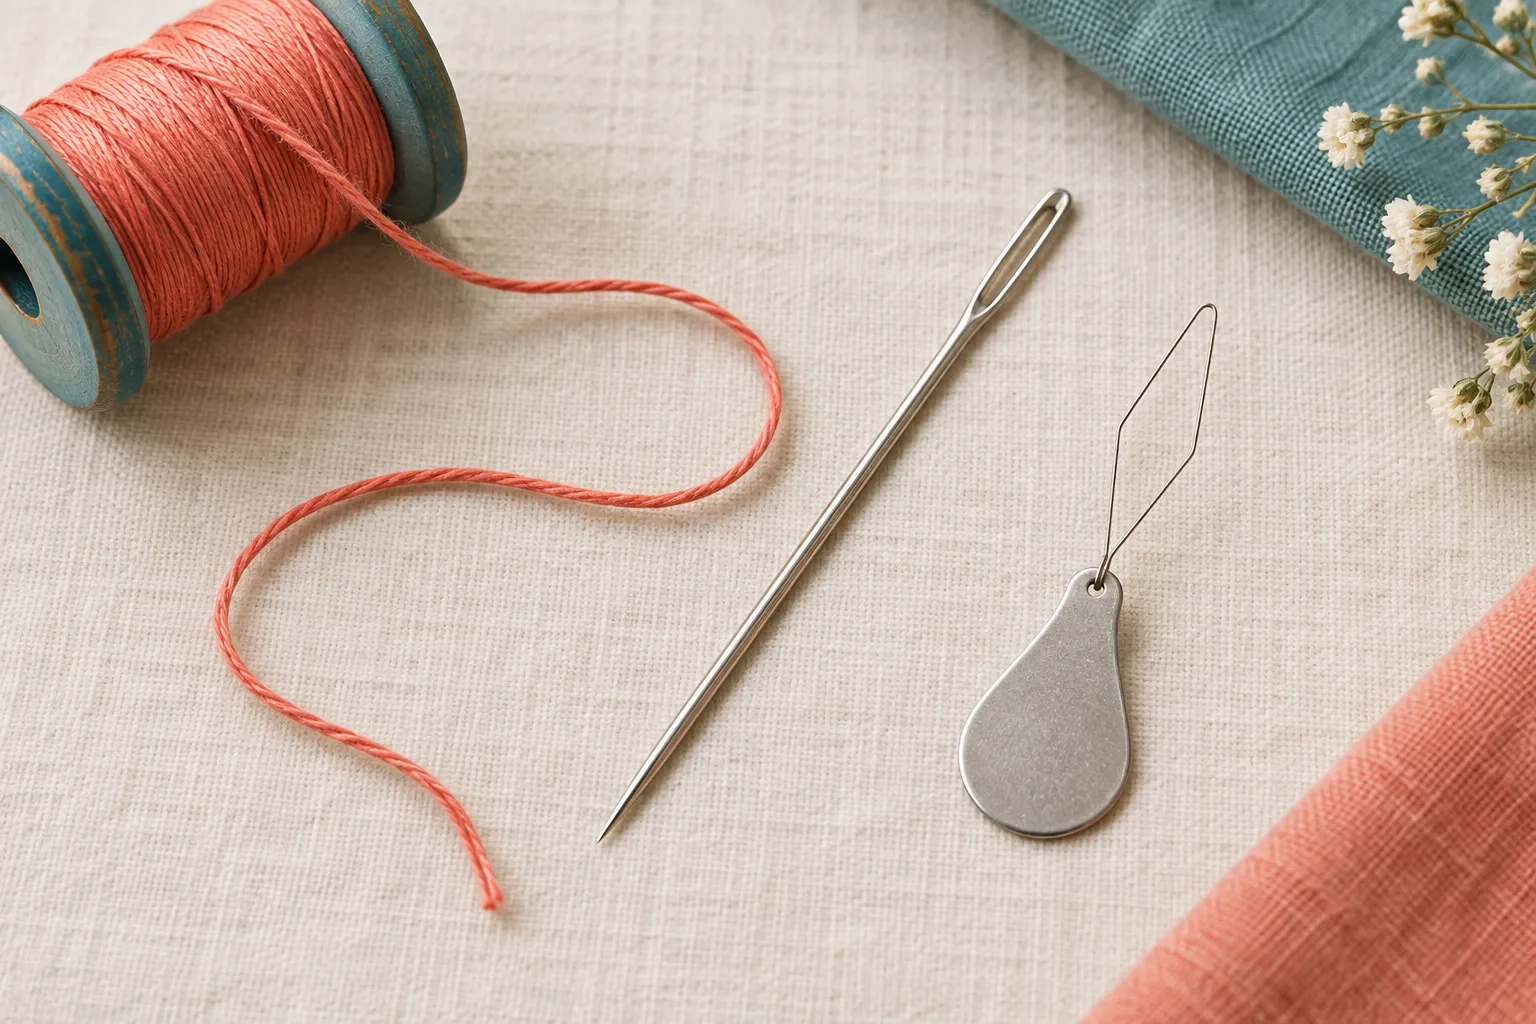
Cut the thread cleanly, guide its end through the needle eye and pull through a short tail. If needed, pass a wire threader through the eye, put thread through its loop and draw it back. Tie the end for your chosen stitch.
Go straight to the stepsYour project helper
Follow the steps and check them off as you go →Before you begin
Work over a plain contrasting surface where a dropped needle is easy to spot. Keep needles and snipped thread away from children and pets. These directions are for a loose hand needle, not a sewing machine.
What you’ll need
- Hand-sewing needle
- Matching sewing thread
- Sharp small scissors
- Optional wire needle threader
- Good light
Let’s do this
Step by step
- 01
Choose compatible sizes
Use a needle whose eye accepts the thread without force and whose shaft suits the cloth. Heavy thread through a tiny embroidery needle is not a good starting combination.
- 02
Prepare a clean end
Cut a manageable arm-length piece or shorter for practice. Trim away fuzzy fibers with sharp scissors. Hold the end close to your fingertips so only a very short tip projects.
- 03
Thread directly or use a tool
Bring the eye toward the thread tip and guide it through. With a wire threader, pass the empty wire loop through the eye first, place the thread in that loop, then pull the loop back through gently.
- 04
Set the tail length
For single thread, pull several inches through the eye and leave one long working end. For doubled thread, bring the two ends together. Doubled thread is useful for some button sewing, but not required for every task.
- 05
Secure and test
Tie a small knot at the working end if your stitch needs one. Try a stitch in scrap fabric. Keep the short tail from slipping out of the needle while drawing the first few stitches.
Checks stay on this page while you work and reset when you leave.
If the threader will not fit
Do not pull harder. Fine wire can break, and some threaders are designed for a limited range of needle eyes. Try a suitable needle or a threader explicitly rated for that size.
Start with shorter thread
Very long thread tangles more easily and rubs through the eye repeatedly. A shorter length makes the first repair easier to manage, even if you have to rethread once.
A quick final check
- Choose compatible sizes
- Prepare a clean end
- Thread directly or use a tool
- Set the tail length
- Secure and test
Common questions & sticking points
Why does the thread keep coming out?
Leave a longer short tail and hold it while drawing the first stitches through the cloth.
Do I always knot both ends together?
No. That makes doubled thread. Use the setup called for by your repair or stitch.
Sources & further reading Optional
References used to check this guide. Follow your product’s own safety instructions where its design differs.
Last source check: September 24, 2026