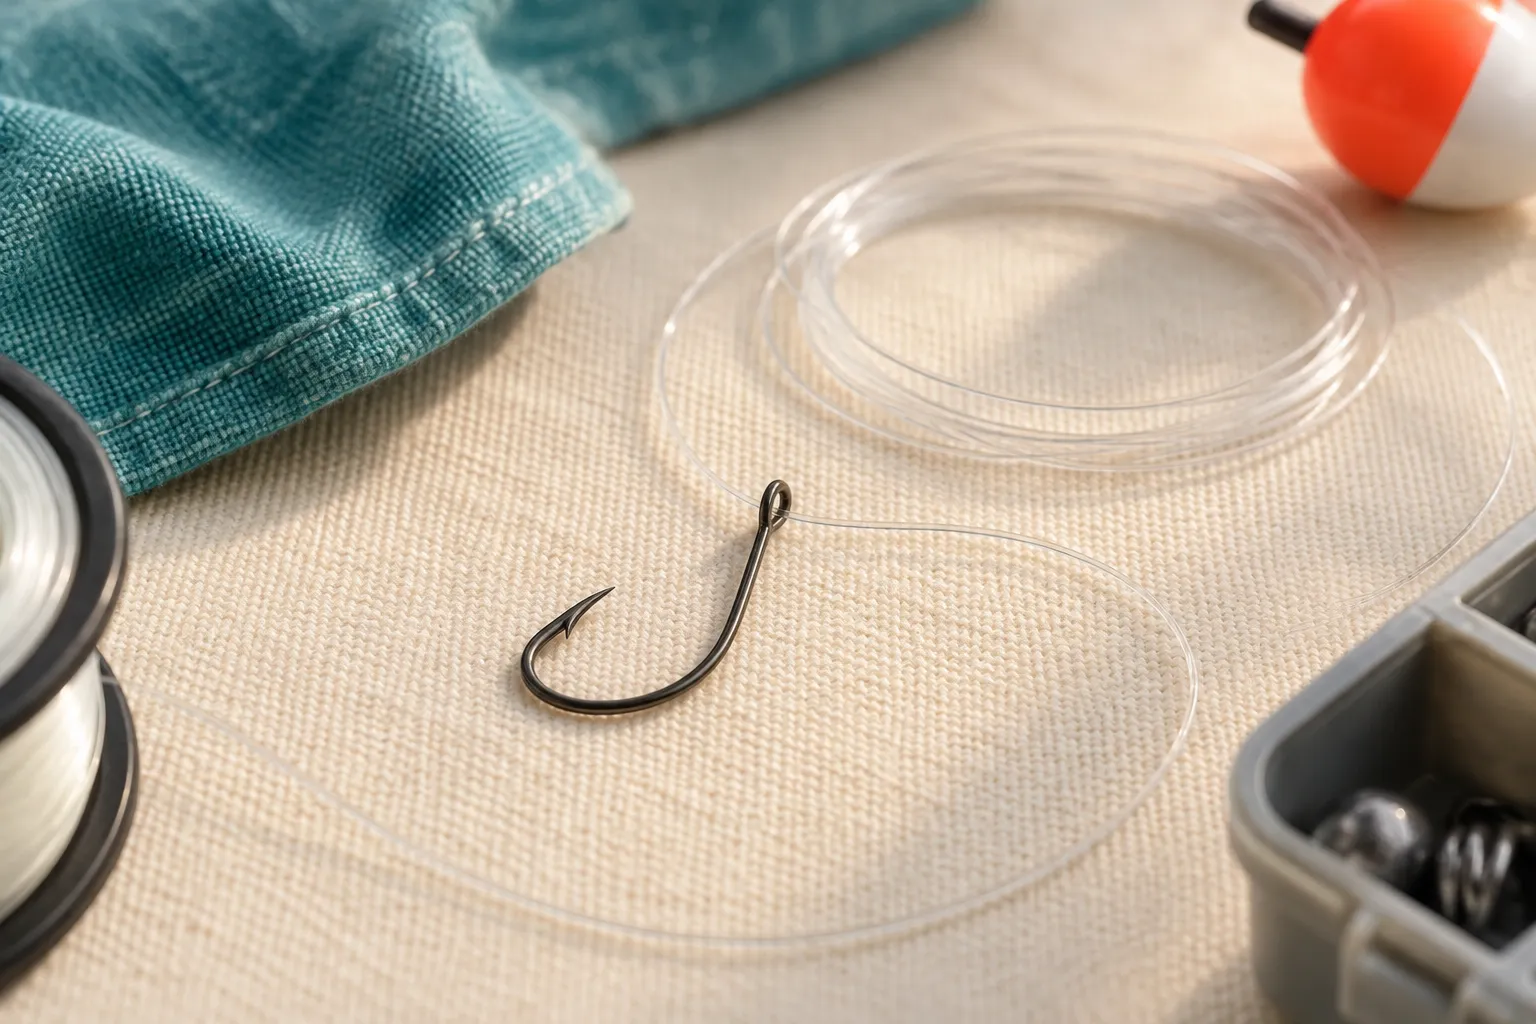
Practise the knot with thick cord and a smooth ring before working beside a sharp hook. That makes it easier to see the small loop at the eye and the larger loop created by the final tuck.
Pass line through the eye, wrap the tag end around the standing line five or six times, pass it through the small loop at the eye and then through the new large loop. Moisten and tighten smoothly before testing.
Go straight to the stepsYour project helper
Follow the steps and check them off as you go →Before you begin
Use this introductory method with suitable light-to-medium monofilament. Braided line, very heavy leaders and specialty hooks may need a different knot recommended by the line or tackle maker. Keep hook points covered during practice.
What you’ll need
- Eyed fishing hook or practice ring
- Suitable monofilament line
- Line clippers
- Optional hook-holding tool
Let’s do this
Step by step
- 01
Identify the two ends
Pass several inches of line through the hook eye. The short free piece is the tag end; the long piece leading back to the reel is the standing line. Keep enough tag to wrap without crowding the hook.
- 02
Make the wraps
Wrap the tag five or six times around the standing line, moving away from the eye. Keep the turns orderly. Do not twist the hook into your fingers while trying to tighten loose wraps.
- 03
Pass through the first loop
Bring the tag back down and pass it through the small opening just above the hook eye. Leave the wraps loose for now. This move creates a second, larger loop beside the coil.
- 04
Make the improved tuck
Pass the tag through that newly formed large loop. Check the route before pulling: small eye loop first, larger loop second. Missing the second pass produces a different knot.
- 05
Seat and test
Moisten with clean water and draw the knot down smoothly toward the eye. Inspect for crossed or bunched wraps. Pull-test while shielding the hook point, then trim the tag with a little margin rather than flush against the knot.
Checks stay on this page while you work and reset when you leave.
Practise where you can see both loops
A contrasting cord through a large ring helps separate the two openings visually. Once the route is familiar, repeat with the actual line; thick practice cord does not establish real fishing strength.
Retie when the connection looks wrong
A kinked leader, damaged eye or rough line can undermine a neat-looking knot. Cut away damaged line and tie again. Do not assume tightening harder repairs an incorrectly seated coil.
A quick final check
- Identify the two ends
- Make the wraps
- Pass through the first loop
- Make the improved tuck
- Seat and test
Common questions & sticking points
Can I use this on braid?
Do not assume the same knot works with every slick braid. Use the line maker’s recommended knot and test it.
How short should the tag be?
Leave a small visible tag after the knot is seated. A flush cut makes small amounts of slippage harder to notice.
Sources & further reading Optional
References used to check this guide. Follow your product’s own safety instructions where its design differs.
Last source check: September 24, 2026