A good push-up is a controlled movement, not a race to reach an arbitrary number. Starting against a wall lets you practise alignment and breathing with less load. Move to a harder version only when the current one feels steady.
Place hands slightly wider than shoulder width, brace your trunk and lower your body as one unit. Press back up without sagging through the lower back. Use a wall or stable incline if you cannot control the floor version.
Go straight to the stepsYour project helper
Follow the steps and check them off as you go →Before you begin
Use a stable, non-slipping surface. Stop for sharp pain, dizziness or unusual shortness of breath. If an injury or medical condition affects exercise, get individual guidance before increasing load.
What you’ll need
- Clear space
- Stable wall or fixed exercise surface
- Optional nonslip exercise mat
Let’s do this
Step by step
- 01
Choose the easiest useful version
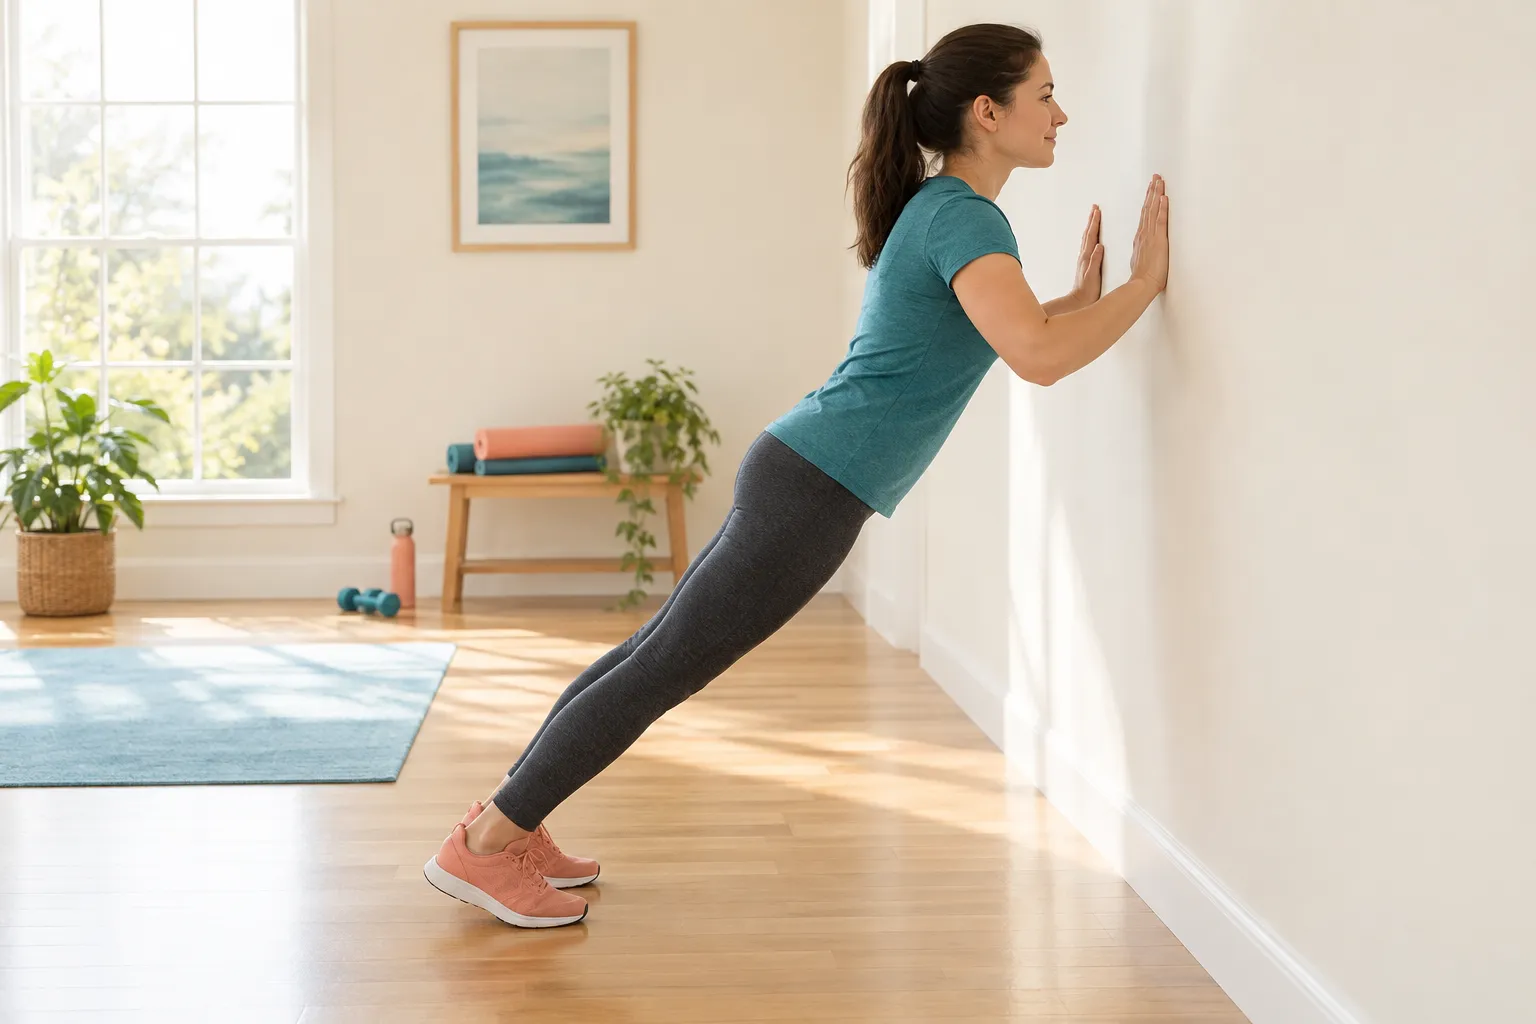
Begin at a wall if you are unsure. Stand a comfortable distance away and place your palms on the wall near shoulder level. For an incline, use a fixed sturdy surface, not a lightweight chair that may slide.
- 02
Set your alignment
Keep your head in line with your trunk, shoulders away from your ears and abdomen gently braced. For a floor version, extend the legs and keep the body in a line from head to heels.
- 03
Lower under control
Bend the elbows and bring your chest toward the surface. Let the elbows angle back comfortably rather than flare straight out. Move the chest and hips together; do not lead with your chin.
- 04
Press and breathe
Exhale as you push away, returning to the start without snapping the elbows. Keep the trunk stable. Pause briefly and reset your position before the next repetition.
- 05
Stop before form breaks
Try a small set of controlled repetitions and rest. End the set when your hips sag, shoulders shrug or range shortens unintentionally. Record the variation and clean repetitions rather than counting every struggle.
- 06
Progress one step at a time
When repeated sets feel controlled, try a slightly lower stable incline or a floor variation. A harder surface angle is a meaningful increase; you do not need to add repetitions and difficulty together.
Checks stay on this page while you work and reset when you leave.
A useful progress note
Write down the surface height, repetitions and how the last repetition felt. “Six wall push-ups, steady throughout” is a clearer starting point than a score with no description of technique.
Equipment is optional
A comfortable mat can help for floor practice. Push-up handles are an optional tool and must remain stable; they do not make painful movement something to push through.
A quick final check
- Choose the easiest useful version
- Set your alignment
- Lower under control
- Press and breathe
- Stop before form breaks
- Progress one step at a time
Common questions & sticking points
Do wall push-ups count?
They are a useful lower-load variation for learning and progression. Track the variation so comparisons are meaningful.
Should I hold my breath?
Keep breathing. Exhaling during the press is a straightforward rhythm for ordinary practice.
Sources & further reading Optional
References used to check this guide. Follow your product’s own safety instructions where its design differs.
Last source check: September 24, 2026