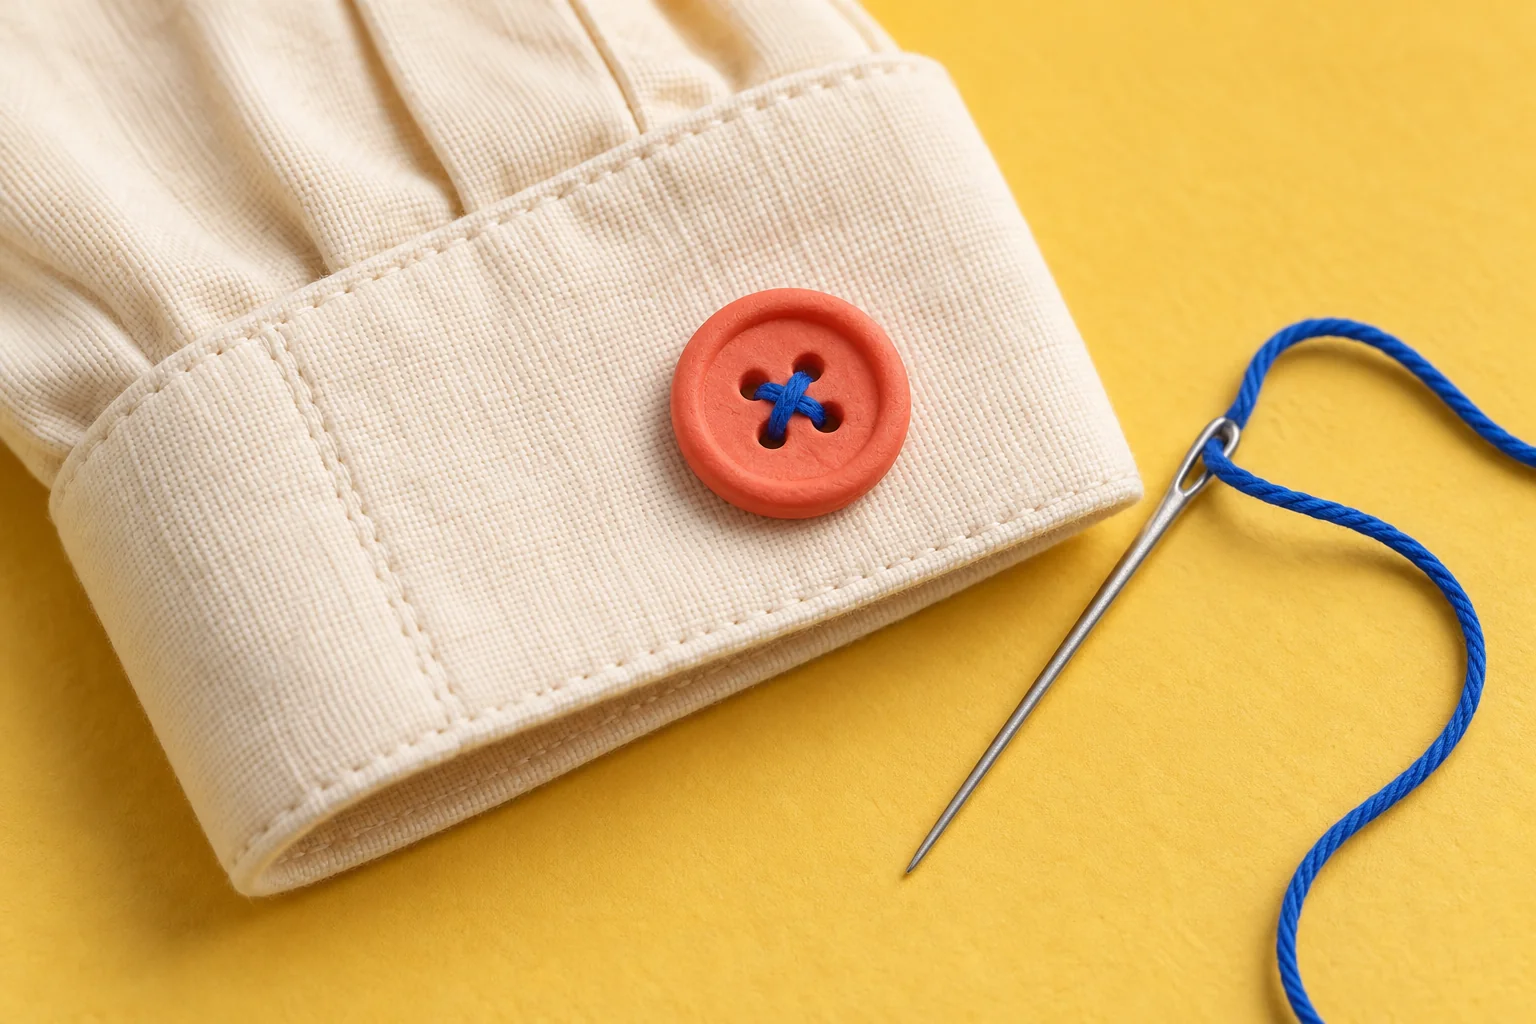
No. A button-sewing foot holds a button while stitches pass through its holes; a buttonhole foot helps form the opening the button goes through. Choose the attachment and stitch specified for your machine's task. For machine sewing a button, check needle clearance through both holes by the manual's handwheel procedure before running the machine. A button loaded into a buttonhole sizing holder is not being sewn onto the fabric.
The two mounting positions let the needle run close to either side of a zipper while the foot clears the raised teeth. In the Janome 5024 instructions, attaching on the left lets you sew the zipper's right side, and vice versa. Follow your machine's diagram and use the specified stitch and needle position. Before powered sewing, check that the needle passes through the foot opening without touching metal.
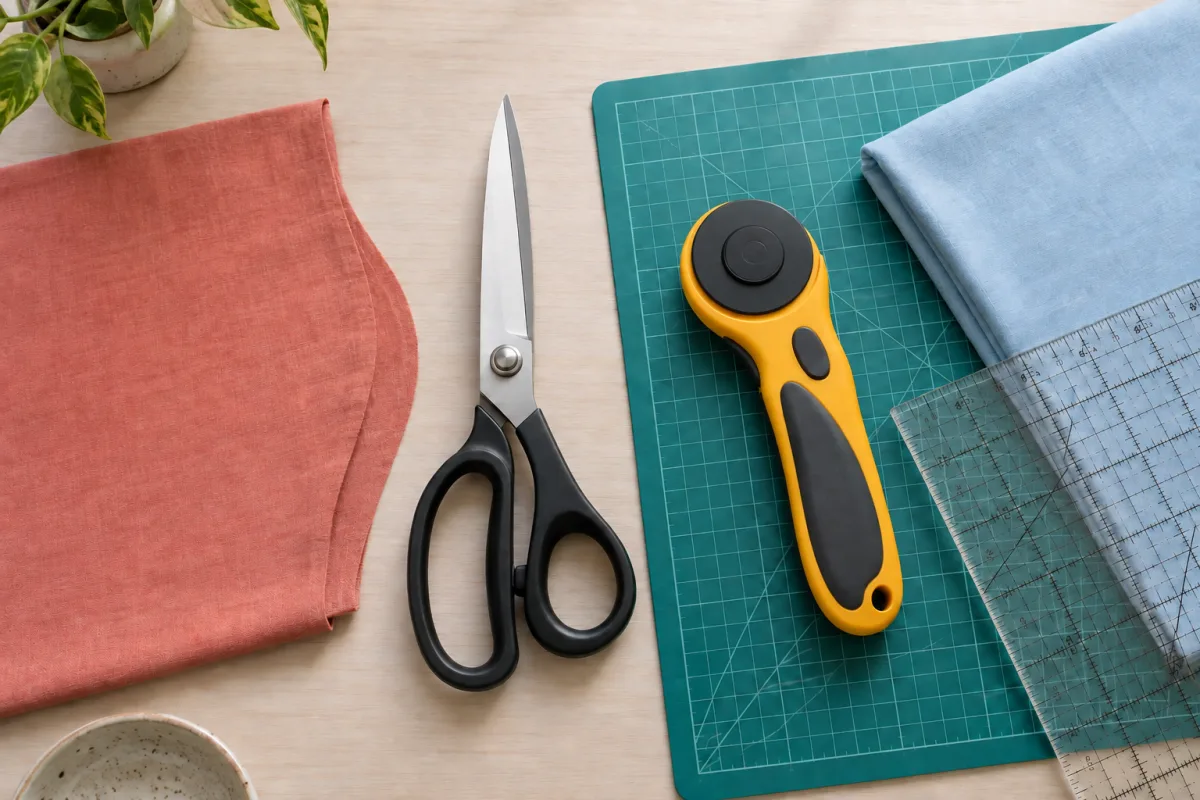
A small blade is easier to steer around tight curves and small pattern shapes; a larger cutter is better suited to longer cuts and heavier stacks. OLFA distinguishes its 18 mm detail cutter from its everyday 45 mm and larger 60 mm cutters. Match the cutter to the job instead of forcing a large blade around a tiny curve. Use a compatible cutting mat and keep fingers clear of the cutting path.
Optional supplies on Amazon
Affiliate disclosure: As an Amazon Associate I earn from qualifying purchases. How our links work.
Do not assume so. OLFA's handle guide specifies its ergonomic handle for decorative wave, scallop and pinking blades, while other handles are intended for their listed standard blades. Check the exact blade and handle compatibility before purchasing. Follow that handle's assembly instructions without modifying the guard or fastener to make a blade fit. Diameter is only one compatibility check, not permission to use any wheel in the cutter.
Check the attachment's separate controls for pleat frequency and depth. BERNINA's Ruffler 86 uses a selection lever for density and a setscrew for depth; stitch length also changes the distance between pleats. Test on a strip of the project fabric, measure the gathered result and change one setting at a time. A setting that works on one material may not produce the same fullness on another.
No. The slot makes threading easier, but SCHMETZ warns against using its Quick Threading needle on delicate fabrics such as silk or microfiber, where the slot can pull threads, or for quilting, where it can pull batting fibers. It is also less strong than an ordinary universal needle. Match the thread thickness and fabric to its instructions; choose another threading aid when the project's material is unsuitable.
Pinking shears cut a zigzag edge that helps reduce fraying; ordinary fabric scissors leave a straight edge. Use pinking where the project calls for that finish and test the cut on scrap first. Keep the required seam allowance. The shaped edge does not join fabric layers together or replace the seam's stitching on your finished project.
Push the turner's hook through the tube, catch the fabric securely near the far end, then gently draw that end back inside. Ease the fabric along as you pull rather than trying to drag the entire tube through in one tug. Keep the hook engaged and avoid catching the seam stitching. Choose a tube width and fabric weight the tool can handle; very bulky fabric needs a different turning method.
The tool must fit the sewn tube's inside width, and the fabric must also turn around its end. Thick cloth and bulky seam allowances need more clearance than lightweight fabric. Check the turner's stated range before forcing the strap onto it. Try the complete tube on a scrap first, including its seam allowances; choosing a smaller tool or a wider finished strap may solve the problem.
Sew-on snaps are useful when you want a fastening that can be removed or replaced by cutting stitches. Set-in snaps use posts or prongs that pierce the fabric, so repositioning them can leave damage. Choose the style before marking the garment, and support lightweight fabric appropriately. For either method, test on a scrap with the same layers so the fastening's size and holding strength suit the project.
Not necessarily. The dies or settings must match the snap's size and construction, and the recommended tool may be specific to its manufacturer. A similar-looking cap does not prove compatibility. Check the snap packet and tool instructions, then set a test snap through the same fabric layers. Inspect both halves and try the closure before making holes in the finished garment.
Position the trim with its center on the intended seamline and baste it in place. Add the facing or adjoining fabric right sides together, then stitch the seam. When you turn and press the layers, part of each wave will show beyond the edge. Test the placement first because moving the trim slightly changes how much of the points appears on the finished project.
Turn the end under as you stitch through the trim's center, or hide it in a crossing seam when the design allows. To join another length, fold its end under and align the waves before securing the join. Plan the starting position so a join falls somewhere inconspicuous. A neat end needs the same attention as an even line through the middle of the braid.
A useful starting size is twice the desired finished diameter plus half an inch for the turned edge. For example, a circle cut four and a half inches across makes roughly a two-inch yo-yo. Test one in the actual fabric before cutting a whole set. Fold the edge under, run gathering stitches around it, then draw the edge into the center and secure it.
Place two yo-yos with their gathered sides facing and whipstitch a short section of their touching edges together. Secure the thread, open them out and add the next yo-yo in the planned arrangement. The joins connect small edge sections rather than sewing the disks into a solid seam. Lay out the whole pattern first so you can check spacing and color before committing to the connections.
Use a separate lightweight strip as an applied casing or stitched-down facing. This can make a heavy garment's waist less bulky than folding the main fabric repeatedly. Choose a strip wide enough for the elastic to move comfortably plus its seam allowances, and leave an access opening for insertion. Test the finished channel on a scrap before trimming the garment's waist edge.
An applied casing can sit on the inside at the desired level. Turn under the strip's edges, position it carefully and stitch both long edges to form a channel, leaving an insertion opening. Thread in the elastic and secure it as the design requires. Check the position while wearing the dress before stitching; an accurately sewn channel will still be uncomfortable if placed at the wrong height.
Use bias-cut covering when the piping must follow curves; the diagonal grain helps it bend smoothly. Straight-grain strips can work on straight seams. To estimate strip width, measure around the cord and add the two seam allowances, then test a short length. The cord's diameter alone is not enough because the covering must wrap around its circumference as well as leave fabric for stitching.
The final joining seam may be too far away from the cord to hide the earlier line. When assembling the fabric layers around the already attached piping, sew slightly closer to the cord than the attachment stitching, using an appropriate zipper or piping foot. Test the needle position slowly on scraps. Keep the cord free of the needle and avoid trying to correct the appearance by stretching the fabric.
The two pieces have different curves, so compare and match their stitching lines rather than judging only the cut edges. Match the pattern marks and ease the fuller curve into the flatter one without tugging either piece longer. Baste and inspect the shape before permanent stitching. Pulling the raw edges into a forced match can distort the fitted area even if the edge appears tidy.
A useful method places the more convex, outward-curving piece against the feed dogs, with the flatter piece above. The feed action helps distribute the small amount of ease between matched marks. Use controlled stitching and keep both pieces relaxed. This assists a correctly cut seam; it cannot compensate for missing pattern pieces, unmatched notches or a major cutting error that makes the seamlines different lengths.
Both wrap the seam allowance with a strip of fabric, but a Hong Kong finish leaves the strip's underside edge unfolded to reduce bulk. It commonly finishes allowances that will be pressed open. A fully bound edge turns that underside edge under as well. Use lightweight bias-cut fabric and test its width; a thick binding can make an otherwise soft garment seam feel stiff.
The strip may be too narrow, its first seam may be too wide, or handling may have stretched the bias strip and narrowed it. Test a wider strip on the actual fabric thickness and check the attachment allowance. Wrap it around gently before stitching in the ditch. Do not pull harder to make it reach; that can narrow the strip further and pucker the edge.
Too much fabric inside the form can prevent the pieces from locking together, especially with heavy cloth or pile. Use the kit's cutting template and a fabric weight the form can accommodate. Arrange the tucked fabric evenly before fitting the back. Make one test button before cutting the set; forcing a mismatched combination may dent the front without producing a secure fastening.