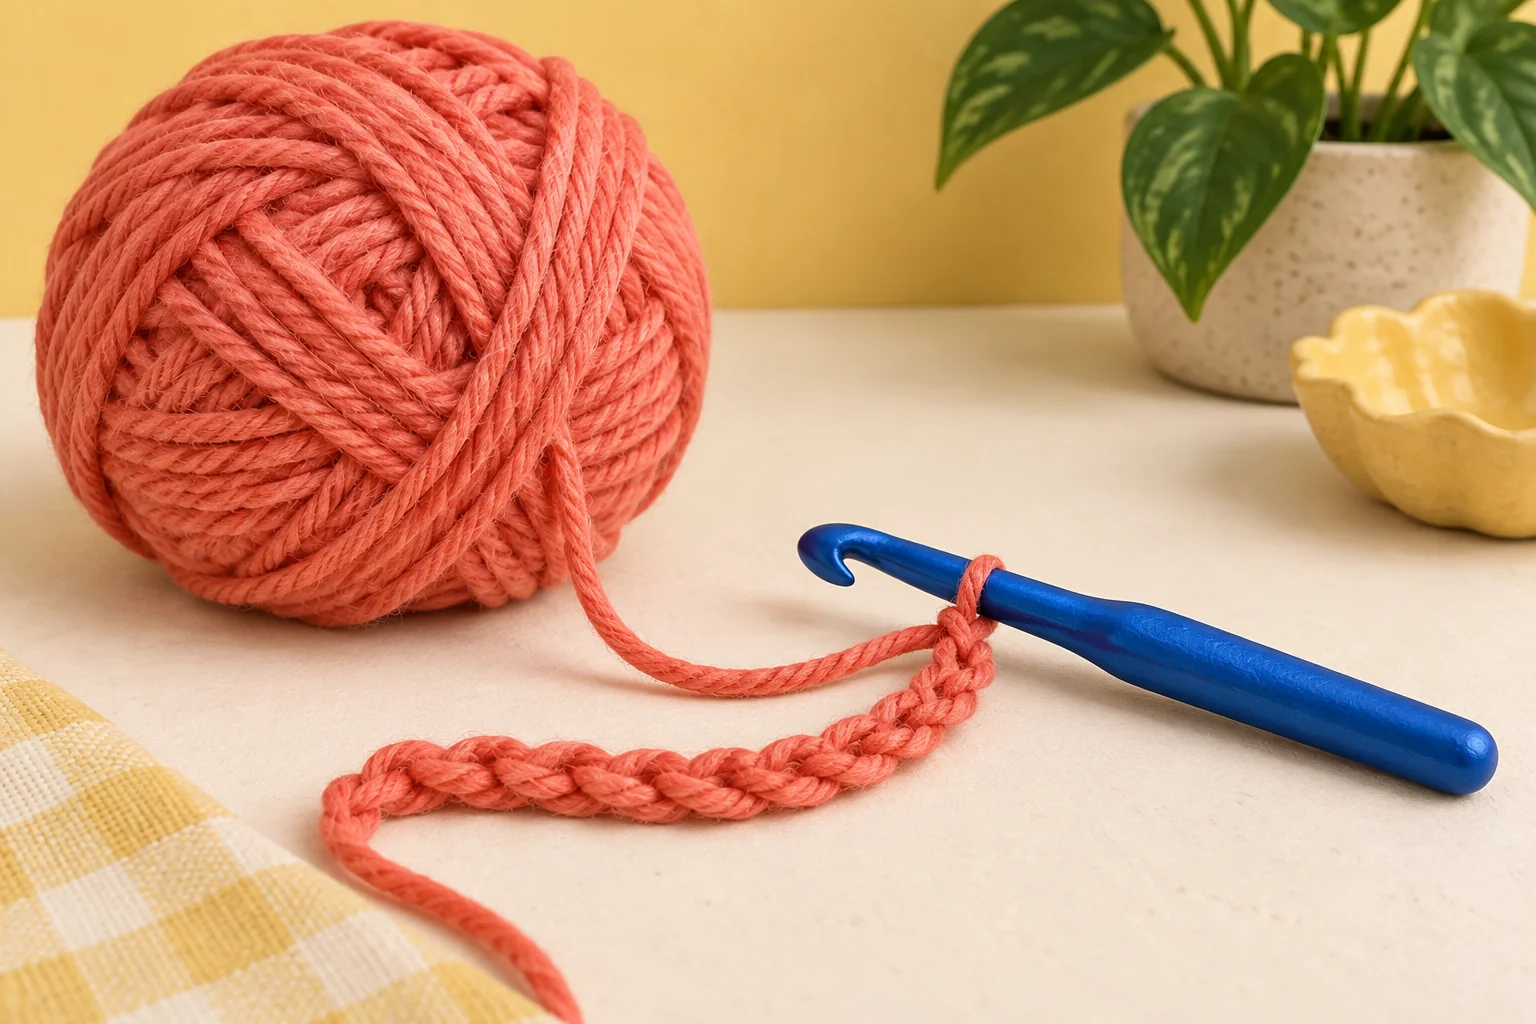
Begin with a suitable provisional cast-on when the two ends will eventually meet. That leaves live stitches available for a graft to the finishing end, avoiding a bulky bound-off overlap. Keep the waste yarn identifiable and follow the grafting method for the cord's structure. When the ends remain separate, a regular cast-on may be sufficient; plan the finishing method before starting the edging.
Usually, each separate color area has its own small ball or bobbin, even when two areas use the same shade. Intarsia avoids carrying long strands across the back between distant blocks. Wind manageable amounts and arrange them in the order you will use them to reduce confusion. Check your pattern's construction before starting; stranded colorwork and intarsia manage unused yarn in different ways.
At the color change, bring the old yarn in front of the new yarn on the wrong side before working with the new color. This catches the yarns together at the boundary. Keep the join comfortably tensioned rather than tugging it tight enough to pucker. Practice the change on both knit and purl rows, since the join must remain on the wrong side as you turn the work.
A short row adds fabric to only part of the piece, creating shaping such as a curved hem or sock heel. Leave the remaining stitches unworked and follow the specified turning method, often a wrap-and-turn, to manage the gap. Do not knit to the end out of habit. Mark your place in the instructions because successive short rows may stop at different positions.
Pick up the wrap as well as the stitch it surrounds, then knit them together as directed. The wrap should settle behind the fabric rather than remain as a visible horizontal loop on the front. Identify the wrap carefully before inserting the needle, and do not count it as an extra permanent stitch. Use the method specified for your pattern if it treats wraps differently.
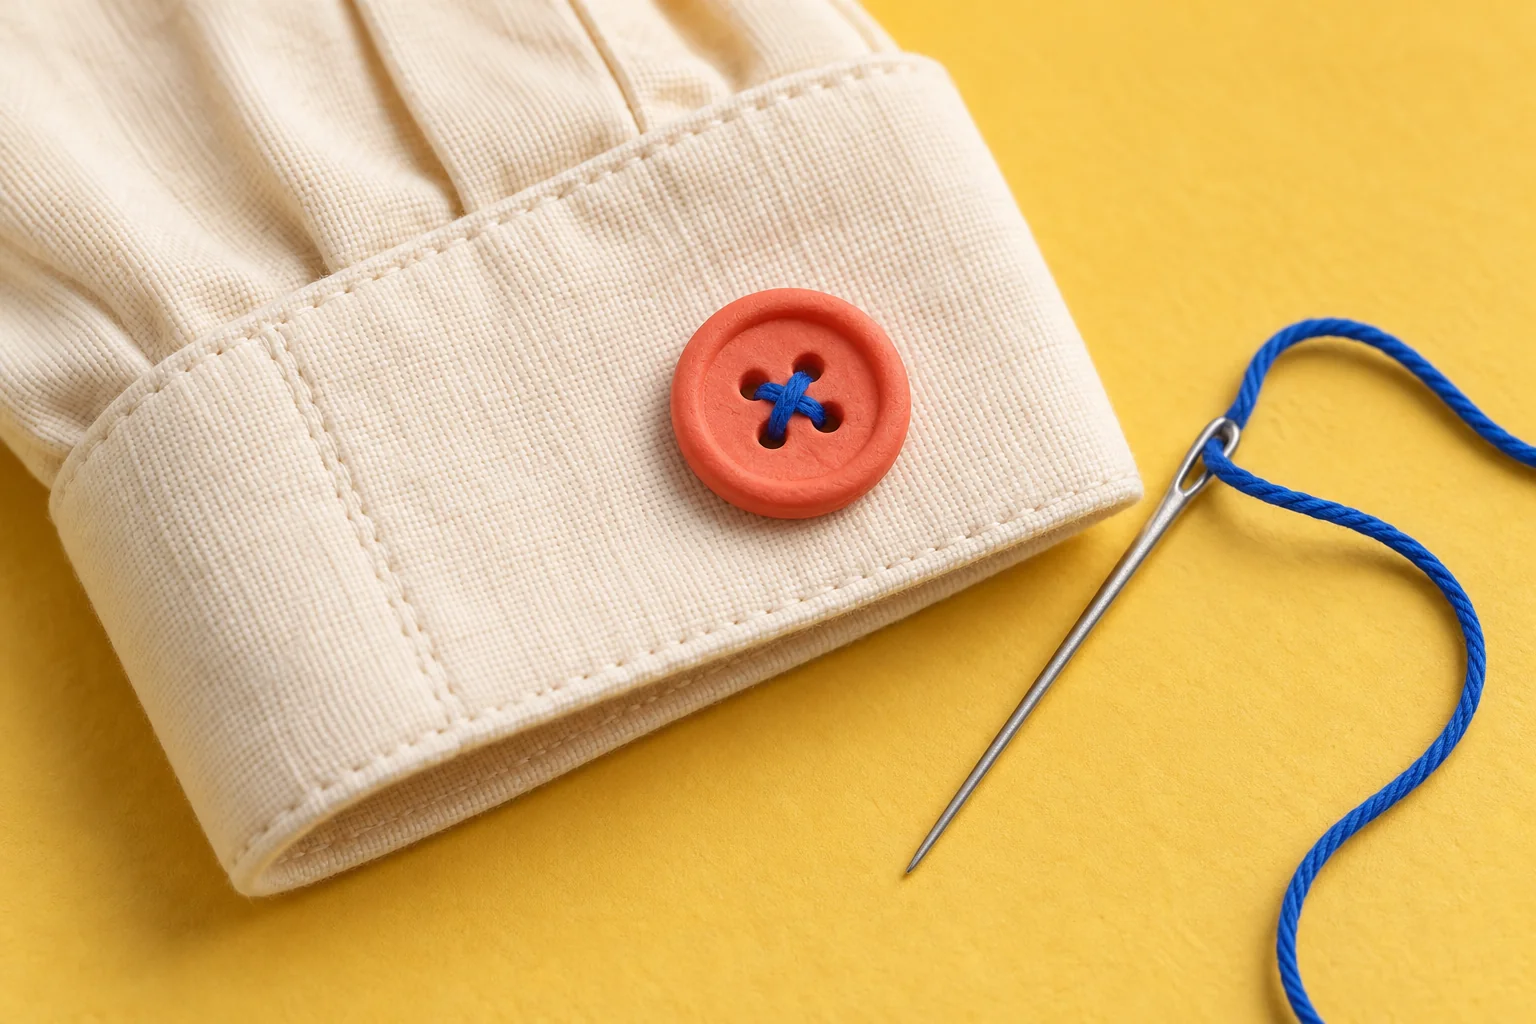
Use a horizontal buttonhole worked over several stitches, with its width tested against the actual button on a swatch. Purl Soho's one-row method combines a slipped-stitch bind-off with a cable cast-on to create a firm opening. Changing the number of stitches changes its width. Test after the swatch has been finished as the garment will be, rather than judging only the freshly knitted opening.
In the specified horizontal buttonhole method, the extra cast-on stitch is used to close the far end of the opening. It is passed over a slipped stitch as part of the closing step, restoring the intended count. Follow that final movement before continuing the row. Keeping the extra stitch as ordinary knitting can accidentally increase the fabric width beside the buttonhole.
A sloped bind-off smooths the transition between successive bind-off rows. Work the first bind-off normally. Before the next one, slip the final stitch of the return row; after turning, slip two stitches and pass the first over the second before continuing the remaining bind-off count. Follow the full method on a swatch first so you can see how the transition changes.
Yes. That movement binds off one stitch, so include it in the total required for the row. If the pattern calls for three, complete that first special bind-off and then bind off two more normally. Keep a running count as you work. Treating the special transition as an extra step outside the count can remove more stitches than the shaping instructions intended.
The central tie may not be tight or strong enough to hold the cut strands. Use a strong tying thread, such as appropriate embroidery floss, and cinch it firmly around the center before cutting the loops. The center should feel secure, not soft and loose. Keep useful attachment tails separate from the trimming area, and check the finished pom-pom before fastening it to a project.
Fluff it, use a circular trimming guide, and turn it to assess more than one direction. After trimming the first face and back, rotate the pom-pom so its longer dimension is facing you and repeat. Finish with small cuts to remove stray ends. Keep the central attachment tails out of the scissors' path; they should not be shortened with the decorative strands.
Make the winding dimension about half an inch longer than the desired finished tassel so there is room to trim the ends evenly. Wind the yarn around that dimension, secure the top of the loops, and cut them at the opposite end. Keep your winding reasonably even. Make one trial tassel before cutting several templates, since the final shape also depends on yarn thickness and fullness.
After securing the neck wrap, use a tapestry needle or crochet hook to take its tails underneath the wrapping and down into the center of the tassel. Let them join the hanging strands, then trim the bottom evenly. Keep the separate top attachment tails available if you will sew or tie the tassel onto something. Hiding the neck tails keeps a knot from sitting prominently on the outside.
Align the ridges, then sew through the outermost bump of each ridge on alternating pieces. One side may present an upward arch while the other presents a small scoop; follow the corresponding edge bumps consistently. Draw the yarn in gradually so the join matches the fabric's tension. This method joins side edges; joining cast-on or bound-off edges calls for a different arrangement.
Optional supplies on Amazon
Affiliate disclosure: As an Amazon Associate I earn from qualifying purchases. How our links work.
A complete garter-stitch ridge represents two rows when the fabric is worked flat by knitting every row. Keep that distinction in mind when matching pieces for a seam or checking a length expressed in rows. Count in a consistent area away from the cast-on and live stitches. If a pattern specifies ridges instead of rows, do not silently treat the numbers as interchangeable.
Leave them intact. Those floats connect one use of a color to the next and are part of the knitted structure. Cutting them can release stitches. Plan to secure long floats as you knit by trapping them with the working yarn at suitable intervals. For an already finished piece, assess the construction before attempting a repair rather than treating the strands as loose sewing threads.
Near the middle of the run, cross the nonworking yarn over the working yarn on the back of the fabric, then knit the next stitch with the working color as usual. This tacks the carried strand down without changing the visible stitch color. Keep enough slack for the fabric to stretch naturally. Judge the actual float length in your yarn and gauge rather than relying on one universal stitch count.
Check how you carry the yarns when changing colors at the edge. In Purl Soho's slip-stitch double-knitting method, the yarns cross in the specified order to connect the layers there. Omitting that movement can leave an open side. Compare the edge with the tutorial after just a few repeats. Do not assume the alternating knit and slipped stitches alone will close every boundary.
Sliding moves the stitches to the other end of a circular or double-pointed needle so the yarn needed next is available at the correct edge. Turning would present the opposite side and may leave that yarn in the wrong place. Follow the stated slide-or-turn sequence for the particular method, marking each completed pass. Two-color double knitting can require several passes to complete its full repeat.
The first number is the distance between the two needles in millimeters; the second is the needle size. A 2.5/80 twin needle therefore makes rows spaced 2.5 mm apart and uses size 80 needles. Check the machine's permitted twin-needle width, plate opening and stitch settings before fitting it. A wider spacing is not automatically usable just because the shank fits the needle clamp.
Optional supplies on Amazon
Affiliate disclosure: As an Amazon Associate I earn from qualifying purchases. How our links work.
Use the current SCHMETZ chart: the upper color band generally identifies the needle type and the lower band identifies its size. Some types have only a size band, so absence of a second color does not itself mean the needle is defective. Match both the type and size before returning it to a labeled holder. If markings are unclear, keep it separate rather than guessing its intended fabric use.
Optional supplies on Amazon
Affiliate disclosure: As an Amazon Associate I earn from qualifying purchases. How our links work.
Only when both manuals specify the same needle system and suitable size. Some sergers use ordinary household needles, while others require a system such as ELx705 with features designed for their stitch formation. Similar appearance is not sufficient evidence of compatibility. Write each machine's required system on its needle storage box, and check that code when buying replacements rather than shopping only by the thickness number.
Optional supplies on Amazon
Affiliate disclosure: As an Amazon Associate I earn from qualifying purchases. How our links work.
No. Foot pressure controls how firmly the presser foot bears on the fabric; thread tension controls resistance on the thread and affects where the stitch interlocks. On machines with adjustable foot pressure, use the manual's fabric guidance for that control. Check a test seam's top and underside before changing tension. Record the starting settings and change one control at a time so you can identify which adjustment helped.
They overlap in purpose but do not feed layers identically. BERNINA describes Dual Feed as acting on the top layer while the feed dog moves the bottom; its Walking Foot moves the layers together and is useful when batting lies between them. Choose the supported attachment for the project's layers and stitch width. Test the actual fabric sandwich before quilting, rather than assuming a built-in feeding feature makes every accessory unnecessary.