Separate them from plain bricks and wipe them with a cloth lightly moistened with water and a mild detergent without perfume or oil, following the component instructions. Do not immerse them with a batch of ordinary pieces. Keep moisture controlled and let the surfaces dry before use. Avoid ovens, hair dryers and other heated shortcuts; cleaning a mixed collection starts by identifying sensitive components.
For FilzFelt wool felt, begin with a standard masking-tape lint roller, then use a clean soft upholstery brush on a vacuum if needed. Test the approach in a hidden spot and work lightly. Some loose fibers can be normal shedding rather than a defect. Avoid aggressive scrubbing or a wet treatment simply to remove dry dust, and follow the panel maker's directions for other felt constructions.
Optional supplies on Amazon
Affiliate disclosure: As an Amazon Associate I earn from qualifying purchases. How our links work.
Aggressive rubbing can continue the felting process and change the surface texture. For FilzFelt, promptly blot liquid with a clean dry cloth, then follow its tested spot-cleaning guidance only if a mark remains. Use controlled moisture and test discreetly first. A removable valuable piece may be better handled by a cleaner familiar with wool felt. Stop if the surface begins to distort or transfer color.
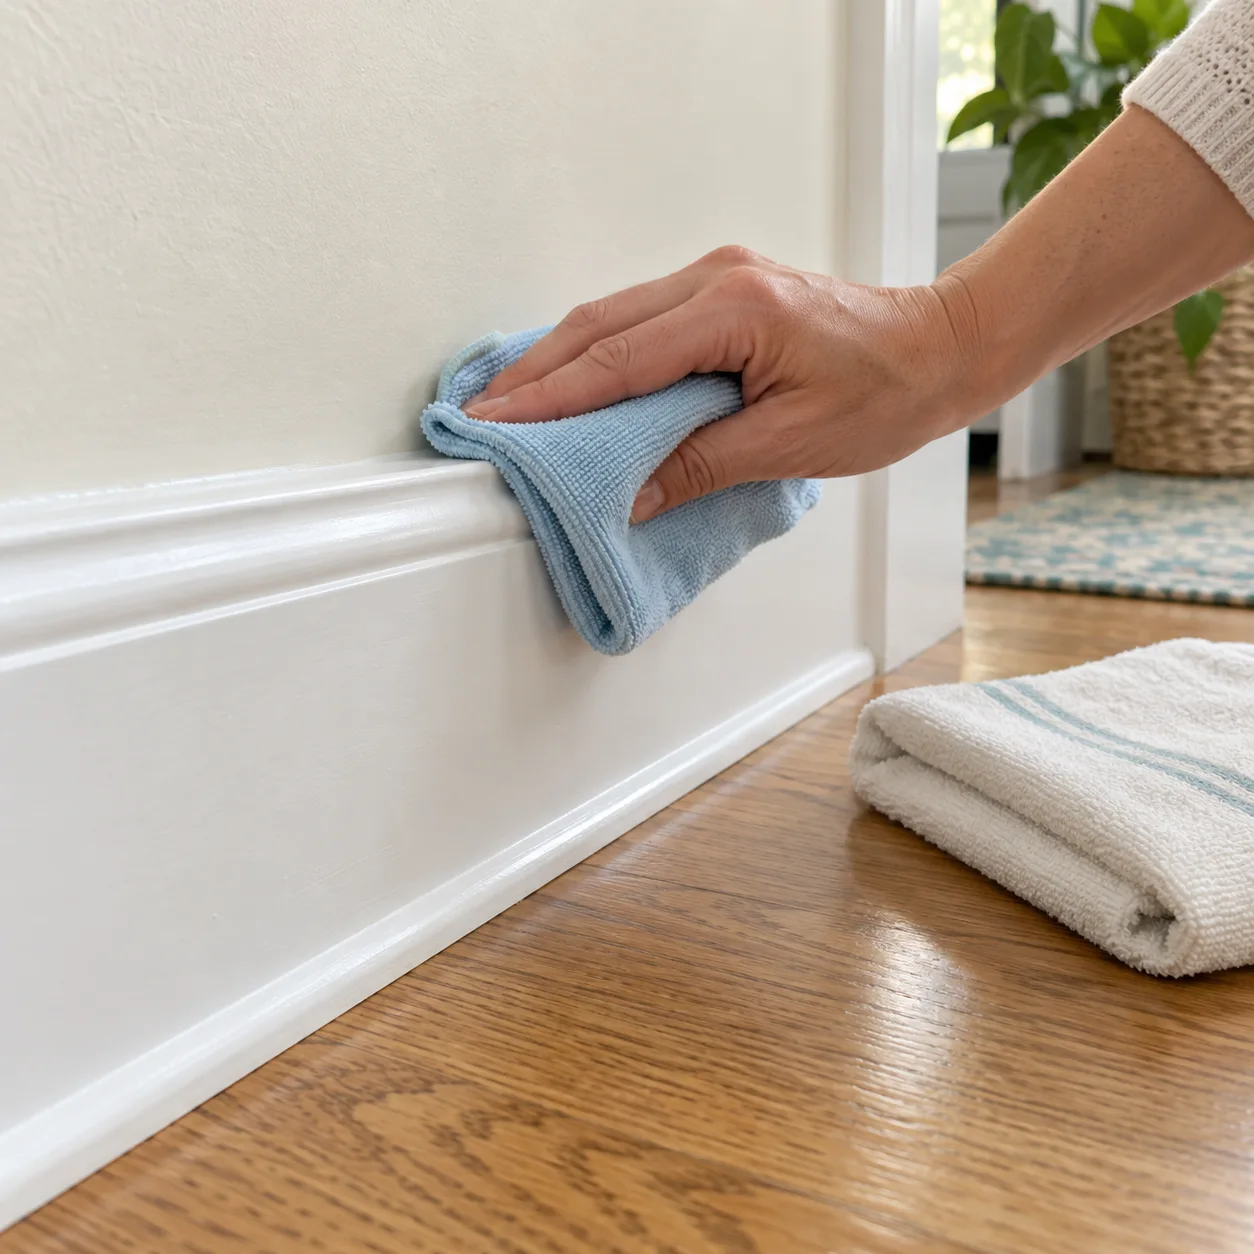
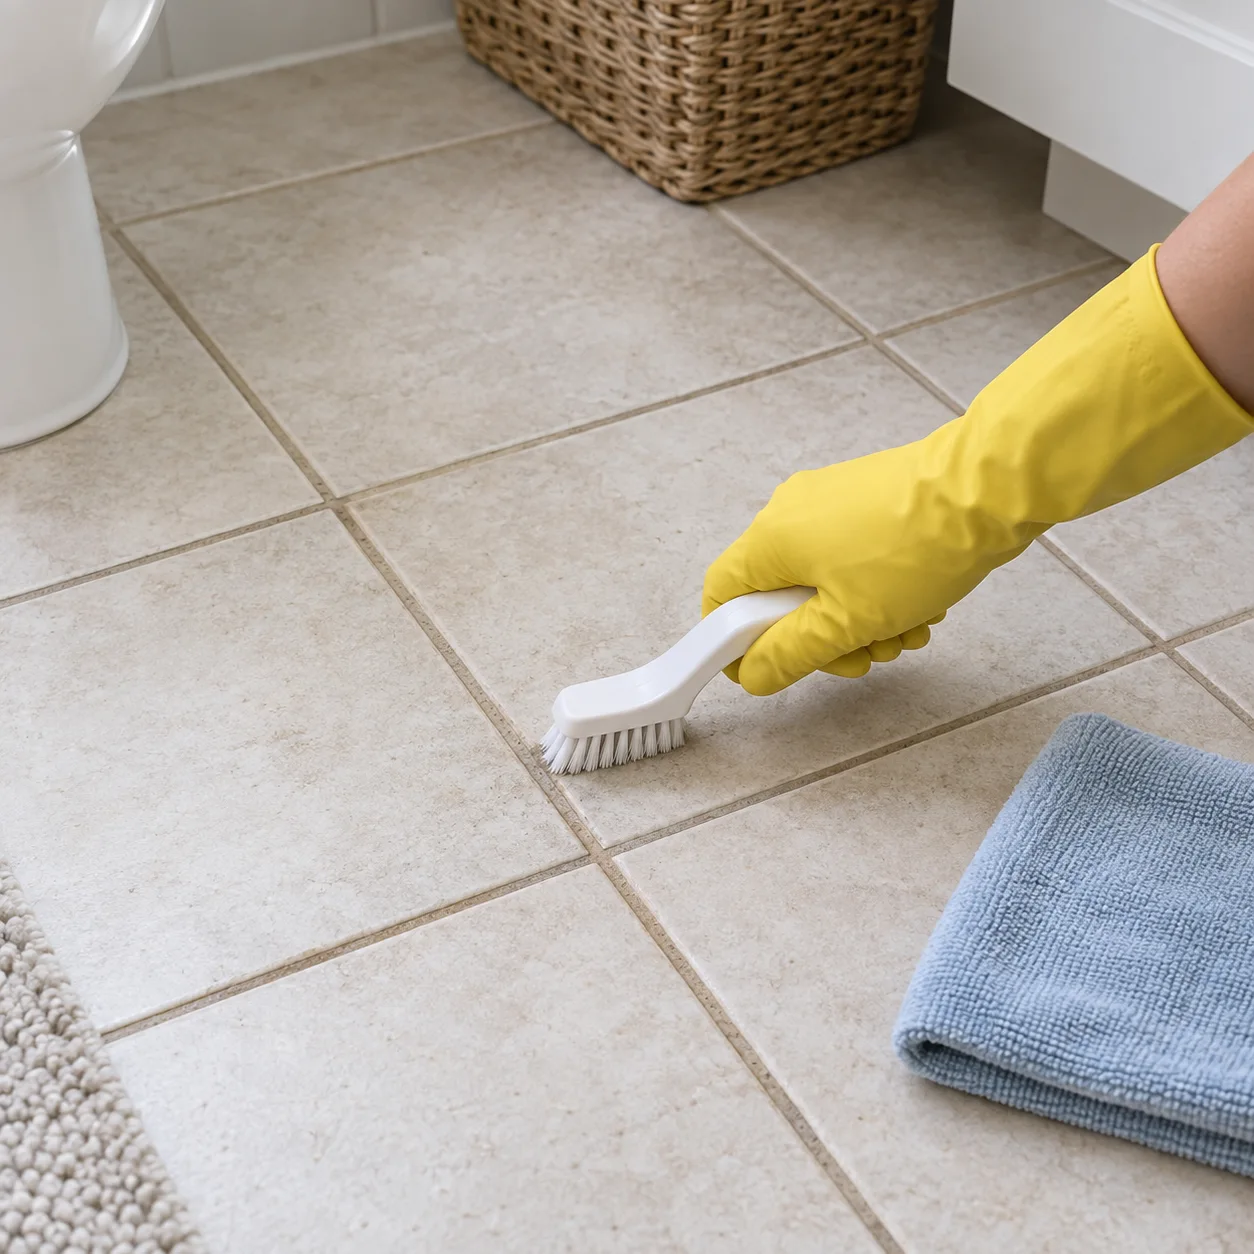
Remove loose dust first, then test mild soapy water on an inconspicuous section. Wipe gently with a soft cloth rather than an abrasive pad, keeping moisture controlled near joints and adjacent flooring. Sherwin-Williams recommends nonabrasive cleaners and avoiding ammoniated products on waterborne paint. Follow with a clean lightly damp cloth as needed and dry the trim. Stop if paint softens, transfers or changes sheen.
Use a lightly damp cloth, then dry the trim. Avoid soaking joints or damaged paint. Open full-size image ↗
Optional supplies on Amazon
Affiliate disclosure: As an Amazon Associate I earn from qualifying purchases. How our links work.
Dry to the touch does not mean the finish has reached full washability. Sherwin-Williams advises waiting at least two weeks for the paints covered by its maintenance guidance; your exact coating may specify a different curing period. Check the label before cleaning. Once permitted, use a soft cloth and a tested nonabrasive cleaner, and avoid scrubbing a new film to remove a stubborn mark.
Use warm water and a clean cloth to wipe the marks gently. BLUNT advises against chemical detergents, bristle brushes and machine washing because they can damage the canopy. Wipe accumulated dirt from the shaft with a damp cloth as well if opening becomes less smooth. Let the umbrella dry fully before storing it, and use the model's repair guidance if a component is detached or damaged.
Dry conditions can produce static between the panels. First follow Graber's routine dusting or low-suction vacuuming guidance. Its care instructions permit an appropriate anti-static product for these sheer and layered shades; confirm the product and shade type before applying anything. Do not force the layers apart or assume all fabric blinds permit sprays. If the problem is mechanical or the fabric is damaged, contact the dealer.
Graber advises against ironing their permanent pleats flat. For the sheer vertical fabrics covered by its instructions, remove the fabric from the vanes before gentle low-temperature steaming if needed. Follow the exact product care directions, then rehang and reshape as directed. Other fabrics may have different restrictions. Test your method discreetly and stop if the pleat shape, color or texture changes.
The Levolor vertical-blind guide says to avoid machine washing and dry cleaning fabric vanes. Dust or vacuum for routine care, and test a mild soap-and-water spot treatment on an inconspicuous area before addressing a stain. Keep the treatment gentle and controlled. If broad staining remains, ask Levolor about that fabric rather than washing the whole vane as if it were an ordinary curtain.
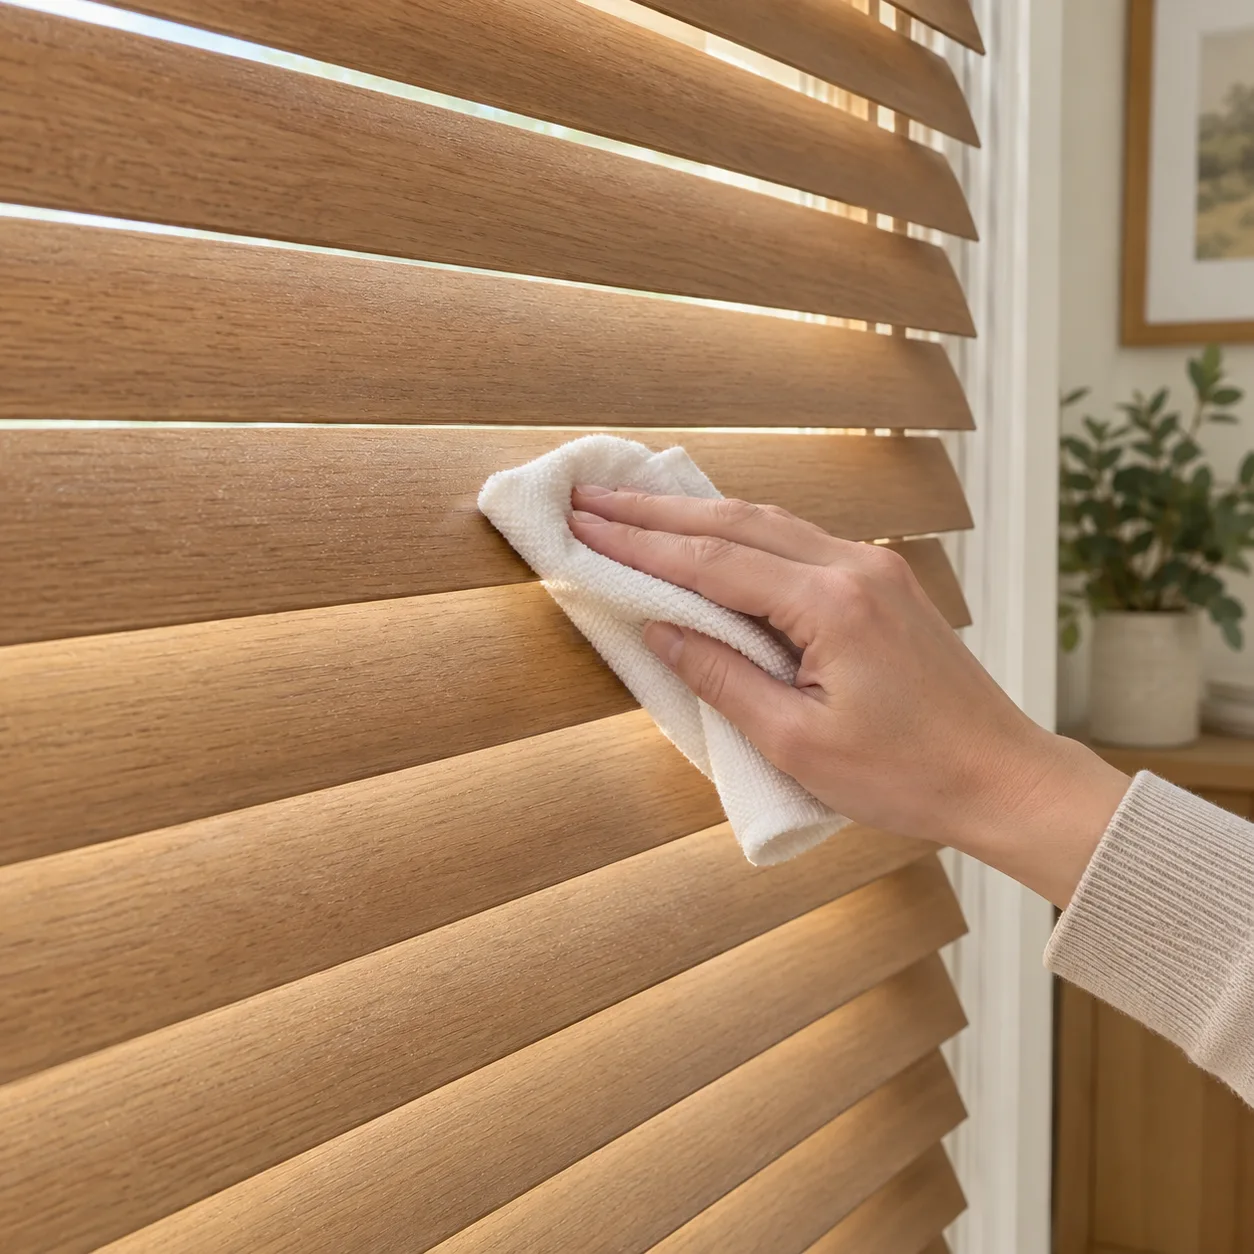
For the Levolor vinyl vanes covered by its guide, wipe with mild soap in cold or warm water using a soft cloth or sponge. Avoid strong or abrasive cleaners that can scratch or mar the surface. Dry with a cloth towel afterward to limit water marks. Support each vane while wiping so it does not twist or strain its attachment, and follow separate directions for fabric inserts.
Graber recommends gentle spot cleaning rather than washing its roller shades. Dab the mark with suitable mild soapy water and blot with a clean cloth; avoid rubbing, pulling or saturating the fabric. Confirm the exact material's directions first and let it dry as instructed. If the shade has widespread staining or the mark persists, consult a fabric-cleaning professional instead of escalating to a full soak.
Do not rub a wet or foggy inner lens. Smith warns that this can damage its anti-fog treatment and worsen fogging. Gently knock out loose snow, then dab remaining moisture with a clean microfiber cloth or the recommended snow eraser. Let the goggles dry thoroughly in a ventilated place. Treat the inner coating as delicate, even when the outer lens looks rugged.
Smith says its goggles already have an anti-fog treatment, so an additional coating is unnecessary. Concentrate on drying them fully after use and keeping them in a dry, ventilated place. Packing damp goggles away can leave moisture for the next outing. If fogging persists after correct care, check the fit and ventilation or ask Smith about the model instead of layering on household treatments.
Check the finish first. Away permits its included sponge for stubborn marks on matte shells but advises against it on Gloss luggage because it can damage that finish. For Gloss, the brand specifies a microfiber cloth and glass cleaner. Do not assume a cleaning accessory included with another suitcase is suitable. Try the specified method gently and keep abrasive scrubbing off the shiny surface.
Away recommends an alcohol-based wipe for adhesive remaining after a sticker is removed from its aluminum luggage. Work only on the affected area and follow the exact collection's care instructions. For ordinary cleaning, use a soft damp cloth with mild soap and avoid abrasive products. Do not transfer this solvent advice to a coated plastic shell or fabric lining with different care requirements.
Yes. Oakley directs owners to hand wash and air dry its Microclear cleaning and storage bag regularly. Set the glasses aside before washing and use the bag again only once dry. A bag carried around with the eyewear can collect dirt, so do not treat it as permanently clean. Follow the supplied care directions rather than adding an unapproved lens cleaner to the cloth.
Oakley's eyewear instructions recommend its Micro Bag or Lens Cleaning Kit and advise against other solvents, chemicals and untested cleaning kits. The thin Iridium coating needs gentle handling to avoid scratches. Identify whether you have sunglasses or goggles, because their care instructions differ. Follow the correct product's guidance instead of assuming every reflective lens tolerates the same solution or vigorous polishing.
Casio recommends washing the resin band with water and wiping it dry with a soft cloth. A smudge-like surface pattern can sometimes be removed with the cloth; do not start by scrubbing it with an abrasive pad. Protect the watch itself according to its water-resistance instructions. Metal sections and leather straps have different care requirements, so identify the materials before cleaning the whole assembly together.
Use a soft toothbrush with a weak solution of mild neutral detergent or soapy water on the metal band, then rinse the residue away and dry with a soft absorbent cloth. Casio tells owners to protect the watch case from soap, for example with kitchen plastic wrap. That does not make a non-water-resistant watch waterproof. Follow its specific handling instructions and keep cleaning water away from the case.
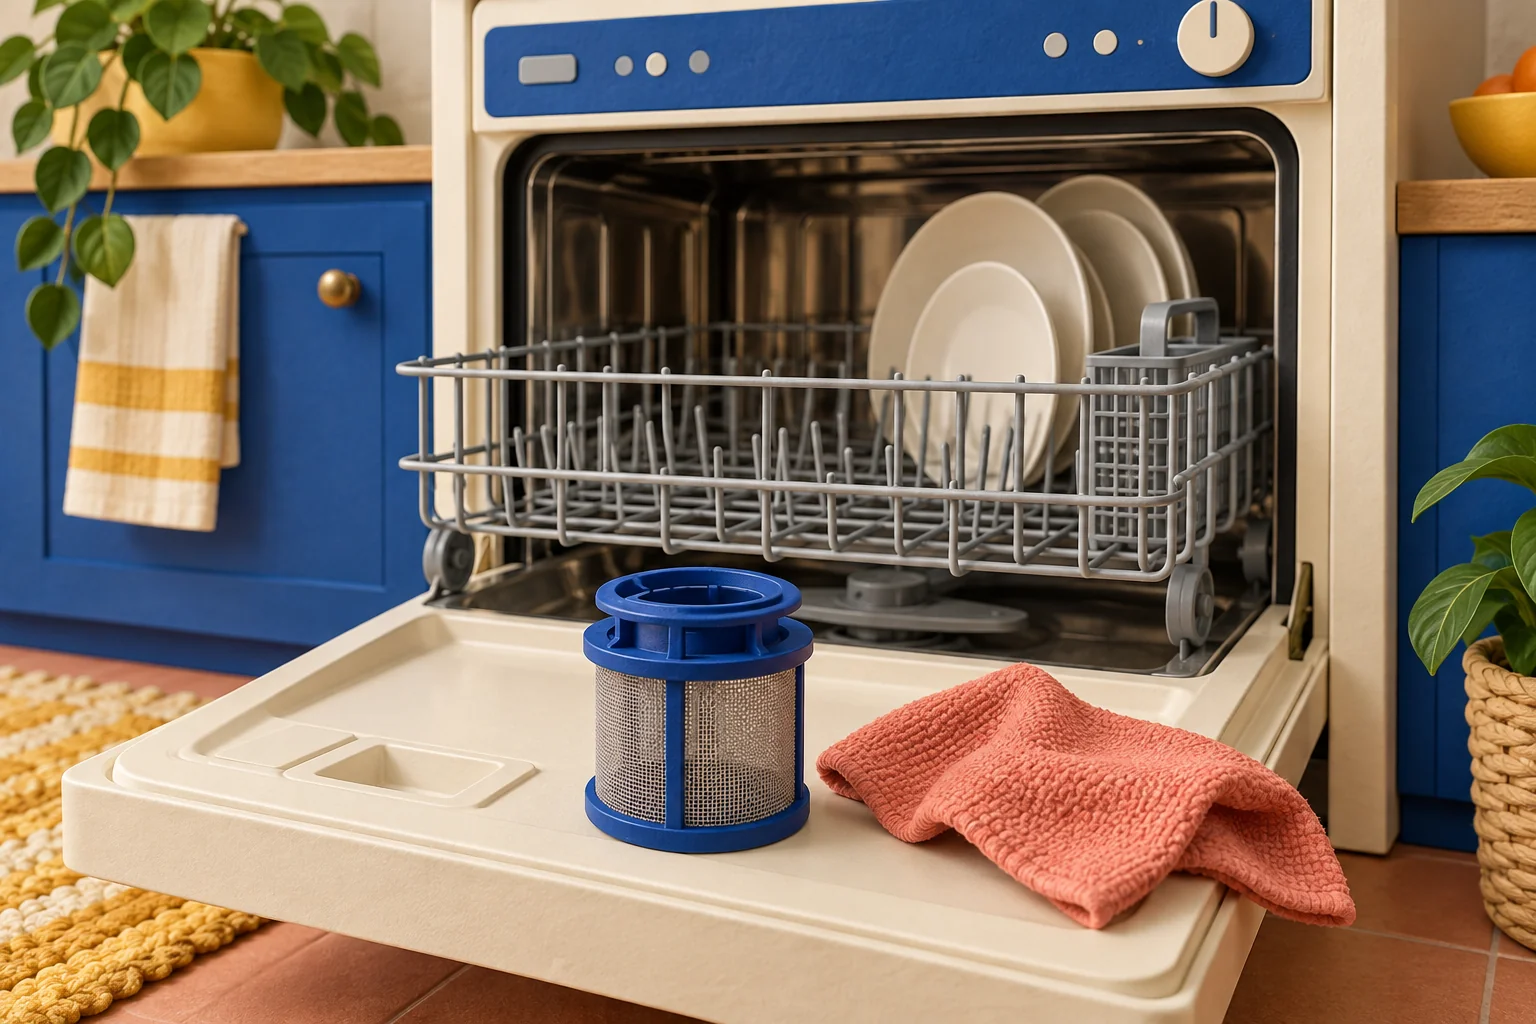
Miele advises collecting loose lint for household waste instead of washing it into the wastewater system, where it can release microplastics. Pick or vacuum lint from the filters before any washing required by the manual. For its foam filter, the guidance suggests collecting the cleaning water in a bowl or bucket. Follow the appliance's exact filter-cleaning process and your local waste instructions for disposal.
On the Qrevo Edge 2, the cover's teeth must enter their slots before you press the cover until it locks with a click. With the robot switched off, check alignment instead of forcing a raised corner down. A cover lying over the opening is not necessarily latched. If a tab is broken or it will not secure as illustrated, obtain the correct replacement before operating the robot.
Some compatible robots need the replacement bin with an evacuation port that comes with the AutoEmpty dock. Check that the correct bin is installed before looking for a blockage or resetting the app. iRobot's troubleshooting guide distinguishes that bin from a normal non-evacuating one. Confirm robot and dock compatibility as well; a charging connection alone does not mean the automatic-emptying path is present.
Yes. iRobot explains that an open lid can be interpreted as a bag installation problem, preventing evacuation. Check that the correct bag is seated and the lid closes firmly, and replace a full bag. Do not force the lid over an obstructing bag collar or bypass the detection. If the lid is secure but emptying still fails, continue the model's separate contact and blockage checks.
The 2400WD guide says to tap out debris and, for deeper cleaning, rinse its filter with water only. Soap or scrubbing can damage the material. Let the filter air dry completely before reinstalling it; the guide allows up to 24 hours. This direction applies to the documented washable filter, not every Shark filter. Check the part and manual before deciding that another filter can be rinsed.