A wood-look finish does not prove a blind is real wood. Check the order details or label before introducing moisture. For ordinary surface dust, the job can usually stay small: clean the hanging slats without dismantling the brackets or turning it into a bathtub project.
Check the blind material, dust both faces gently, and use a lightly damp cloth only on faux wood that permits it.
Go straight to the stepsBefore you begin
Keep blind cords secured away from children and pets. Work from a stable position, without leaning on the blind or window. This guide covers horizontal wood and faux-wood slats, not fabric shades, metal blinds or powered components.
What you’ll need
- The blind’s material and care instructions
- A clean, soft dusting cloth
- Optional vacuum with soft brush attachment and low suction
- A second dry cloth for approved faux-wood spot cleaning
Tools & supplies for this project
Affiliate disclosure: We may earn a commission when you buy through these Lowe’s links. How our links work.
Use what you already own. If you need supplies, compare these options with the requirements above and choose only the items your project needs.
Check Lowe’s for current price, availability and specifications.
Let’s do this
Step by step
- 01
Identify the material and finish
Find the maker and material in the paperwork or product label. Keep its cleaning instructions nearby. If you cannot distinguish real wood from a composite, begin with dry dusting and ask the manufacturer before spot-cleaning. Do not test an unknown cleaner across the whole blind.
- 02
Lower and tilt the slats
Lower the blind with its normal control. Tilt the slats nearly closed so you can reach one face, leaving enough opening to clean the overlapping edges. Work slowly; there is no need to force the tilt mechanism beyond its usual stopping point.
- 03
Remove dust gently
Use a soft dry cloth in light strokes, working from the upper slats downward. Hold a slat gently if needed instead of bending it against the cloth. Levolor also permits a soft brush vacuum attachment at low suction. Keep the hard nozzle edge away from the finish.
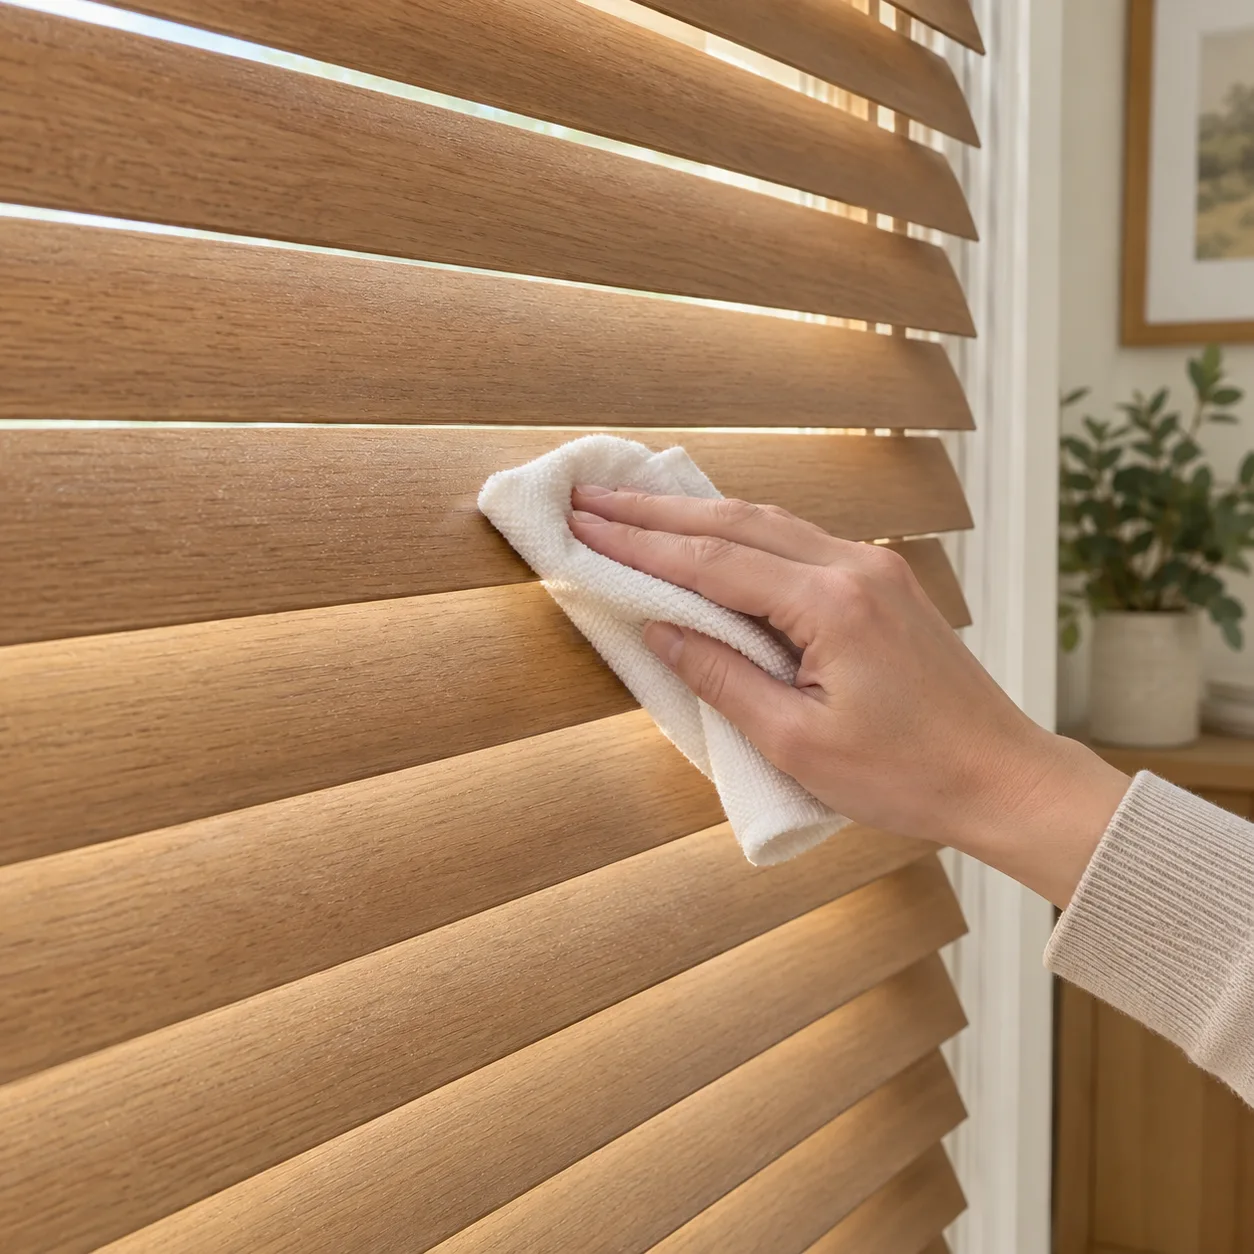
Use light strokes with a clean, dry cloth.Open full-size image - 04
Turn the slats and clean the reverse
Use the tilt control to expose the opposite face. Repeat the light dusting, including the edges previously overlapped. Refold or replace a dusty cloth as you work. Look from a different angle for missed patches rather than rubbing the entire blind harder.
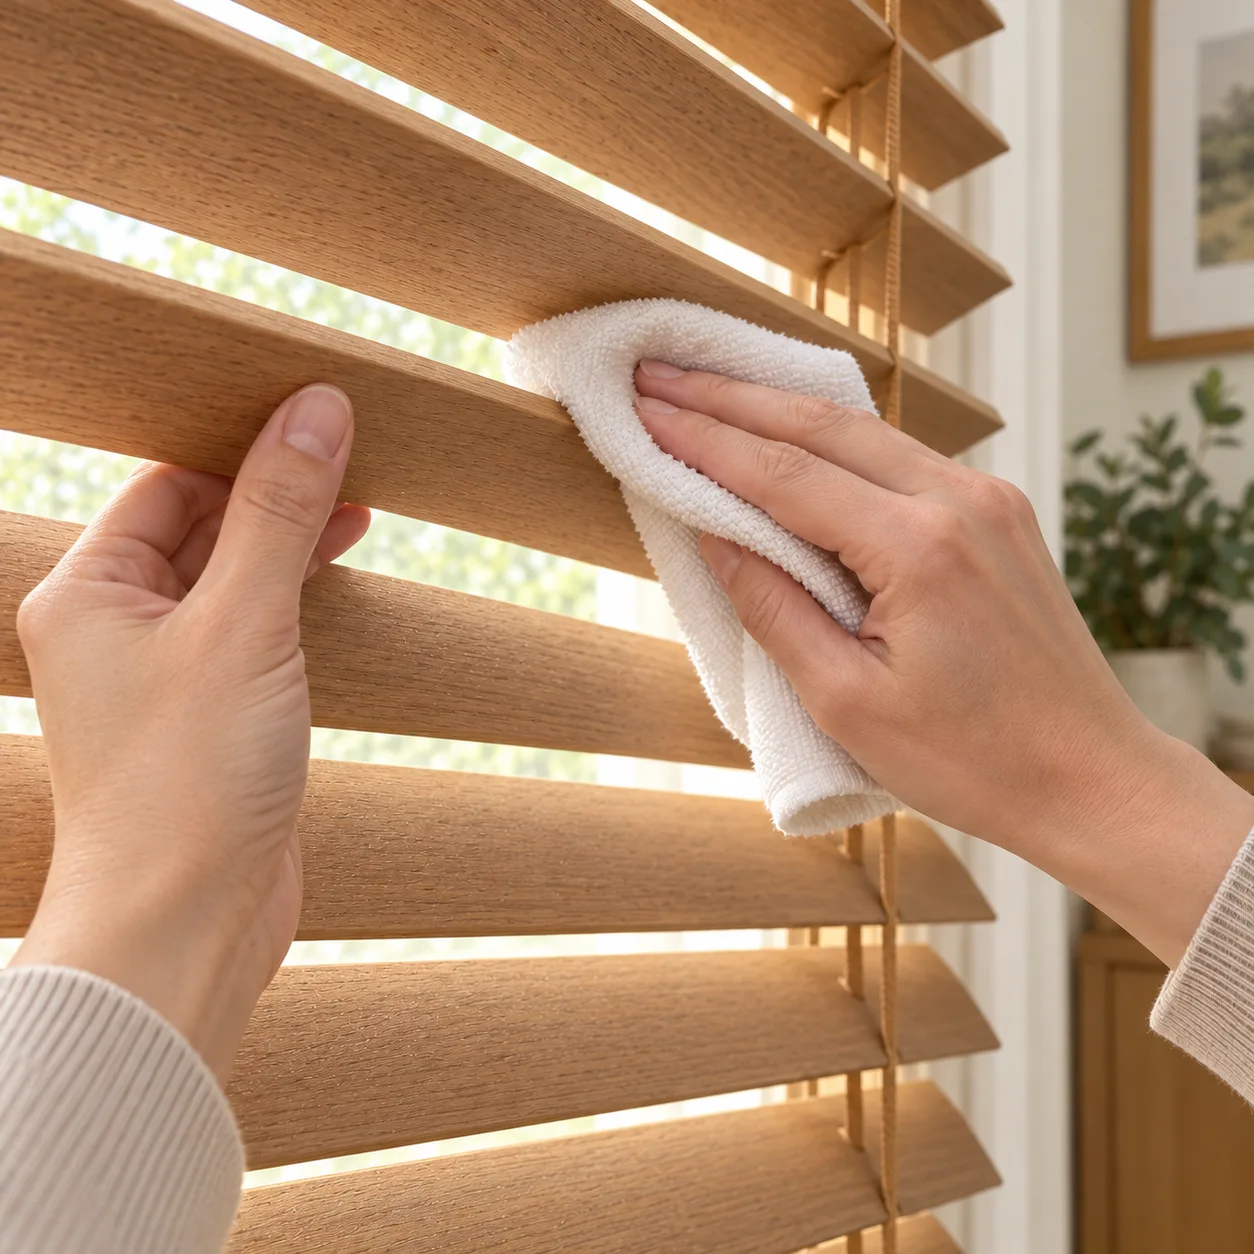
Reverse the tilt to reach the other face and overlapping edges.Open full-size image - 05
Spot-clean only compatible faux wood
Levolor allows a soft, lightly dampened cloth on its faux-wood slats. Follow your own model’s directions, test an inconspicuous area, and avoid wetting cords or the headrail. Real wood, decorative tapes and powered parts need their own instructions; this permission does not apply to them.
- 06
Finish the window without respraying the blind
Remove collected dust from the sill separately. Keep glass-cleaning product from splashing onto the slats; apply it to the window-cleaning cloth instead. Return the blind to its usual position and check that the controls move freely. Stop if a bracket or mechanism seems loose.
Optional supplies on Amazon
Affiliate disclosure: As an Amazon Associate I earn from qualifying purchases. How our links work.
Use what you already have. These links open Amazon search results so you can compare suitable supplies; they are not individual product reviews.
If the mark survives dusting
Note whether the remaining mark is sticky soil, discoloration or a damaged coating. Those observations help the manufacturer recommend a suitable next step. Photograph the patch in daylight before trying another treatment, so you can tell whether the finish itself is changing.
A useful stopping point
The goal is clean, intact slats that operate normally. Do not dismantle the headrail to chase a cosmetic mark. Store the model information with your household records so the next cleaning starts with the right material and method.
A quick final check
- Both faces and overlapping edges are dusted.
- No cleaning liquid entered the controls or headrail.
- The slats, brackets and controls remain intact.
Common questions & sticking points
Can I soak faux-wood blinds in the bathtub?
Do not assume so. A slat that tolerates a damp cloth does not establish that the assembled headrail, cords and controls tolerate immersion.
Can I use the same cloth on the window glass?
Use a separate cloth for the glass cleaner. That makes it easier to keep the cleaning product off the blind’s finish.
What if I cannot safely reach the top slats?
Leave them until you have suitable access or help. Pulling down on the blind or reaching from unstable furniture is not a cleaning method.
Sources & further reading Optional
References used to check this guide. Follow your product’s own safety instructions where its design differs.
Last source check: September 23, 2026