The inside of an oven can look similar while needing very different care. A standard enamel cavity, a self-cleaning liner and a catalytic panel are not interchangeable surfaces. Start with the model’s manual rather than a universal internet recipe. This routine is for accessible, washable surfaces and ordinary cooking soil.
Identify the oven’s cleaning instructions, let it cool, remove loose debris, wash approved surfaces gently, then rinse and dry before reuse.
Go straight to the stepsBefore you begin
Switch the oven off and let it cool completely. Do not spray electrical parts, heating elements, vents or the door gasket. Do not move the range, disconnect a gas line, remove panels, or mix cleaning products.
What you’ll need
- Oven model number and care instructions
- Soft cloths and a nonabrasive sponge
- An approved cleaner or mild dish-soap solution, if permitted
- A towel for floor protection
- Gloves or eye protection required by the cleaner label
Tools & supplies for this project
Affiliate disclosure: We may earn a commission when you buy through these Lowe’s links. How our links work.
Use what you already own. If you need supplies, compare these options with the requirements above and choose only the items your project needs.
Check Lowe’s for current price, availability and specifications.
Let’s do this
Step by step
- 01
Identify the oven and approved method
Find the model number and read the cleaning section of its manual. Check the cavity liner, racks, glass and any special panels separately. A product advertised as an oven cleaner is not automatically suitable for your oven; GE, for example, advises against commercial oven cleaner on its self-cleaning liners.
- 02
Make a cool, clear workspace
With the appliance off and fully cool, remove cookware and any racks the manual says to remove. Protect the floor immediately below the open door with a towel. Keep the door clear of weight and do not lean on it. Put small removable accessories together so nothing disappears during cleaning.
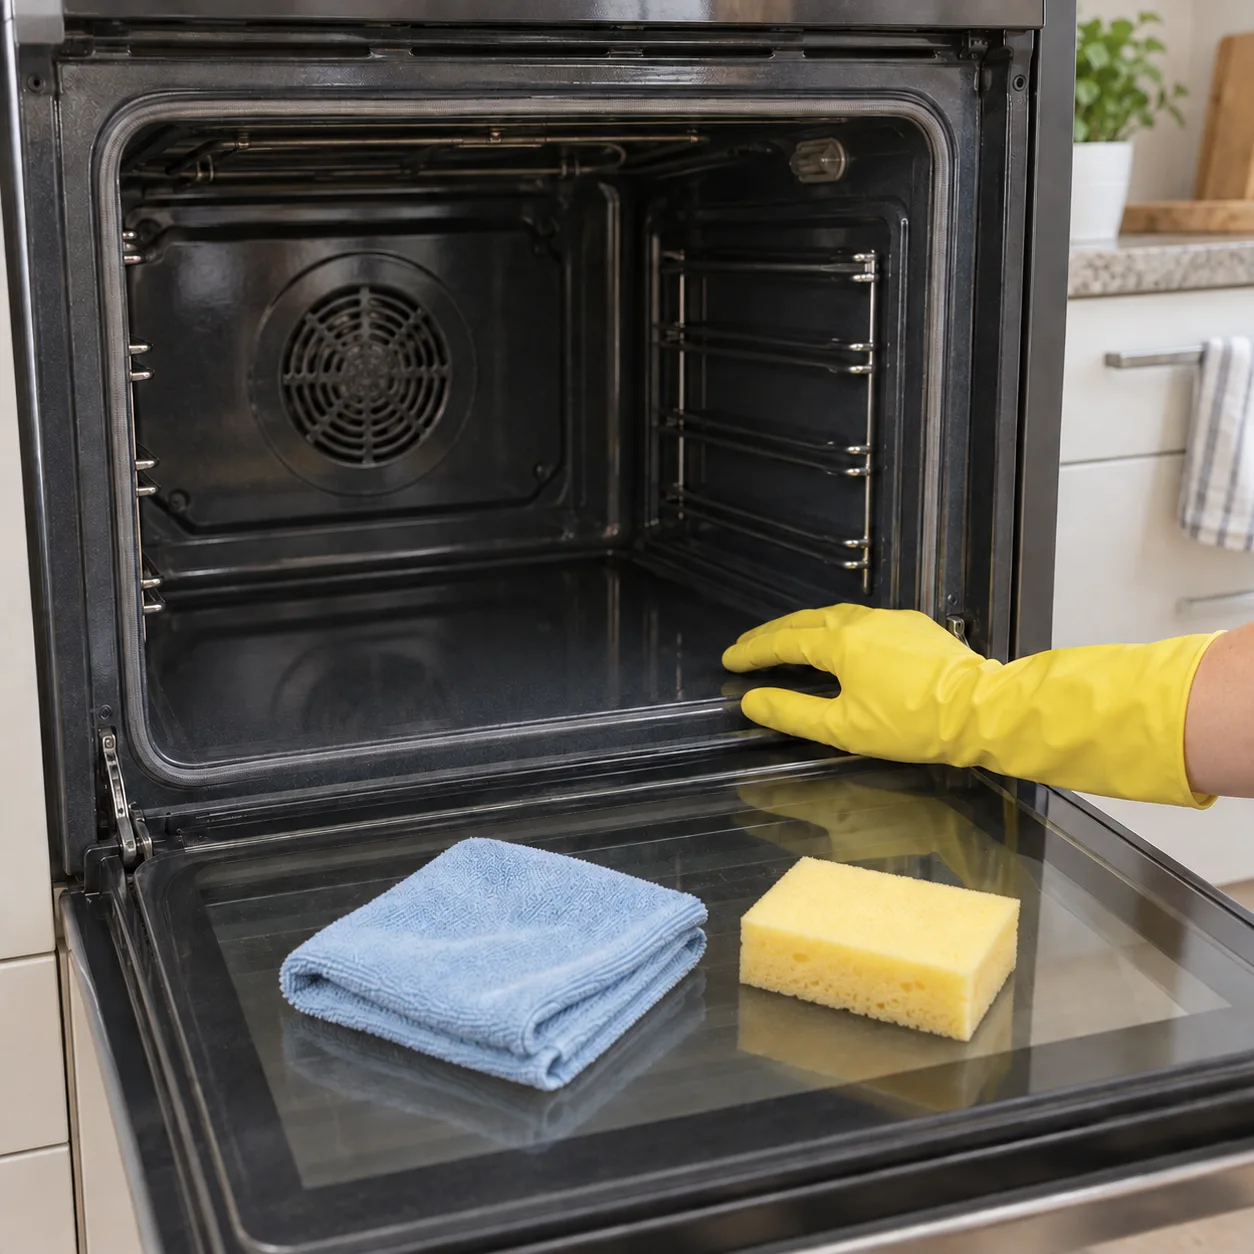
Remove racks as directed and let the oven cool completely.Open full-size image - 03
Lift out loose debris
Use a soft cloth to collect crumbs and loose pieces before wet cleaning. Work on one accessible area at a time rather than spreading the residue throughout the cavity. Leave elements, sensors, vents and the soft door gasket alone; they are not ordinary enamel to scrub.
- 04
Wash compatible surfaces gently
For light soil, use the mild soap-and-water method if your manual permits it. Apply with a cloth or nonabrasive sponge, working a small patch. Use any special cleaner only where both the appliance instructions and product label allow it. Follow labeled waiting time, ventilation and protection directions.
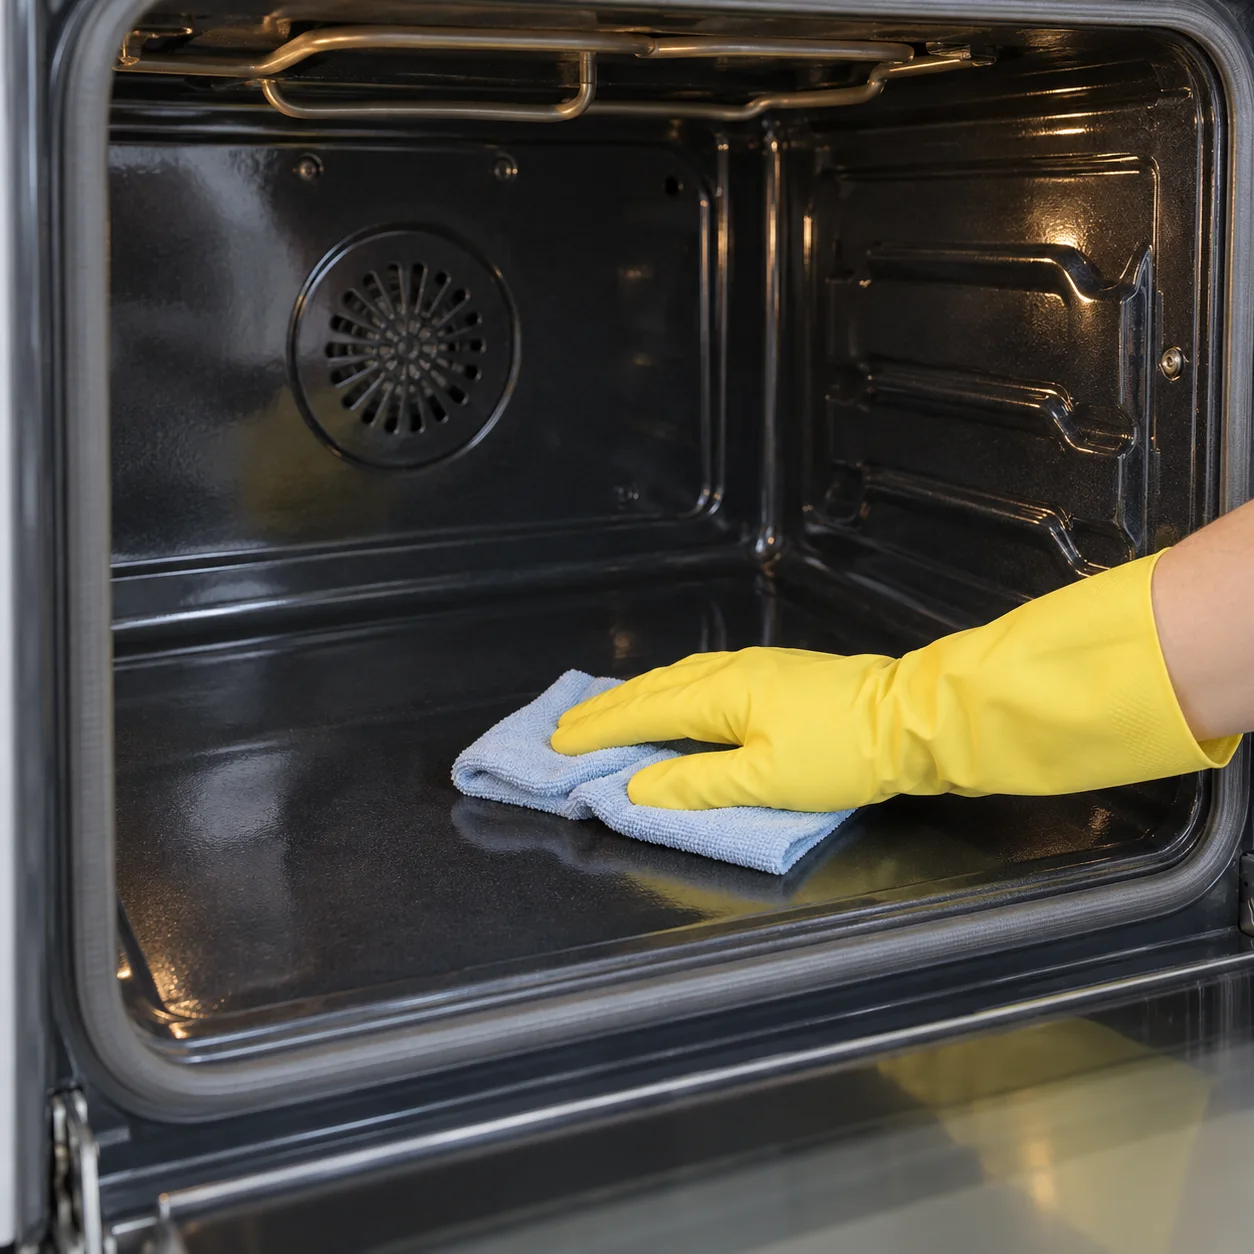
Work on approved liner surfaces. Keep cleaner off elements, vents and the door gasket.Open full-size image - 05
Clean removable racks as instructed
Check whether the racks have special coatings or sliding mechanisms. Clean ordinary removable racks using their approved method, rinse, and dry them fully. Do not assume every rack can soak, take steel wool, or remain inside during a self-clean cycle. Treat the door glass according to its own instructions.
- 06
Remove residue and inspect
Wipe washable surfaces repeatedly with clean, lightly damp cloths until the cleaner is removed as directed. Change rinse water when dirty. Dry, reinstall the permitted accessories, and check that nothing remains inside. Follow the manual’s return-to-use directions; do not switch the oven on merely to burn off leftover chemicals.
Optional supplies on Amazon
Affiliate disclosure: As an Amazon Associate I earn from qualifying purchases. How our links work.
Use what you already have. These links open Amazon search results so you can compare suitable supplies; they are not individual product reviews.
When a mark is not removable dirt
A worn finish, scratch or etched patch will not disappear with harder scrubbing. After a small test area is clean and dry, compare it with the original mark. Stop if the finish changes, flakes or catches the cloth. Record the model number and a photo for the manufacturer rather than escalating through stronger cleaners.
Make the next cleaning smaller
Once the oven is cool after cooking, address accessible spills using the approved method. A short spot-clean may prevent a large buildup. Put the manual link with your household notes so the next person does not unknowingly use a different treatment on the same liner.
A quick final check
- The method matches the liner, rack and glass instructions.
- Approved surfaces are rinsed and no cleaner residue remains.
- Racks and accessories are dry and correctly replaced.
Common questions & sticking points
Can I use the same method on a self-cleaning oven?
Only where its manual permits hand cleaning. The liner may be damaged by products allowed in a standard oven. GE permits gentle hand cleaning on its self-cleaning ovens but specifically excludes commercial oven cleaners.
Should I take the oven door apart to clean between its glass?
Do not improvise door disassembly. The panes, hinges and seals are model-specific, and a heavy door can be difficult to support. Check manufacturer service guidance if dirt is trapped between the panes.
Why does my clean oven still have streaks?
Remaining soap or cleaner can dry as a film. Once the oven is cool, check the cleaner’s rinsing directions and repeat the permitted rinse with a fresh cloth. A damaged finish needs a different assessment.
Sources & further reading Optional
References used to check this guide. Follow your product’s own safety instructions where its design differs.
- GE: standard-clean oven care
- GE: hand-cleaning a self-clean oven
- Whirlpool: oven surfaces, racks and door care
- GE: finding your model’s manual