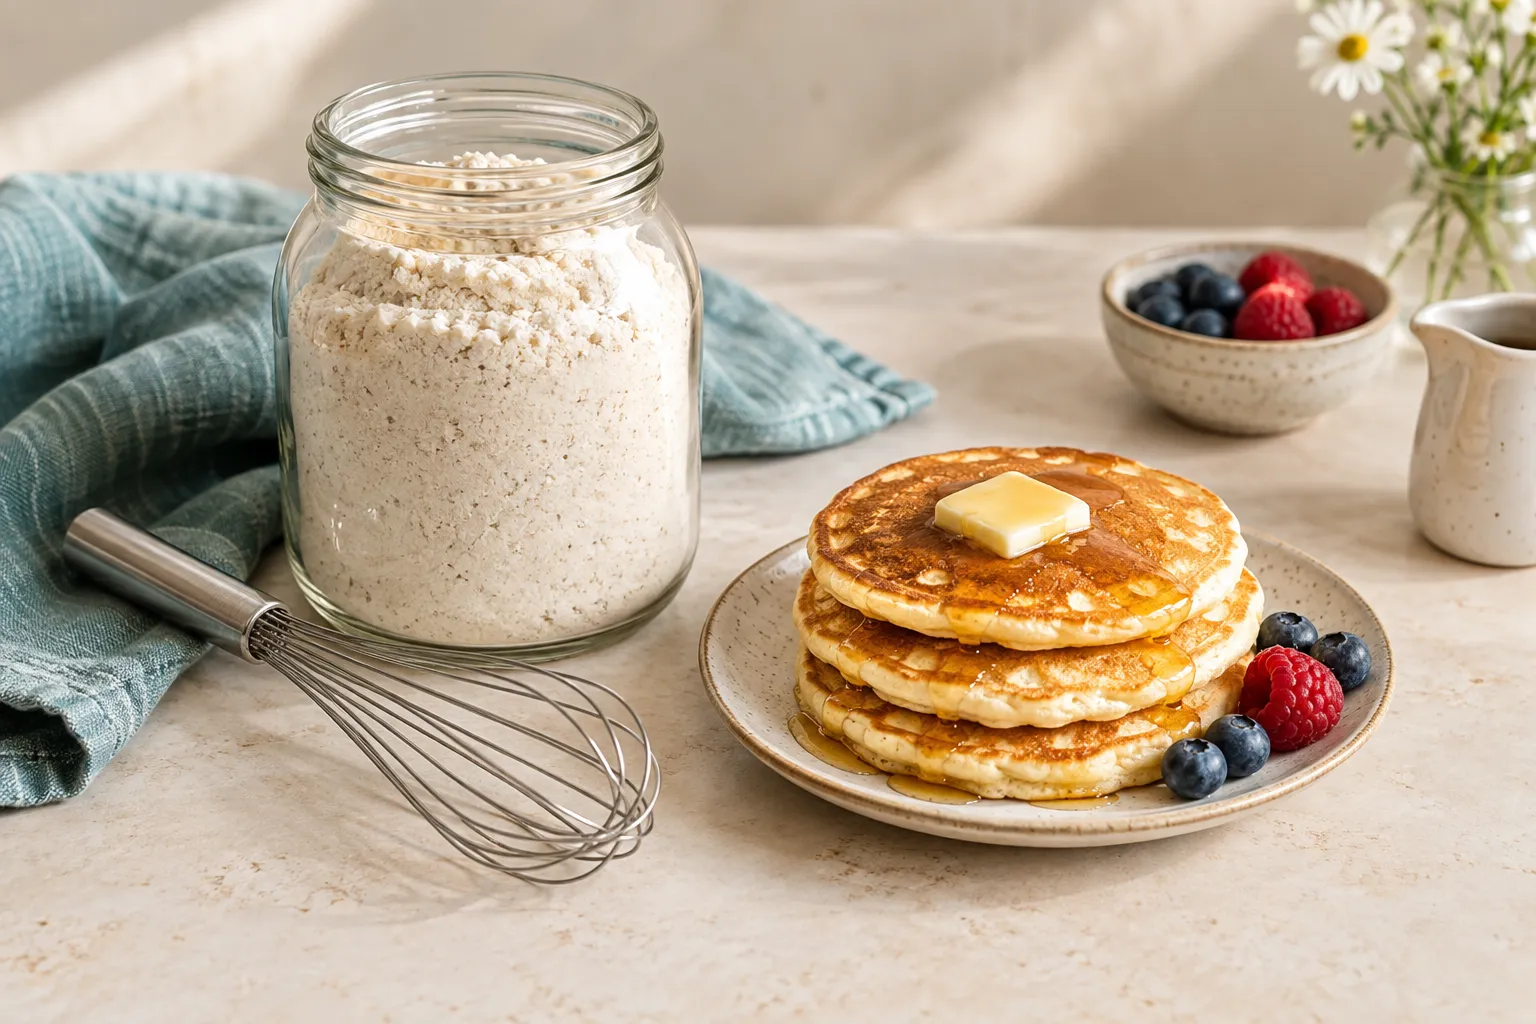
A homemade dry mix saves measuring later, but it still needs clear instructions on the jar. Label the amount of mix and the wet ingredients so breakfast does not turn into guesswork.
Combine flour, baking powder, sugar and salt. When ready, stir in milk, egg and melted butter just until combined. Rest briefly and cook small pancakes, turning when bubbles remain open and the edges look set.
Go straight to the stepsYour project helper
Follow the steps and check them off as you go →Before you begin
Keep the dry mix separate from wet ingredients until cooking. Flour and eggs are raw foods; do not taste the batter. Use a griddle setting and tools appropriate to your cookware.
What you’ll need
- Mixing bowls
- Whisk
- Measuring cups and spoons
- Skillet or griddle
- Wide spatula
Measure before you start
Ingredients
Base batch: About 8 small pancakes
Ingredient amounts scale; oven temperatures and cooking times do not. Split a larger batch between pans when needed. For half an egg, beat it and measure half.
Use the base batch for your first attempt. Adjust seasoning to taste and check texture as you cook.
Let’s do this
Step by step
- 01
Mix the dry ingredients
Whisk flour, baking powder, sugar and salt thoroughly. Use now or store the dry mixture in a clean airtight jar with a date and preparation note. Keep milk, egg and butter out of stored dry mix.
- 02
Add wet ingredients
Beat milk, egg and cooled melted butter separately. Stir into the dry mixture only until no large dry pockets remain. Small lumps are fine; prolonged beating can toughen the pancakes.
- 03
Rest and heat the pan
Rest the batter about 5 minutes while warming a lightly greased pan over medium heat. If very thick, add milk a tablespoon at a time until it pours slowly.
- 04
Cook a test pancake
Pour a small portion and watch the edges set. When bubbles appear and leave openings, lift an edge to check for golden color. Adjust heat based on this first pancake.
- 05
Flip once and finish
Turn gently and cook until the second side is golden and the middle is cooked through. Avoid pressing flat with the spatula. Cook the remaining batter in similar portions.
Checks stay on this page while you work and reset when you leave.
Label the jar for the person making breakfast
Write the base dry batch and its wet additions on removable tape. For a large stored mix, weigh and label portions rather than guessing a scoop size every time.
Serve now or store safely
Refrigerate perishable cooked food in shallow containers within 2 hours, or within 1 hour when the room or outdoor temperature is above 90°F. Keep the refrigerator at 40°F or below. Use most cooked leftovers within 3–4 days and reheat to 165°F. Do not wait for a large pot to cool completely on the counter.
A quick final check
- Mix the dry ingredients
- Add wet ingredients
- Rest and heat the pan
- Cook a test pancake
- Flip once and finish
Common questions & sticking points
Why are they tough?
Overmixing and repeated pressing can make pancakes less tender. Stop once the batter combines.
Why are they burned outside and wet inside?
The pan is too hot or the pancakes are too thick. Reduce heat and use a smaller test portion.
Sources & further reading Optional
References used to check this guide. Follow your product’s own safety instructions where its design differs.
Last source check: September 24, 2026