A new starter is a small fermentation project. Early bubbling is encouraging but does not mean it can reliably raise bread. Keep the feeding routine simple and mark the jar so changes in height are visible.
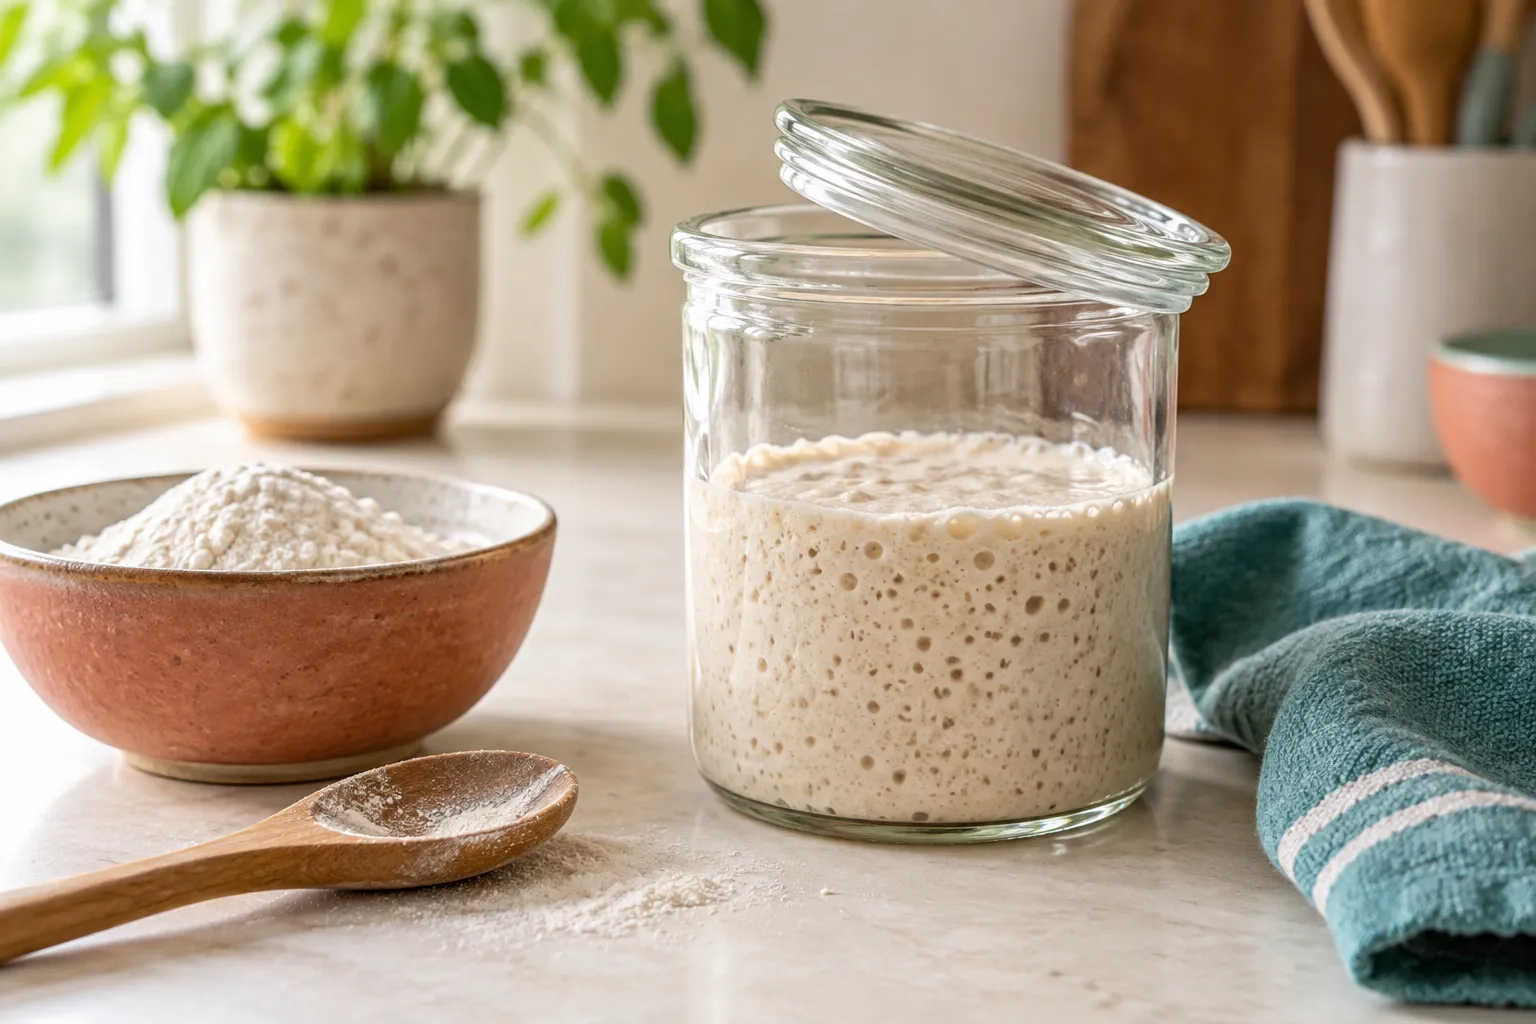
Mix equal weights of whole-grain flour and water, then regularly retain a small portion and feed with equal weights of flour and water. Continue until the starter rises predictably after feeding and smells pleasantly fermented.
Go straight to the stepsYour project helper
Follow the steps and check them off as you go →Before you begin
Use clean utensils, a food-safe jar with headroom and a loose lid. Flour is raw food: do not taste starter. Discard the entire batch if you see fuzzy mold or pink or orange growth. Do not rescue it by scraping the top.
What you’ll need
- Whole-wheat or rye flour for the first mix
- Unbleached all-purpose flour for feeding
- Water
- Digital scale
- Clean jar, loose lid and scraper
Let’s do this
Step by step
- 01
Make the first mixture
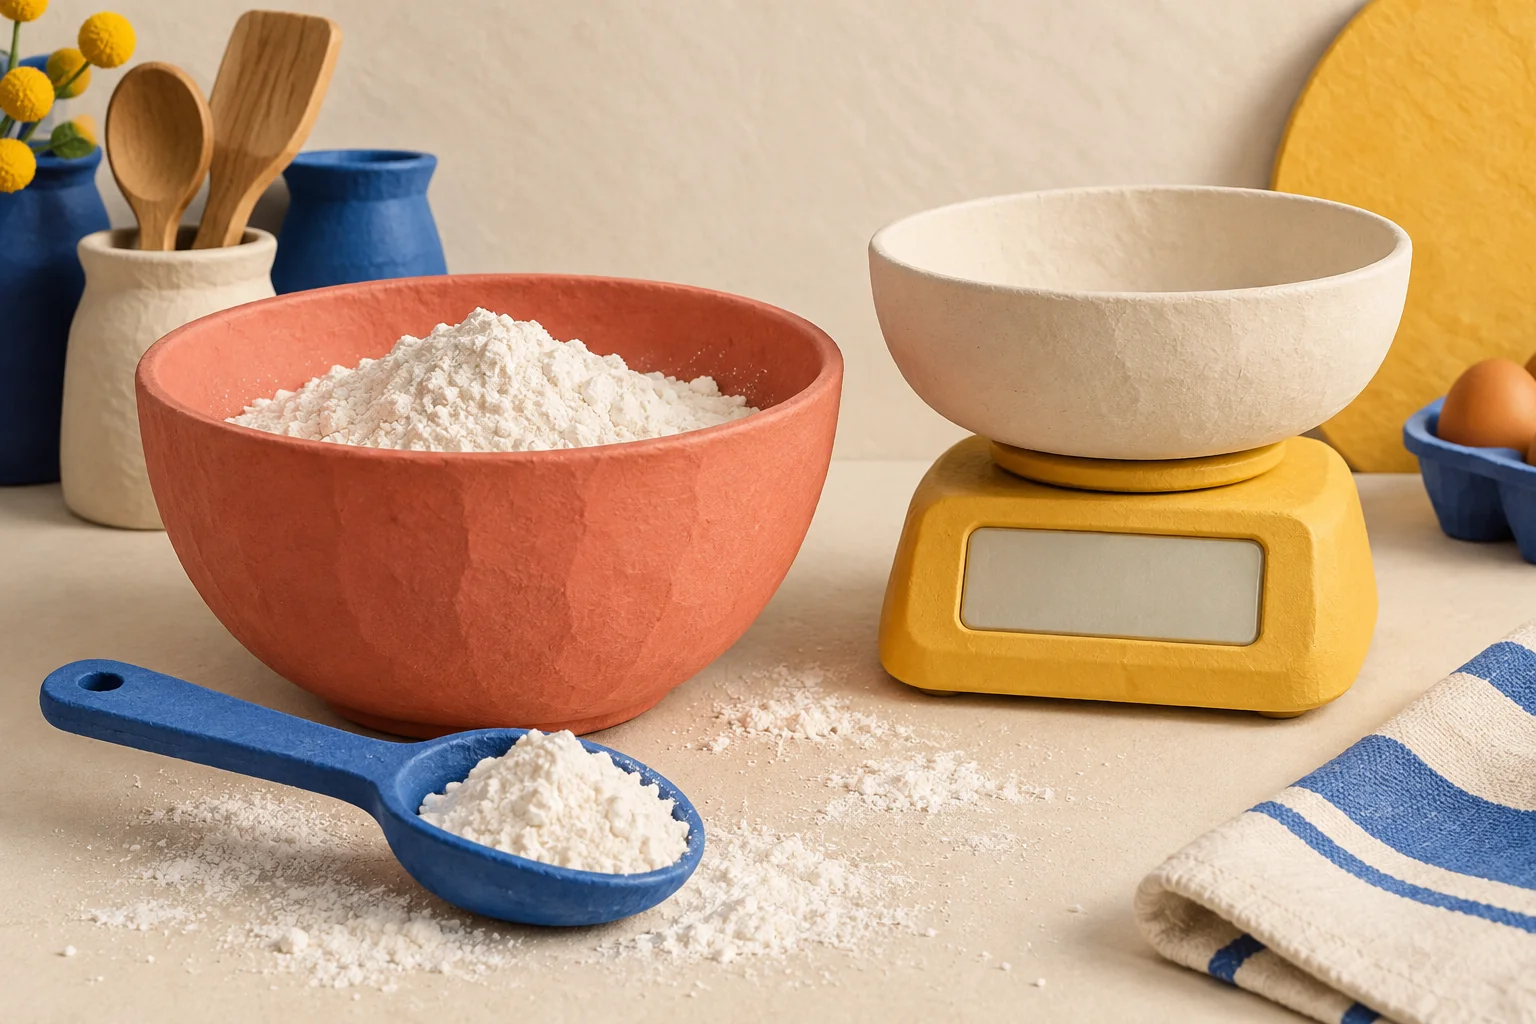
Mix 50 g whole-grain flour with 50 g water in a clean jar. Scrape down the sides, mark the level and cover loosely. Leave at a moderate room temperature, ideally around 70–75°F, away from direct sun.
- 02
Feed after the first day
After about 24 hours, retain 50 g of the mixture and discard the excess. Add 50 g water and 50 g unbleached all-purpose flour. Stir, clean the sides and mark the new starting height.
- 03
Repeat consistently
Continue daily feeding at first. As activity develops, move to roughly 12-hour feedings if it rises and falls between feeds. Use the same retained-starter, flour and water weights so comparisons are meaningful.
- 04
Watch through the quiet stage
A strong early rise can be followed by a quiet period. Keep feeding rather than adding sugar or yeast. Record room temperature and the time required to rise; cool rooms can extend the process.
- 05
Confirm reliable strength
Wait for several consecutive feedings in which the starter roughly doubles within about 6–8 hours and smells pleasantly tangy. It may take longer than a week. A float test alone does not establish readiness.
- 06
Keep a reserve
Before baking, build enough mature starter for the recipe plus a portion to keep. Feed the reserve; an established starter can move to a refrigerated maintenance routine. Label it and continue regular feeding.
Checks stay on this page while you work and reset when you leave.
A simple jar log
Write the feeding time and initial level on removable tape. Check again after a few hours. Comparing the peak to the marked start tells you more than a photograph of bubbles alone.
Avoid wasting a large bag of flour
Maintaining a small consistent culture is enough while learning. Increase the quantity only when you need starter for a specific bake. New, immature discard is best discarded rather than eaten.
A quick final check
- Make the first mixture
- Feed after the first day
- Repeat consistently
- Watch through the quiet stage
- Confirm reliable strength
- Keep a reserve
Common questions & sticking points
Can I bake on day two if it rises?
Wait for repeated dependable rises. An early burst of activity does not prove the culture is mature.
Do equal cups work?
No. The method uses equal weights. Flour and water have very different weights per cup.
Sources & further reading Optional
References used to check this guide. Follow your product’s own safety instructions where its design differs.
Last source check: September 24, 2026