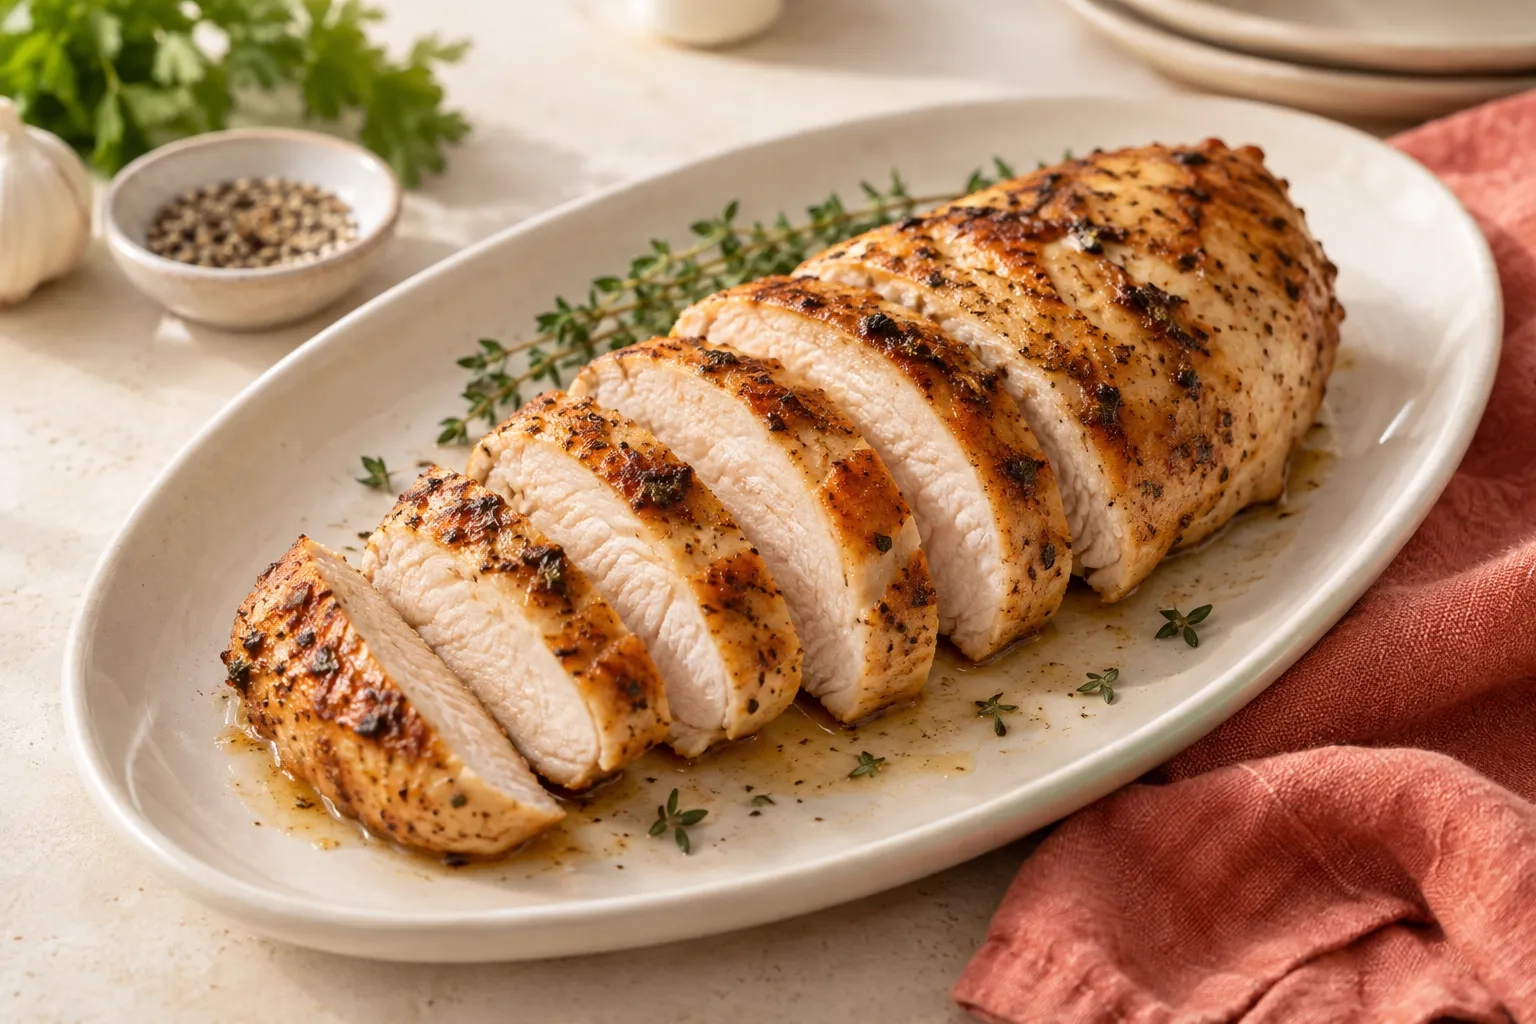
A chicken breast often has one thick end and one thin end. Evening that shape makes cooking more predictable and reduces the chance that the thin portion dries out while the center is still undercooked.
Even the thickness, season and brown in a lightly oiled skillet. Lower the heat and finish gently until the thickest part reaches 165°F. Rest briefly before slicing on a clean board.
Go straight to the stepsYour project helper
Follow the steps and check them off as you go →Before you begin
Do not rinse raw chicken. Keep juices contained, wash hands and clean surfaces after raw handling. Use a thermometer; clear juices or a white center alone are not reliable safety checks.
What you’ll need
- Skillet with lid
- Tongs
- Food thermometer
- Clean board
- Optional meat mallet and food-safe bag
Measure before you start
Ingredients
Base batch: 2 portions
Ingredient amounts scale; oven temperatures and cooking times do not. Split a larger batch between pans when needed.
Use the base batch for your first attempt. Adjust seasoning to taste and check texture as you cook.
Let’s do this
Step by step
- 01
Even the shape
Place chicken in a food-safe bag or between suitable sheets and gently pound the thick end to roughly ¾ inch. Avoid hammering so hard that it tears. Season the surface.
- 02
Brown the first side
Warm oil in a skillet over medium-high heat. Add chicken without crowding and cook until the underside browns, often several minutes. Do not repeatedly slide it around.
- 03
Turn and lower heat
Turn with tongs, reduce heat and cover if needed to finish gently. Adjust so the outside does not burn while the center warms. A little water can prevent a dry pan from scorching; add carefully away from splashes.
- 04
Check 165°F
Insert the thermometer from the side into the thickest center. Check each breast separately and continue cooking any portion below 165°F. Time varies with shape and starting temperature.
- 05
Rest and slice cleanly
Transfer cooked chicken to a clean plate, rest a few minutes and slice across the grain. Do not reuse the raw-chicken plate or unwashed board.
Checks stay on this page while you work and reset when you leave.
Make a thermometer part of the routine
Set it beside the stove before cooking so the final check is easy. Clean the probe between checks as needed and avoid touching the pan, which can give a misleading high reading.
Serve now or store safely
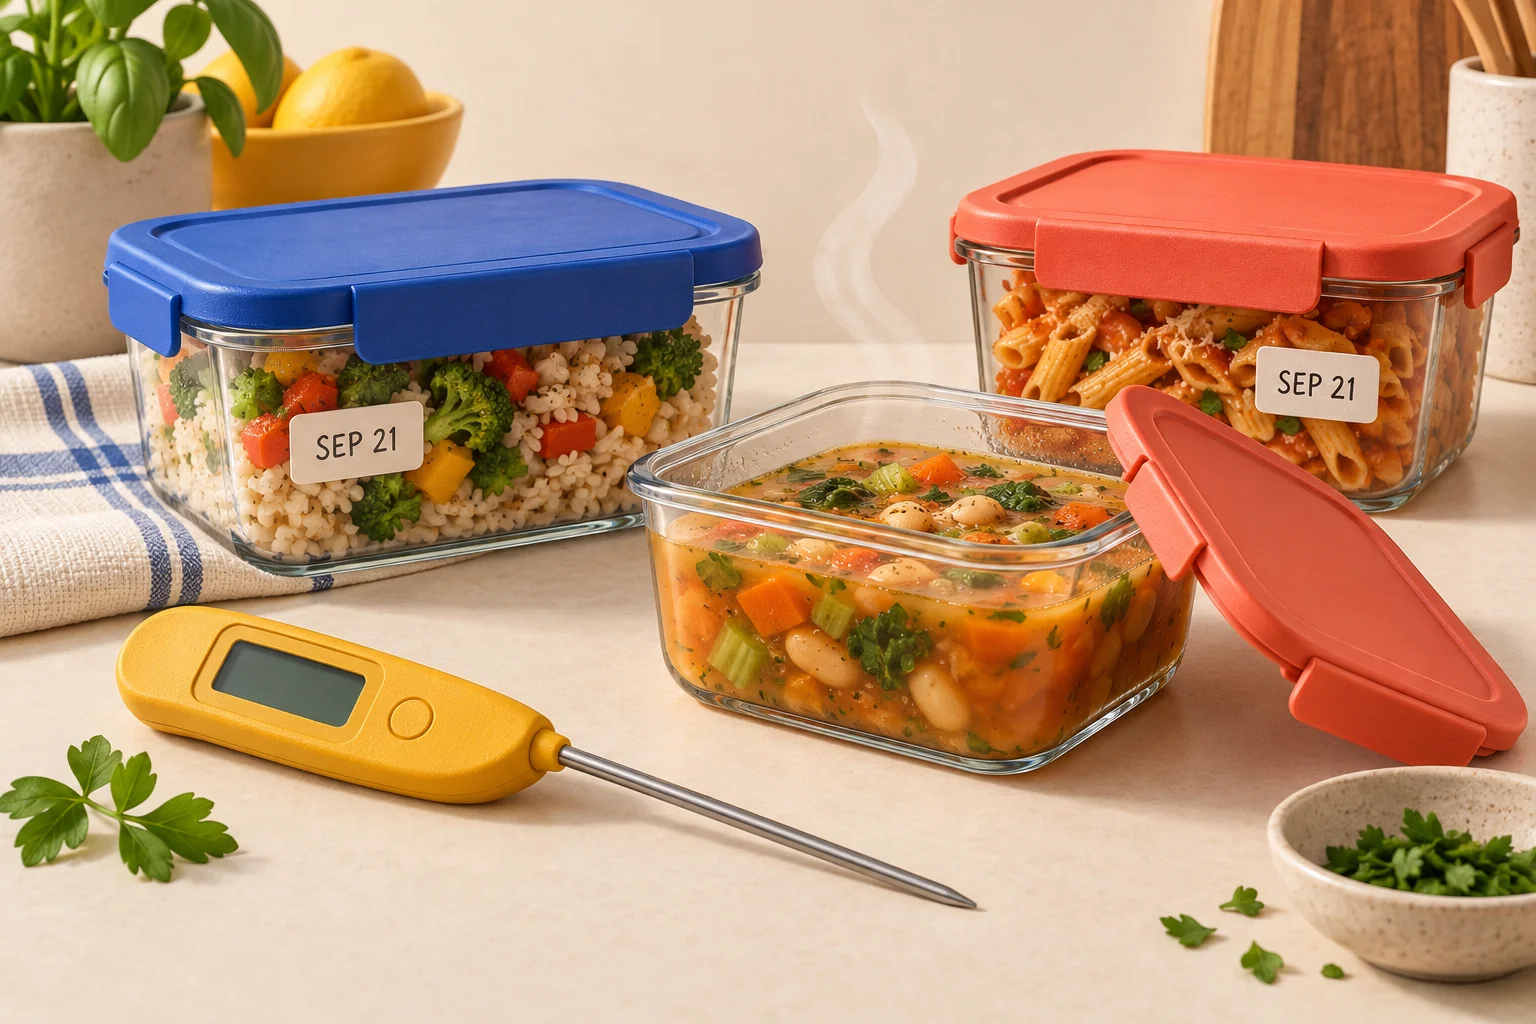
Refrigerate perishable cooked food in shallow containers within 2 hours, or within 1 hour when the room or outdoor temperature is above 90°F. Keep the refrigerator at 40°F or below. Use most cooked leftovers within 3–4 days and reheat to 165°F. Do not wait for a large pot to cool completely on the counter.
A quick final check
- Even the shape
- Brown the first side
- Turn and lower heat
- Check 165°F
- Rest and slice cleanly
Common questions & sticking points
Can I use a very large breast?
Yes, but thickness matters. Split into cutlets or even the shape and check each piece rather than using one fixed time.
Why is the outside tough?
Excessive heat or continued cooking after the center is done can dry it. Even thickness makes the finish easier to control.
Sources & further reading Optional
References used to check this guide. Follow your product’s own safety instructions where its design differs.
Last source check: September 24, 2026