Grease is easier to deal with before it is baked on repeatedly. A cooled, unplugged air fryer and a gentle cleaning tool are the starting point.
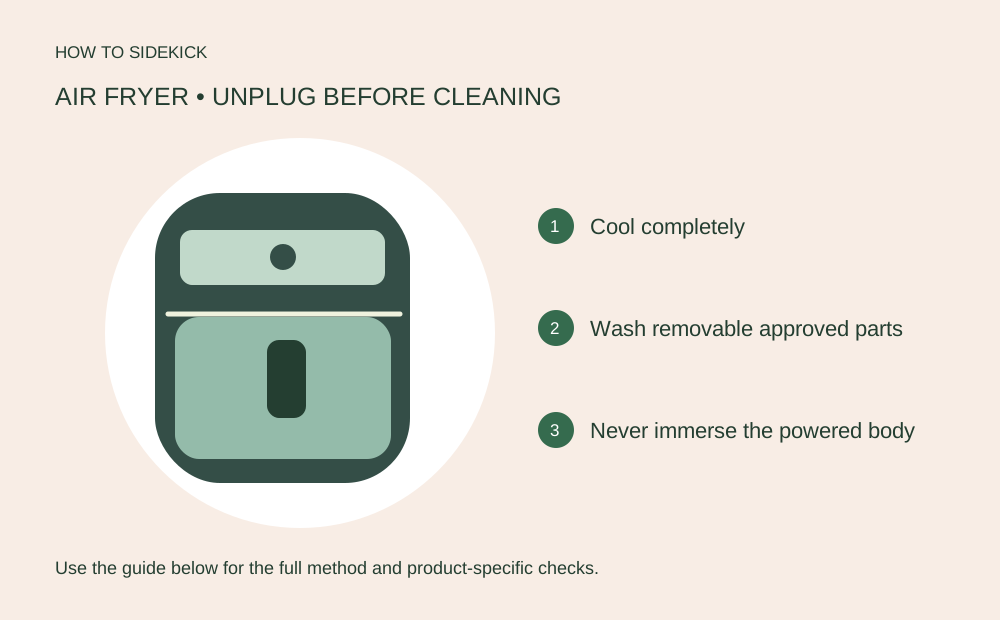
Unplug and cool the air fryer. Wash removable, approved parts with dish soap and a nonabrasive sponge or cloth; wipe the body gently. Dry everything before reassembly. Never run an air fryer filled with cleaning water.
Go straight to the stepsYour project helper
Keep track as you go 0/4
Check off what you have verified. This list resets when you leave the page.
Before you begin
Check the manual for which parts are dishwasher safe and how to access the heating area. Do not spray cleaner into the fan, controls or vents.
What you’ll need
- Dish soap
- Soft cloth or nonabrasive sponge
- Warm water
- Model’s cleaning instructions
Optional tools & supplies
Affiliate disclosure: We may earn a commission when you buy through these links. How our links work.
Use what you already have. Choose supplies that fit your task, and check instructions and current prices.
 Dawn Platinum Original dish soap, 56 ozLowe’s · Product
Use only where the surface or appliance maker permits dish soap. Follow dilution and rinsing directions.
 Rubbermaid Commercial microfiber cloths, 16-packLowe’s · Product
Use a clean cloth approved for the surface; keep dirty or gritty cloths away from delicate finishes.
Let’s do this
Step by step
- 01
Unplug, cool and remove loose food
Wait until all surfaces are safe to touch. Lift out the basket and crisper plate as instructed. Empty crumbs and cooled grease into the trash rather than washing grease down a drain.
- 02
Wash removable parts
Use warm soapy water and a nonabrasive cloth or sponge. For compatible Philips parts, a 10–15-minute soak can loosen stuck food; follow your own model’s guidance. Avoid metal utensils and scouring pads.
- 03
Wipe the cooking chamber
With the appliance still unplugged, use a lightly damp cloth on accessible interior surfaces. Clean the heating element only as the manual directs, using an approved soft brush if specified. Do not dismantle the appliance.
- 04
Rinse, dry and reassemble
Rinse washable parts thoroughly and let them dry. Check that the drawer, tray and basket are fitted correctly. Wipe the exterior and leave air openings clear.
- 05
Inspect before the next cook
Look for peeling coating, damaged wiring or debris near the heater. Address damage before use. Routine cleaning should not need a powered “boil water” trick or harsh oven cleaner.
Dishwasher safe depends on the part
Even within one appliance, a basket may be washable while the main body is not. Match each part to the manual instead of putting the entire drawer assembly in automatically.
Small cleanups are easier
Remove cooled grease and crumbs after use. That prevents repeated heating of old residue and makes the next wash less demanding. Keep a soft cleaning cloth separate from abrasive kitchen scrubbers.
A quick final check
- Power disconnected and appliance cool
- Only washable parts immersed
- Coating protected
- All parts dry and seated
Common questions & sticking points
Can I put water and soap in it and switch it on?
No. Clean it unplugged. A powered cleaning-water method is not a substitute for the manufacturer’s instructions.
What if the nonstick surface is peeling?
Stop using the damaged part and ask the manufacturer about replacement. Scrubbing harder will not repair it.
Sources & further reading Optional
References used to check this guide. Follow your product’s own safety instructions where its design differs.
Last source check: September 24, 2026