Follow the package ratio, placing water in the mixing container before adding powder. Old Fashioned Milk Paint suggests making a smooth paste for small batches, then gradually adding the remaining water. Mix thoroughly, let the mixture rest for about ten to fifteen minutes, and strain stubborn lumps if needed. Stir during use. Wear the preparation protection specified on the label and keep mixing equipment dedicated to paint.
No. Old Fashioned Milk Paint recommends mixing only what you expect to use that day because the hydrated paint can thicken or gel. Keep unused powder dry in an airtight container. For a short interruption, follow the brand's instructions for the mixed product and label its container clearly. Do not assume the shelf life of factory-preserved liquid wall paint applies to a freshly mixed powder product.
Small undissolved particles can interfere with spray equipment and leave an uneven finish. Sweet Pickins recommends mixing and resting the paint, adjusting consistency for the specific gun, then straining as needed before a test spray. Follow both the coating and sprayer instructions, including ventilation and protective equipment. Do not change the mixture solely to force it through a blocked tip; clean the equipment safely first.
Portola's Roman Clay is applied with a putty knife or trowel. The overlapping thin applications create its plaster-like movement, so a paint roller will not reproduce that method. Start with the smooth, sound surface required by the product, make a practice board and follow its coating sequence. Surface texture underneath can make application harder; the finish is not a substitute for repairing an uneven wall.
Optional supplies on Amazon
Affiliate disclosure: As an Amazon Associate I earn from qualifying purchases. How our links work.
The application tool can burnish gray marks into a light-colored finish. Portola recommends plastic putty knives for lighter Roman Clay colors, especially while learning the technique. Test the tool on a sample board and use controlled pressure with the prescribed thin layers. Avoid repeatedly scraping one wet area to chase a mark; let the product's repair guidance determine how to correct the affected section.
Portola warns that rough high points can make excess topcoat collect and cause milky or discolored areas. Let the Roman Clay dry, then level high spots with the specified fine abrasive and remove the residue before sealing. Apply the compatible topcoat in thin, tight layers using the prescribed tool. Make a sample first; a heavier coating is not a reliable way to hide uneven application.
Do not assume so. Portola states that its Roman Clay Topcoat does not make the finish waterproof or stain-proof. It provides added protection, with application requirements that still matter. Before using the system near regular splashes, confirm the exact location is approved by the maker and choose another finish if needed. More sealer can change sheen and appearance without converting the surface into waterproof cladding.
Romabio's direct one-coat approach is for unpainted, unsealed, absorbent masonry. Previously painted brick requires its specified preparation and primer system rather than assuming the coating can soak through old paint. Check the existing finish and condition before proceeding, and test the complete system. Do not disturb unidentified old paint during preparation; arrange appropriate assessment when its composition or condition is uncertain.
In Romabio's dilution convention, add water equal to half the starting paint volume: for example, one liter of paint plus half a liter of water. It does not mean the final mixture contains equal parts water and paint. Measure both amounts and mix thoroughly, using only the ratio specified for that product and coat. Write down the mixture used on your sample so you can repeat it.
Wait for the test area to dry before deciding. Romabio explains that freshly applied Classico Limewash appears darker while wet and settles to its intended color as it dries. Evaluate the dried sample in the room's usual light and follow the product's application window if adjusting the effect. Adding a different color immediately can create a mismatch based on a temporary wet appearance.
Follow the product's separate instructions for each coat. Romabio's application sheet specifies a nearly undiluted first coat and a much more diluted second coat for its decorative effect. Measure rather than guessing, test the appearance on a board, and allow the prescribed drying interval. Protect adjacent surfaces with drop cloths because the thinner second mixture can splash more readily while it is being worked.
Romabio suggests a slightly darker first coat beneath the lighter second coat when using pale Velatura Mineralwash colors. Build a sample using the intended brush technique and the specified dilution for each coat, then judge it after drying. Keep the contrast modest until you see the result. Adding random dark patches to a finished wall is less controllable than planning the two-coat color relationship.
Romabio specifies its MicroGrip Primer on painted or unpainted drywall, followed by a smooth prepared surface before Venetian Glaze. Check that the wall is sound, clean and suitable for the full coating system, then make a sample of the troweled effect. Do not treat the glaze as a thick patching compound. Existing texture or defects need appropriate preparation before the decorative application begins.
Romabio describes Venetian Glaze on absorbent, unsealed masonry as a translucent veil that shifts color while retaining natural variation. Classico Limewash can instead be distressed to expose selected areas. Choose the intended effect before buying materials and test it on the actual surface. Sealed or nonabsorbent brick needs a different assessment; the appearance depends on the substrate accepting the product as intended.
Its troubleshooting chart identifies solid paint particles and a loose paint tube as possible causes. Stop and unplug the sprayer before checking the assembly. Strain suitable paint into a clean container and ensure the pickup tube is firmly seated as the manual shows. Test the pattern on scrap before returning to the project. Use the paint's required ventilation and protection; persistent trouble needs further manual-guided diagnosis.
The manual suggests making a test pattern, rotating the air cap half a turn and testing again. If the heavy area changes sides with the cap, an obstruction there is likely. Unplug the sprayer before adjusting or cleaning it, and clean the cap using a nonmetallic tool as directed. Avoid enlarging holes with a metal pick. If the pattern remains uneven, inspect the other listed causes.
Zinsser limits ordinary shellac-based B-I-N outdoors to spot priming, such as isolated knots, sap streaks or stains. It is not the listed full-surface exterior primer. Choose a primer specifically approved for the entire outdoor substrate and finish system. Check the exact product name, since similarly named water-based products have different uses. Follow the label's preparation, ventilation and application conditions for any spot treatment.
Plan the final meeting point before cutting strips. York notes that the pattern is unlikely to match where the last strip meets the first, so use a less visible corner, often the one near the entry. Compare that location with the main view into the room and any focal wall. This planning does not replace a plumb starting line or the allowance needed for the pattern repeat.
Its panels are printed with an intended overlap, roughly half an inch along the right edge. Match the design while overlapping as instructed rather than butting every printed edge together and wondering why the pattern fails. A slight seam can remain visible, especially with pale, open designs. Spoonflower says removing that overlap by double cutting is a professional installation option; it is not required for its standard hanging method.
Yes. York's peel-and-stick instructions warn that high-humidity rooms are more prone to bubbles and seam separation, and rapid temperature changes can affect adhesion. Surface smoothness alone does not settle suitability. Check the chosen product's room restrictions before buying, and resolve moisture problems before decorating. If existing panels lift repeatedly, ask the maker about the environment instead of stretching them into place or adding an unapproved adhesive.
Check the can's instructions first. Rust-Oleum distinguishes removable tips from fixed systems such as Universal; forcing off a fixed tip can damage it. A removable tip may be cleaned separately with the specified solvent, while a fixed tip is wiped externally as directed. Work away from ignition sources with suitable ventilation, and never puncture the can or push a pin into its valve. Use the product's prescribed cleanup method.
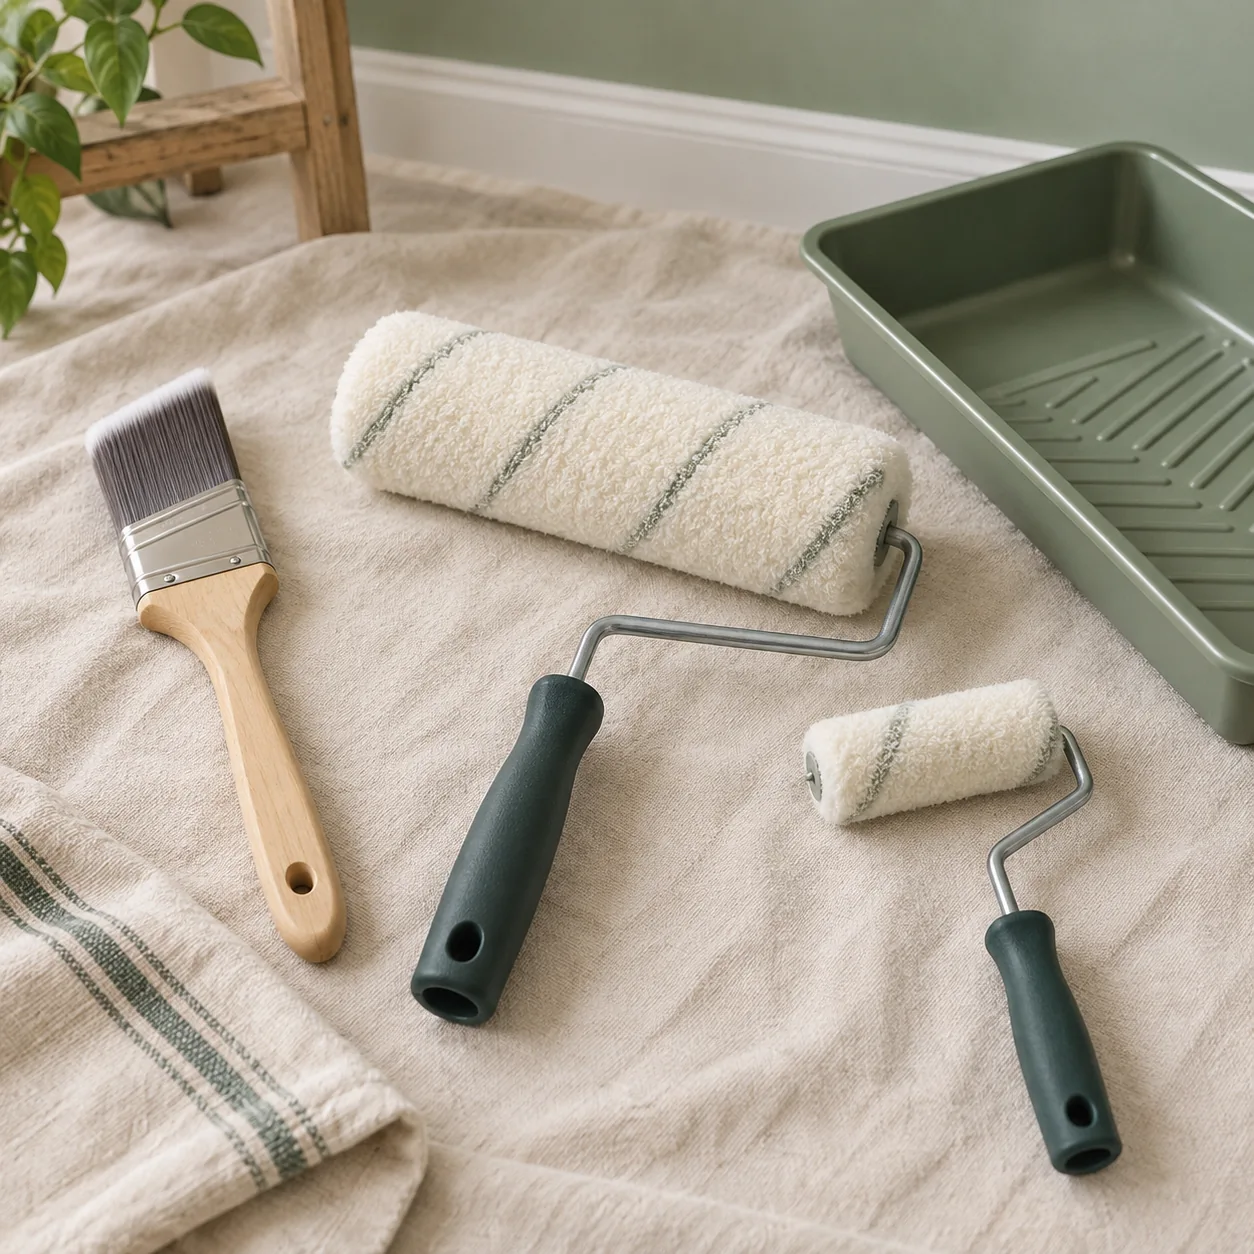
Use a brush for controlled edges and detail, a roller for broad surfaces, and a mini roller for narrow sections. Most room-painting jobs need both a brush and a roller.
Usually, the broad walls and precise boundaries call for different tools. A brush-and-roller pair is more versatile than trying to make one applicator reach every part of the room.
No. Read the contents and specifications. A kit can contain a usable frame while its supplied sleeve is the wrong nap or fabric for your chosen coating and surface.