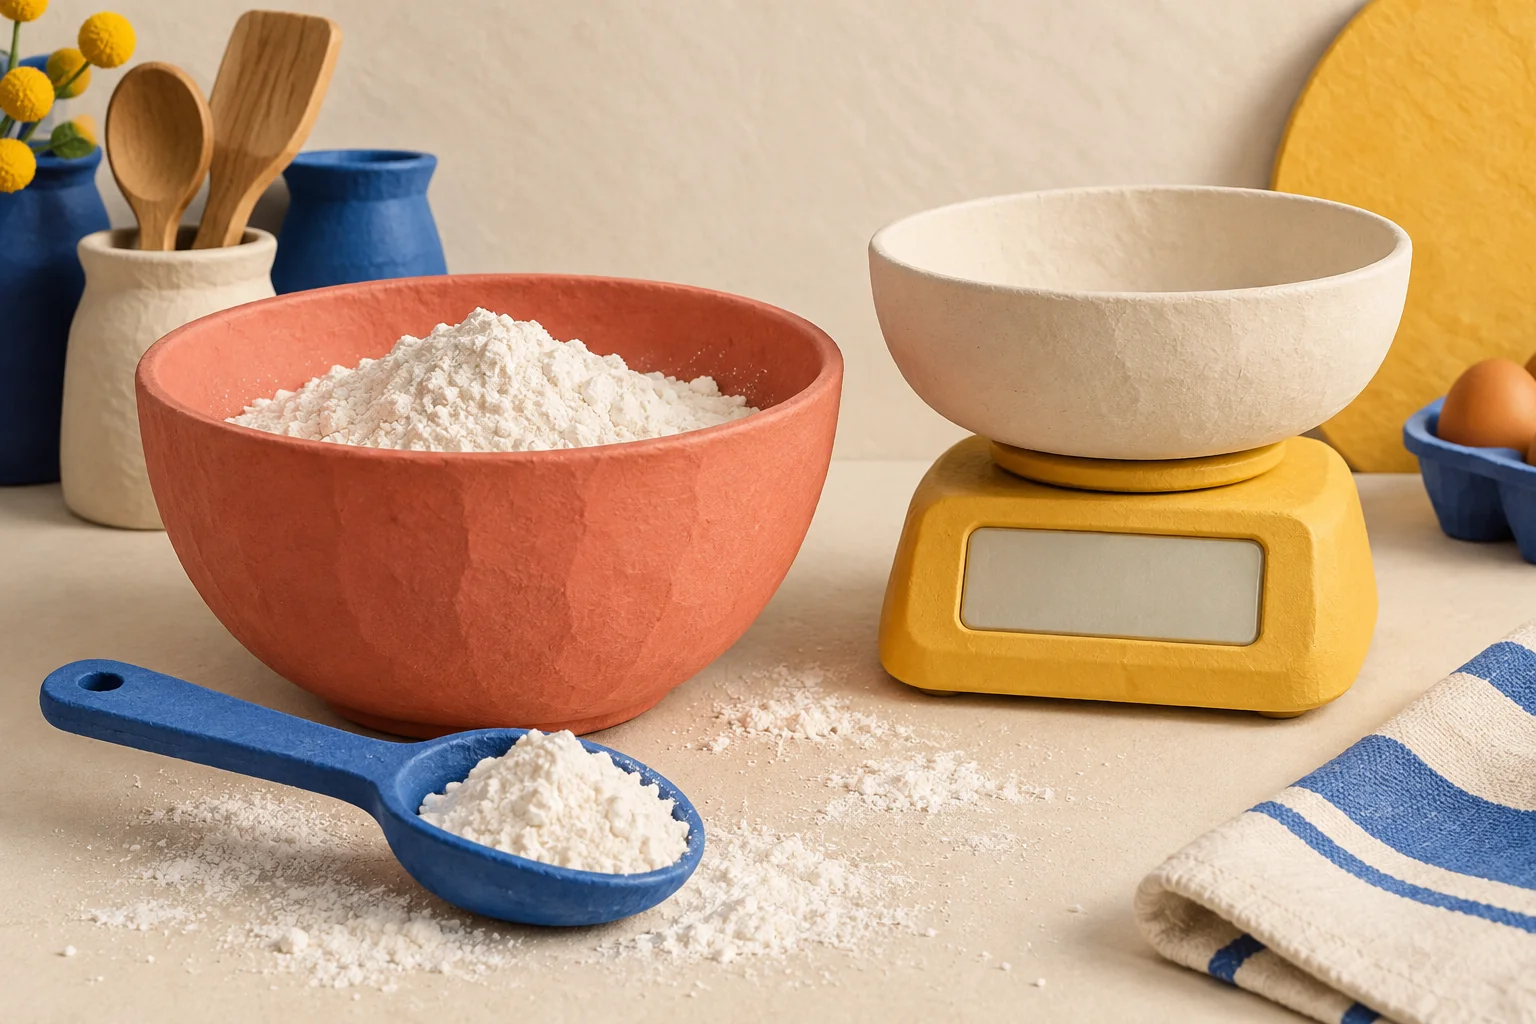
A light layer of cornmeal helps the soft dough release from the work surface and gives the finished muffins their characteristic speckled exterior. Dust the resting surface as well as the dough when the recipe directs. Use only a thin coating; a deep bed leaves excess loose meal that can scorch in the hot skillet.
A preferment gives part of the flour, liquid, and yeast a head start before the final dough is mixed. It develops bubbles and flavor during its scheduled rest. Follow the recipe's timing range and look for the described expansion. A longer permitted rest adds flavor; it does not replace the dough's later rises or cooking.
The small holes give steam a route out while the shortbread bakes, reducing large bubbles beneath its surface. After pressing the dough into an even layer, prick it with a fork as your recipe directs. This is especially useful for a molded slab, where a raised pocket can spoil the pattern or make the thickness uneven.
Cut while the baked shortbread is still warm and firm enough to move. Completely cold shortbread is more brittle and can shatter around the blade. Let it settle briefly in its pan, release it carefully, then cut with a long knife or pizza cutter. Allow the individual pieces to cool before packing or stacking them.
Make sure the dough fills the pan's small details and has an even thickness. Grease the pattern thoroughly, but avoid adding a flour coating that can obscure it. Press outward from the center; the back of a measuring cup helps level the dough. If using plastic wrap to prevent sticking during pressing, remove it before baking.
Its large amount of liquid creates the steam that inflates the popovers. Adding flour until the mixture looks like pancake batter can prevent that expansion and produce heavy results. Follow the measured recipe instead of thickening by eye. The flour and egg proteins supply the structure that holds the steam as the shell sets in the oven.
Yes, a standard metal muffin pan can work, though its shape differs from a dedicated deep popover pan. Grease the cups and the surrounding surface where the expanding batter may spread. Use a recipe written for that pan and leave generous headroom above it. The oven rack should allow the tall tops to rise without approaching the upper element.
They begin changing as soon as they leave the oven: internal steam moves through the crust and softens it. Plan to serve them shortly after baking for the sharpest contrast between crisp outside and tender center. Baking a day ahead and reheating will not reproduce that texture. A little settling during cooling is expected, even after successful baking.
Optional supplies on Amazon
Affiliate disclosure: As an Amazon Associate I earn from qualifying purchases. How our links work.
With lightly oiled fingertips, press toward the bottom of the pan. Work across the dough rather than repeatedly crushing the same patch. The aim is a surface covered in dimples while retaining its trapped air. Follow the recipe's timing: dimpling properly risen dough just before baking differs from flattening it during an earlier shaping step.
Once baked, release the focaccia from its pan rather than leaving the sides enclosed as steam collects. King Arthur's method returns the unmolded loaf to the oven to crisp its exterior. Use that finishing step when your recipe calls for it, then cool on a rack so air reaches the bottom as well as the top.
Optional supplies on Amazon
Affiliate disclosure: As an Amazon Associate I earn from qualifying purchases. How our links work.
The oil contributes to a browned crust, while a parchment strip with overhanging ends provides a handle for removing the bread. One does not necessarily replace the other. Coat the pan and paper according to the recipe, keeping overhang away from heating elements. The lifting tabs are especially helpful when releasing a tall loaf from a straight-sided pan.
Optional supplies on Amazon
Affiliate disclosure: As an Amazon Associate I earn from qualifying purchases. How our links work.
Taste the fruit before deciding how much to add. Very sweet ripe fruit may need less than a recipe written for tart fruit. Keep the topping formula unchanged while adjusting the filling first. Sugar also affects the available liquid, so judge the recipe's thickener instructions rather than assuming a reduced-sugar filling will have exactly the same consistency.
Yes. Spreading the filling into a very shallow layer exposes more fruit and encourages greater moisture loss. The result can become thick and gummy instead of juicy. Choose a dish that holds the recipe's fruit at a suitable depth with room for topping. If changing pan size, preserve the filling depth rather than matching only the total volume.
No. Toppings made with different combinations of oats, flour, butter, and sugar can brown differently. Use the recipe's visual cues and check that the fruit is bubbling and soft instead of waiting for every topping to reach the same dark shade. Extending baking solely for color may dry the edges or over-thicken an already cooked filling.
A preheated, greased cast-iron skillet starts cooking the outside when the batter lands, producing the characteristic browned crust. Prepare the batter while the skillet heats according to your recipe. Use dry oven mitts, place the pan on a stable heatproof surface, and pour carefully: hot fat may sizzle or spit when the moist batter enters.
A little wheat flour can help cornbread made with coarse whole-grain cornmeal hold together. It is a structural choice, not a way to increase volume. Follow a tested formula that matches your cornmeal rather than removing the flour without other adjustments. Cornbreads made entirely with cornmeal exist, but their ingredients and handling may be designed differently.
Whisk the dry ingredients first so the leavening and salt are distributed. Combine the liquid ingredients separately, then stir the two mixtures only until blended. Beating is unnecessary once the dry pockets are gone. Have the prepared pan ready before mixing, so the batter can move promptly from bowl to oven without repeated stirring or waiting.
No. Some blends are designed for substitution in non-yeasted recipes and already contain binders; others need a recipe adding binders separately. Carefully read the bag's intended uses before measuring. A blend suitable for cookies may not work in a yeast loaf. Begin with the manufacturer's tested recipe rather than treating every gluten-free flour as identical.
Check both the flour blend and recipe first. If the blend already includes xanthan gum, adding more can change the texture unnecessarily. A blend without a binder may need a measured amount chosen for the bake. Cakes, flexible doughs, and crumbly cookies require different structure, so there is no single addition that suits every recipe.
A short rest can give the starches and any gums time to absorb liquid, helping the batter develop its intended consistency. Use the rest specified for your particular recipe or flour blend. Do not assume the same pause benefits every formulation, and avoid adding extra flour immediately just because freshly mixed batter initially looks looser than a wheat-based version.
Optional supplies on Amazon
Affiliate disclosure: As an Amazon Associate I earn from qualifying purchases. How our links work.
Macaronage is the controlled mixing that smooths and partly deflates macaron batter after the dry ingredients meet the meringue. Smear and fold as directed until the batter falls from the spatula in a continuous ribbon that gradually settles back into itself. Stop at the recipe's cue; too little mixing leaves peaks, while excessive mixing makes the rounds spread.
Optional supplies on Amazon
Affiliate disclosure: As an Amazon Associate I earn from qualifying purchases. How our links work.
For recipes that call for a drying stage, the piped surface should become matte and no longer leave batter on a very gentle fingertip touch. Humidity can make this take longer than the listed estimate. Use the surface cue rather than the timer alone. Keep the rounds undisturbed on their baking sheet while the skin develops before baking.
Optional supplies on Amazon
Affiliate disclosure: As an Amazon Associate I earn from qualifying purchases. How our links work.
A few controlled taps help release trapped air bubbles and smooth the piped surfaces before the shells dry. Keep the tray level and avoid violent banging that shifts the rounds together. Remove any paper template placed underneath the baking parchment before baking. Tapping is a finishing step; it cannot correct batter that was mixed far beyond the proper consistency.
Optional supplies on Amazon
Affiliate disclosure: As an Amazon Associate I earn from qualifying purchases. How our links work.
No. Bring the ingredients together and give the dough the brief handling needed to make a coherent loaf. King Arthur's soda bread method calls for two kneads before final shaping. It does not need an extended gluten-building session or a yeast-style rise. Have the oven and pan ready so shaping can be followed by baking.