A drill makes holes; a driver bit turns screws. The same drill/driver may do both, but the bit, mode and settings change. A scrap-board exercise lets you learn trigger control without risking finished cabinetry or concealed services.
Fit the correct bit with power isolated, secure scrap wood over a backing piece, then drill squarely with controlled speed and feed.
Go straight to the stepsBefore you begin
Begin on known scrap wood, not a wall that could conceal wires or pipes. Tie back hair, secure loose clothing and keep hands clear of the rotating chuck and bit. Isolate power before changing bits.
What you’ll need
- Drill/driver and its manual
- Wood bit within the drill’s capacity
- Scrap wood and backing board
- Clamps
- Eye protection
Let’s do this
Step by step
- 01
Learn the controls while stopped
Identify forward/reverse, the trigger, speed selector and mode or clutch ring. Check the manual before changing gears. Use ordinary drilling mode for this wood exercise, not a masonry hammer setting.
- 02
Install the correct bit
Remove the battery or unplug the drill. Seat a straight, suitable wood bit centrally in the chuck and tighten it as instructed. Remove a chuck key if your model uses one. Inspect the bit and battery or cord for damage.
- 03
Clamp the wood and mark the hole
Secure the work over a sacrificial backing board with clear space for the bit. Do not hold a small piece in your free hand. Mark the hole and arrange clamps so the tool cannot strike them as it breaks through.
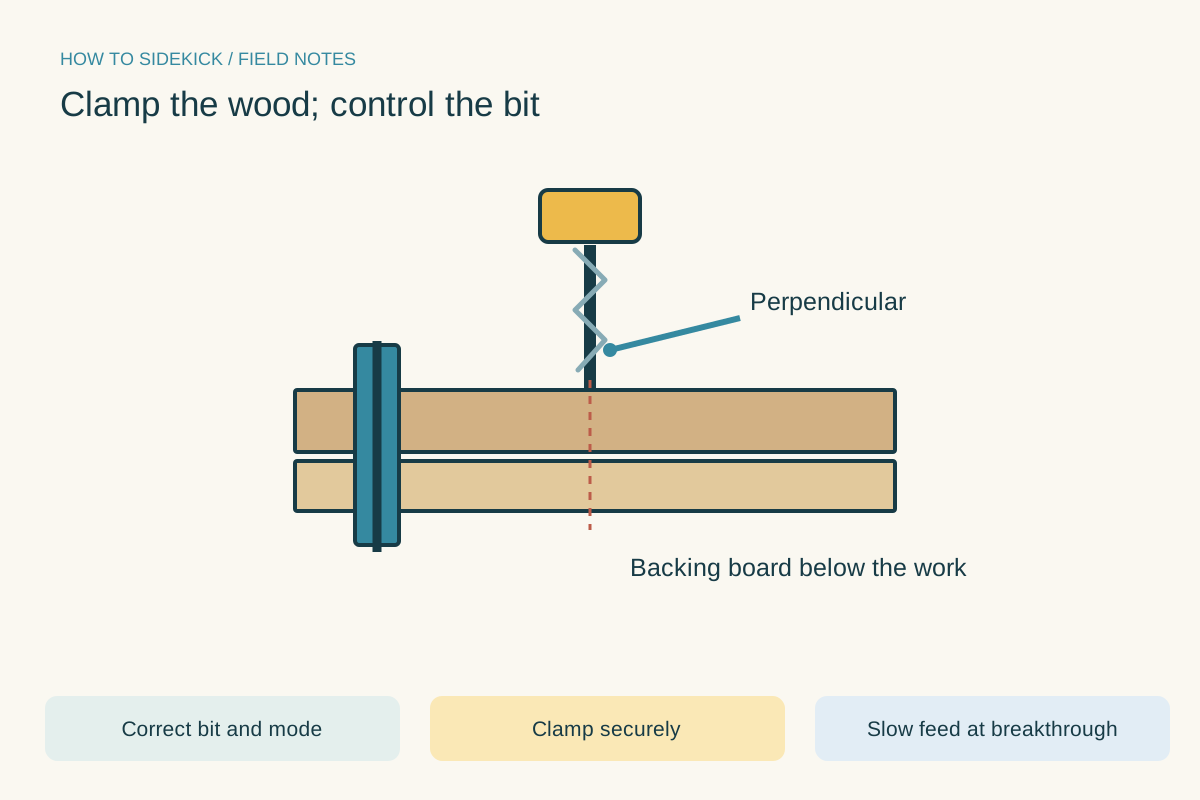
Clamp the wood; control the bit. Use the instructions below for the full procedure.Open full-size image - 04
Drill with controlled alignment
Restore power when ready. Start slowly on the mark, keeping the bit square to the surface. Increase to an appropriate speed for the bit and material and let it cut without forcing. Reduce feed pressure as the bit breaks through.
- 05
Withdraw and inspect
Withdraw the bit under controlled operation as the manual directs, release the trigger and let it stop before setting the tool down. Check the hole’s entry and exit. Repeat on scrap if the bit wandered, the work moved or the exit tore out.
Switching from drilling to screws
Change to a matching driver bit with power isolated. For screwdriving, start with a modest clutch setting and increase only enough to seat the screw. The numbered clutch ring controls torque; it is not a measurement of hole diameter.
A quick final check
- Correct bit and mode
- Chuck secure and key removed
- Work clamped
- Hands clear of rotating parts
Common questions & sticking points
Why does the bit keep slipping in the chuck?
Stop and disconnect power. Check that its shank is seated and tightened correctly and that the chuck and bit are compatible and undamaged.
What if the bit jams?
Release the trigger and isolate power before resolving it. Do not repeatedly pulse a stuck bit while holding loose work.
Sources & further reading Optional
References used to check this guide. Follow your product’s own safety instructions where its design differs.
Last source check: September 24, 2026