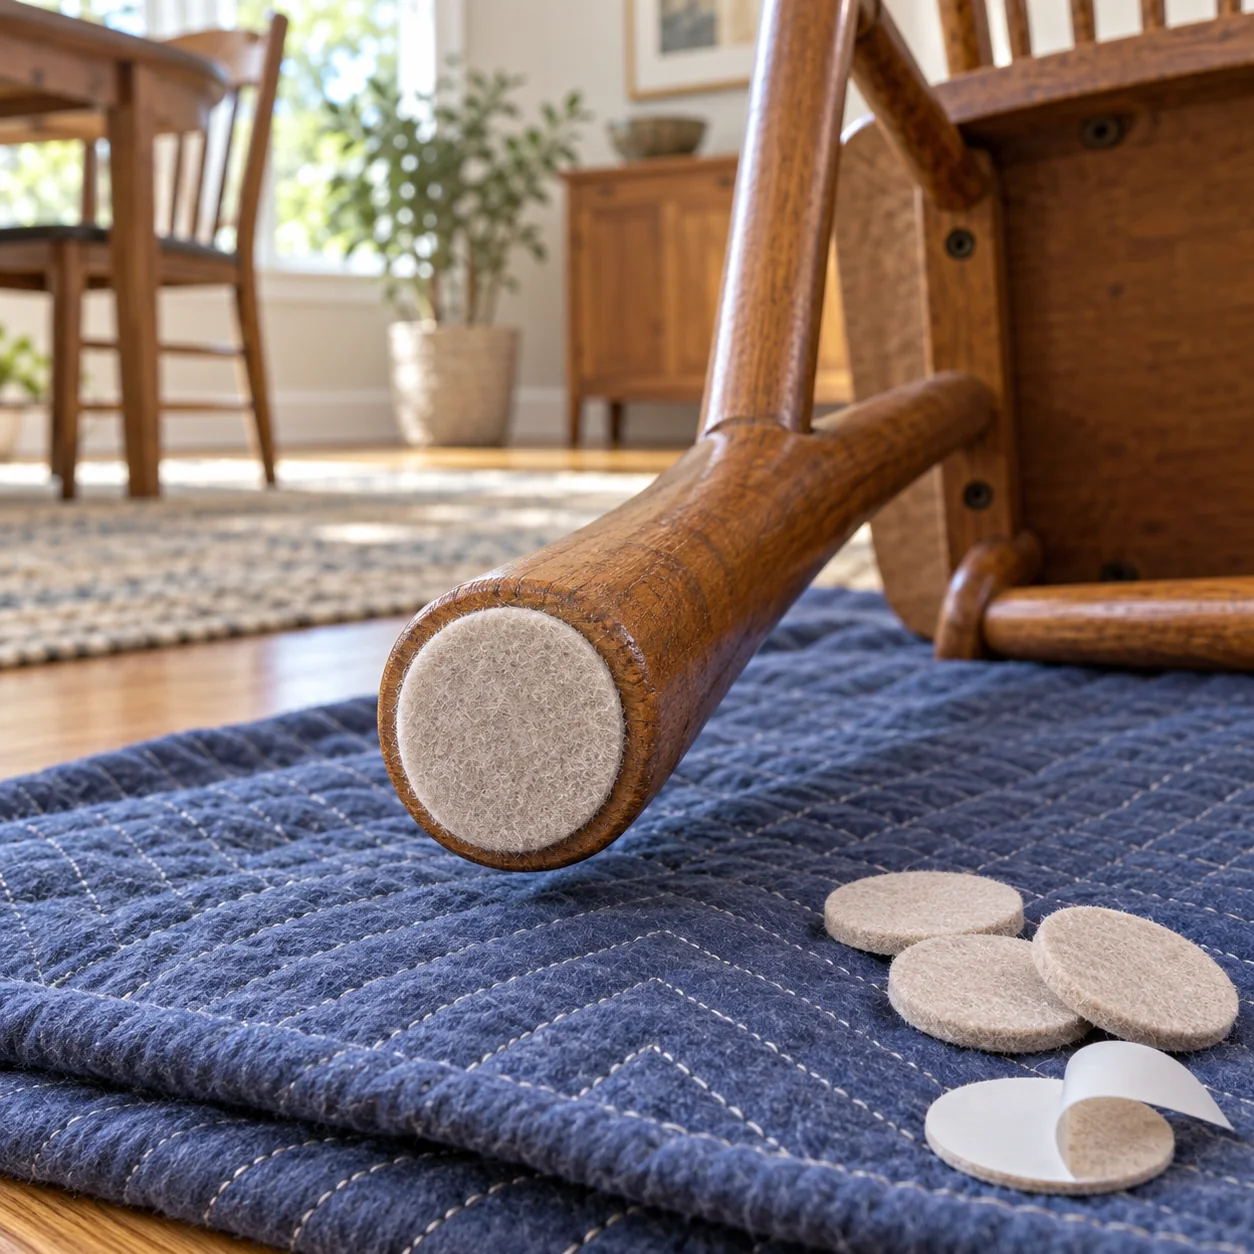
This project covers peel-and-stick felt on intact furniture feet. Check the floor maker's protector recommendations before choosing felt for that surface.
Inspect the feet, remove the old pads, clean and dry the contact areas, fit new felt, then check every pad and the floor beneath it.
Go straight to the stepsBefore you begin
Work on a light chair you can handle safely. Support it securely with its feet accessible; get help for heavier furniture. Stop if a leg or joint is cracked or loose. Do not sand an unknown old coating to make a pad stick.
What you’ll need
- Felt pads sized for each foot and suitable for the floor
- Ruler and clean cloths
- Furniture-approved cleaner or adhesive-removal method
- A protected, stable work surface
Let’s do this
Step by step
- 01
Inspect the old pads and the floor
Lift the chair to a protected work area. Check each pad for peeling edges, exposed adhesive, embedded grit or a worn-through center. Note whether only one foot repeatedly loses its pad. Remove loose floor grit before the chair goes back; a fresh protector should not start its service on a dirty patch.
- 02
Measure the actual contact face
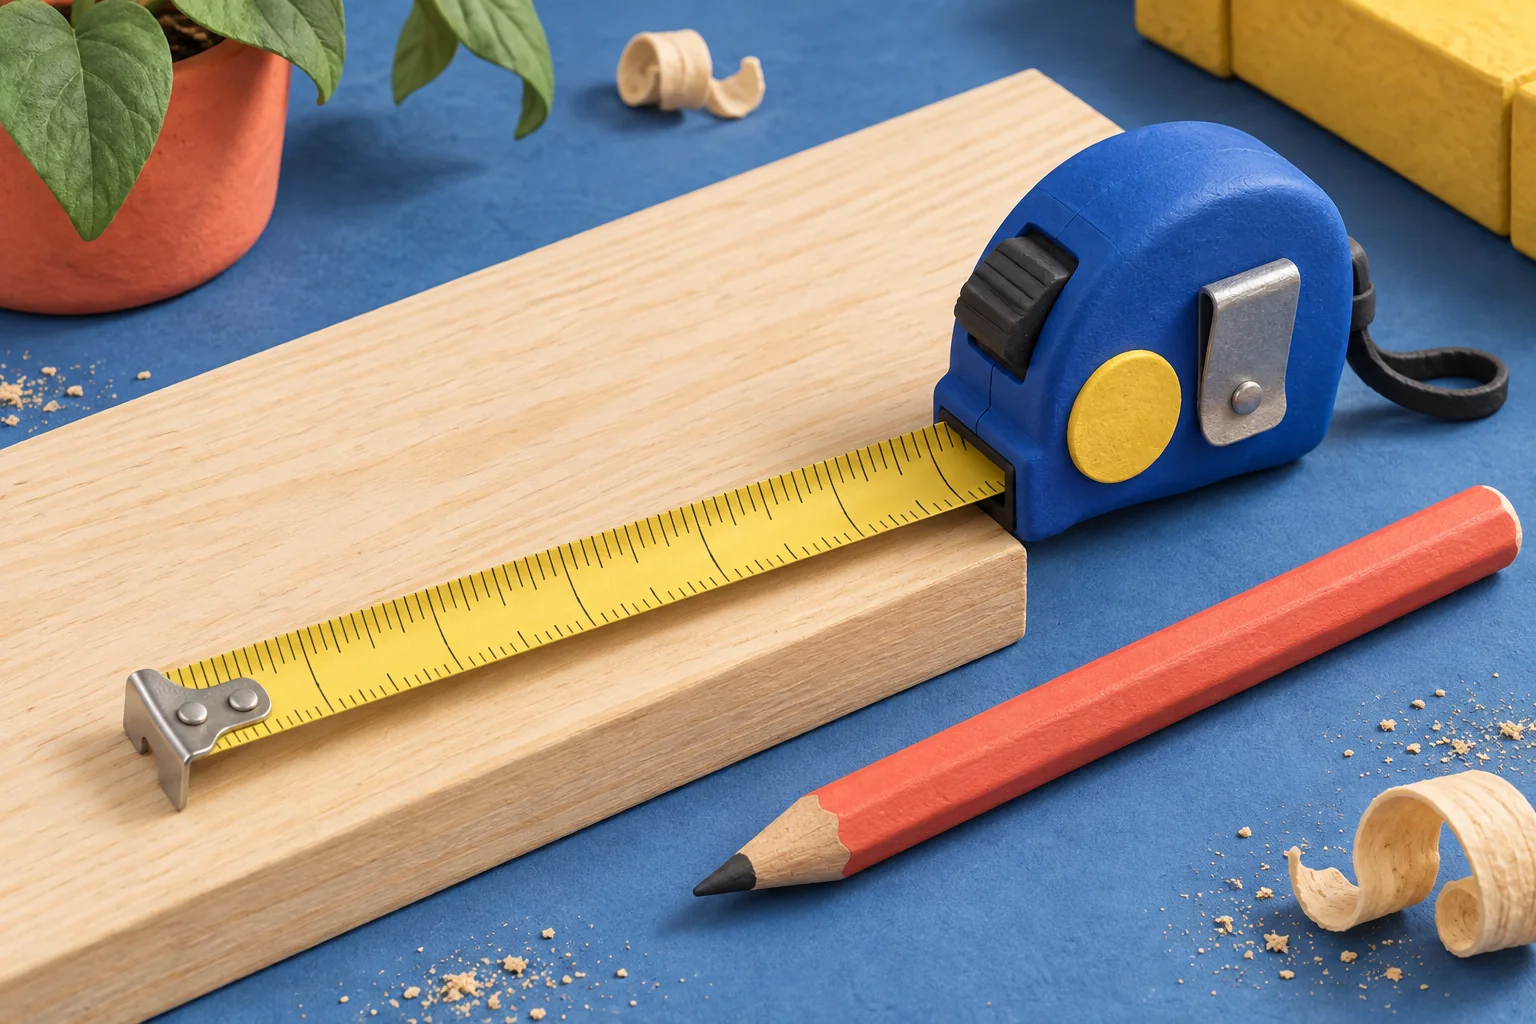
Measure the flat underside of each foot, not the widest part of a tapered leg. Choose a pad shape that covers that contact face without overhanging. Round adjustable pads with removable rings can help with intermediate sizes. Check all feet before buying; front and rear legs may need different dimensions.
- 03
Remove old felt and prepare the foot
Peel away the old pad. Remove adhesive with a furniture-approved method. Shepherd specifies isopropyl alcohol for pad preparation, but do not assume every finish tolerates it. Test the approved method in a hidden spot. Remove debris and let the contact surface dry completely.
- 04
Fit and press the new pad
Check the fit before removing the backing. Center the pad on the dry foot, expose the adhesive and press firmly across the whole pad. Follow its package instructions for pressure and setup time. Keep your fingers off the adhesive. Repeat on the other feet; do not stick new felt onto old felt.
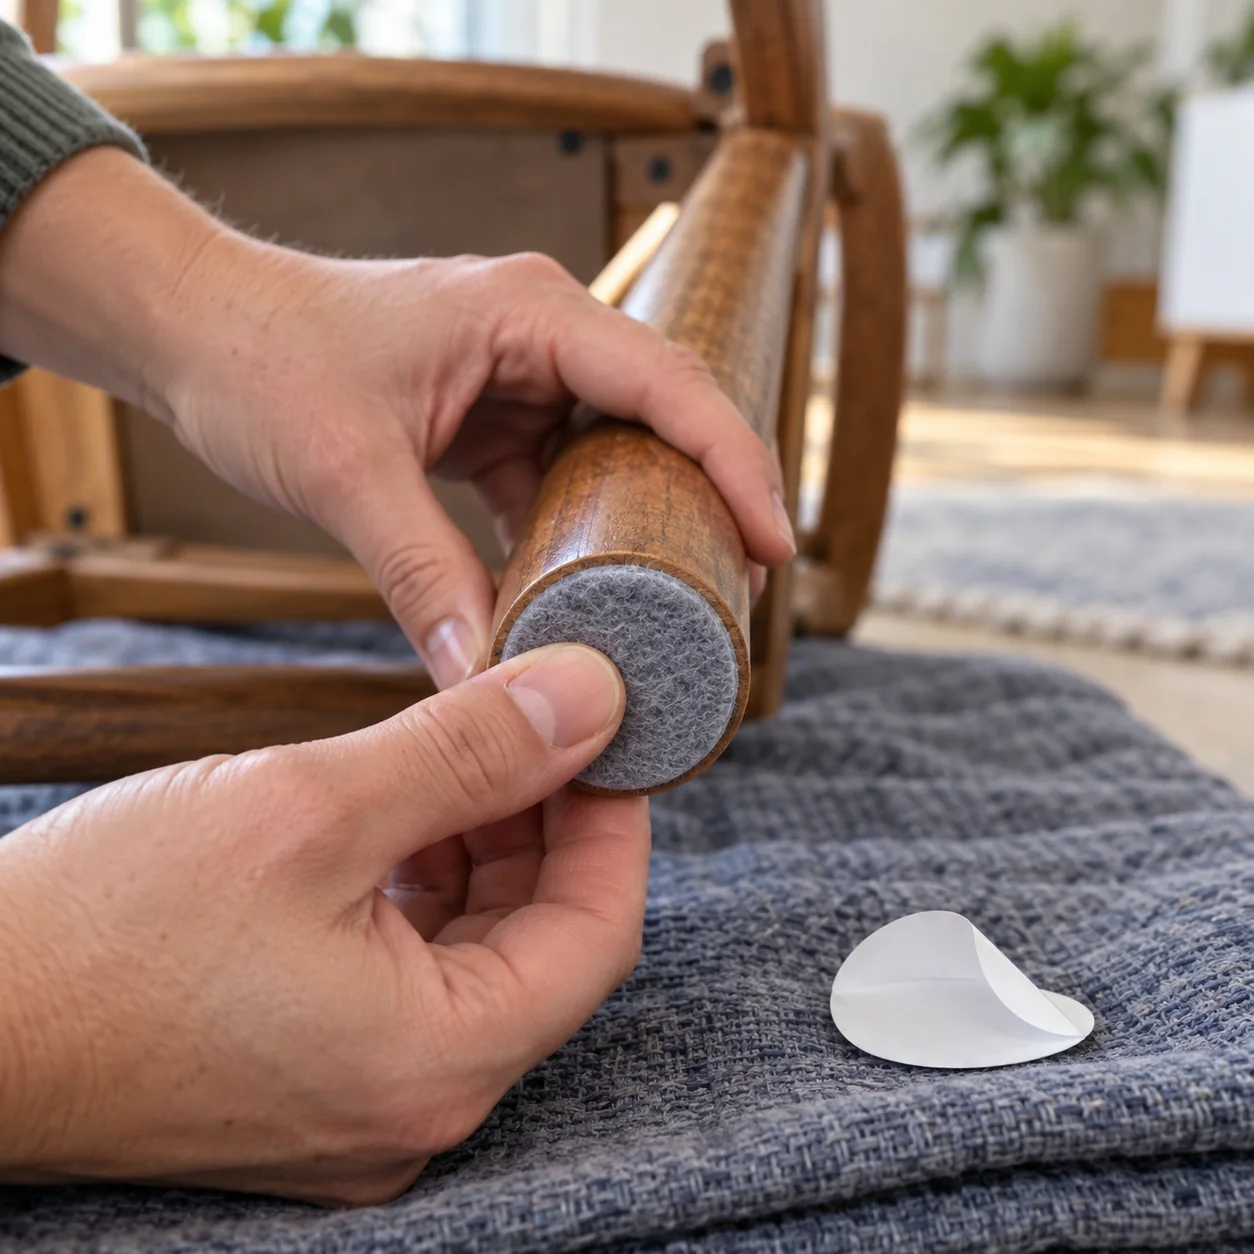
Press firmly onto the prepared foot, following the pad maker’s instructions.Open full-size image - 05
Return the chair and check contact
Lift the chair upright and place it on the clean floor. Confirm that every pad lies flat and remains centered. Sit normally only after the pad instructions allow use. If the chair rocks, inspect its legs and joints; extra layers of felt are not a repair for damaged furniture.
- 06
Make pad checks part of floor cleaning
Lift the feet periodically and remove trapped grit from the felt. Replace pads that are displaced, worn through or too dirty to clean effectively. Havwoods recommends regular checking, cleaning and replacement as needed. Pay particular attention to dining chairs that move often.
Optional supplies on Amazon
Affiliate disclosure: As an Amazon Associate I earn from qualifying purchases. How our links work.
Use what you already have. These links open Amazon search results so you can compare suitable supplies; they are not individual product reviews.
Buy for the contact surface
Precut pads suit feet that match their size and shape. Adjustable ring pads offer several diameters in one pad; remove the excess rings as directed. If the foot is curved, hollow or too small for reliable adhesive contact, ask the furniture maker for a suitable replacement glide instead of wrapping felt around the leg.
A quick final check
- All feet are sound and their contact surfaces are clean and dry.
- Pads fit without overhang and have received the specified installation pressure.
- The chair is stable and the floor beneath it is free of grit.
Common questions & sticking points
Why did a new pad slide off immediately?
Check for moisture, old adhesive, dust or incomplete contact. Remove the failed pad and correct the surface preparation before fitting a fresh one. More pressure cannot compensate for a dirty or wet bonding surface.
Why does the chair still scratch with felt attached?
Inspect every foot and the floor for grit. A shifted pad may expose the hard edge of the leg; a dirty pad may carry abrasive particles. Stop moving the chair until you find the contact point causing the mark.
Can I slide a heavy cabinet once it has felt pads?
Lift heavy furniture with suitable help. Tarkett advises lifting heavy furniture instead of sliding it on laminate. Felt does not make dragging a loaded cabinet a controlled or floor-safe move.
Sources & further reading Optional
References used to check this guide. Follow your product’s own safety instructions where its design differs.
- Shepherd Hardware: felt installation and adhesion, catalog page 29
- Scotch: Custom Fit felt-pad sizing
- Havwoods: felt-foot inspection and floor care
- Tarkett: laminate floor care and moving furniture
- Flexi-Felt: self-adhesive pad installation