The goal is not a drawer that looks perfect for a photograph. It is a drawer where you can find one thing and put it back without rearranging everything else. Start with a small space you use daily so you can quickly tell whether the new layout is actually helping.
Pick one job for the drawer, group similar items, and make everything easy to see and return.
Go straight to the stepsBefore you begin
Start with one drawer. You do not need to buy organizers before you know what belongs inside.
What you’ll need
- One drawer
- A clear sorting space
- Small boxes or dividers you already own
Tools & supplies for this project
Affiliate disclosure: We may earn a commission when you buy through these Lowe’s links. How our links work.
Use what you already own. If you need supplies, compare these options with the requirements above and choose only the items your project needs.
Check Lowe’s for current price, availability and specifications.
Let’s do this
Step by step
- 01
Empty and sort
Empty the drawer onto a clear surface. Make three groups: keep here, move elsewhere, and discard or recycle appropriately. Test pens or identify cables now so broken and unknown items do not go straight back in.
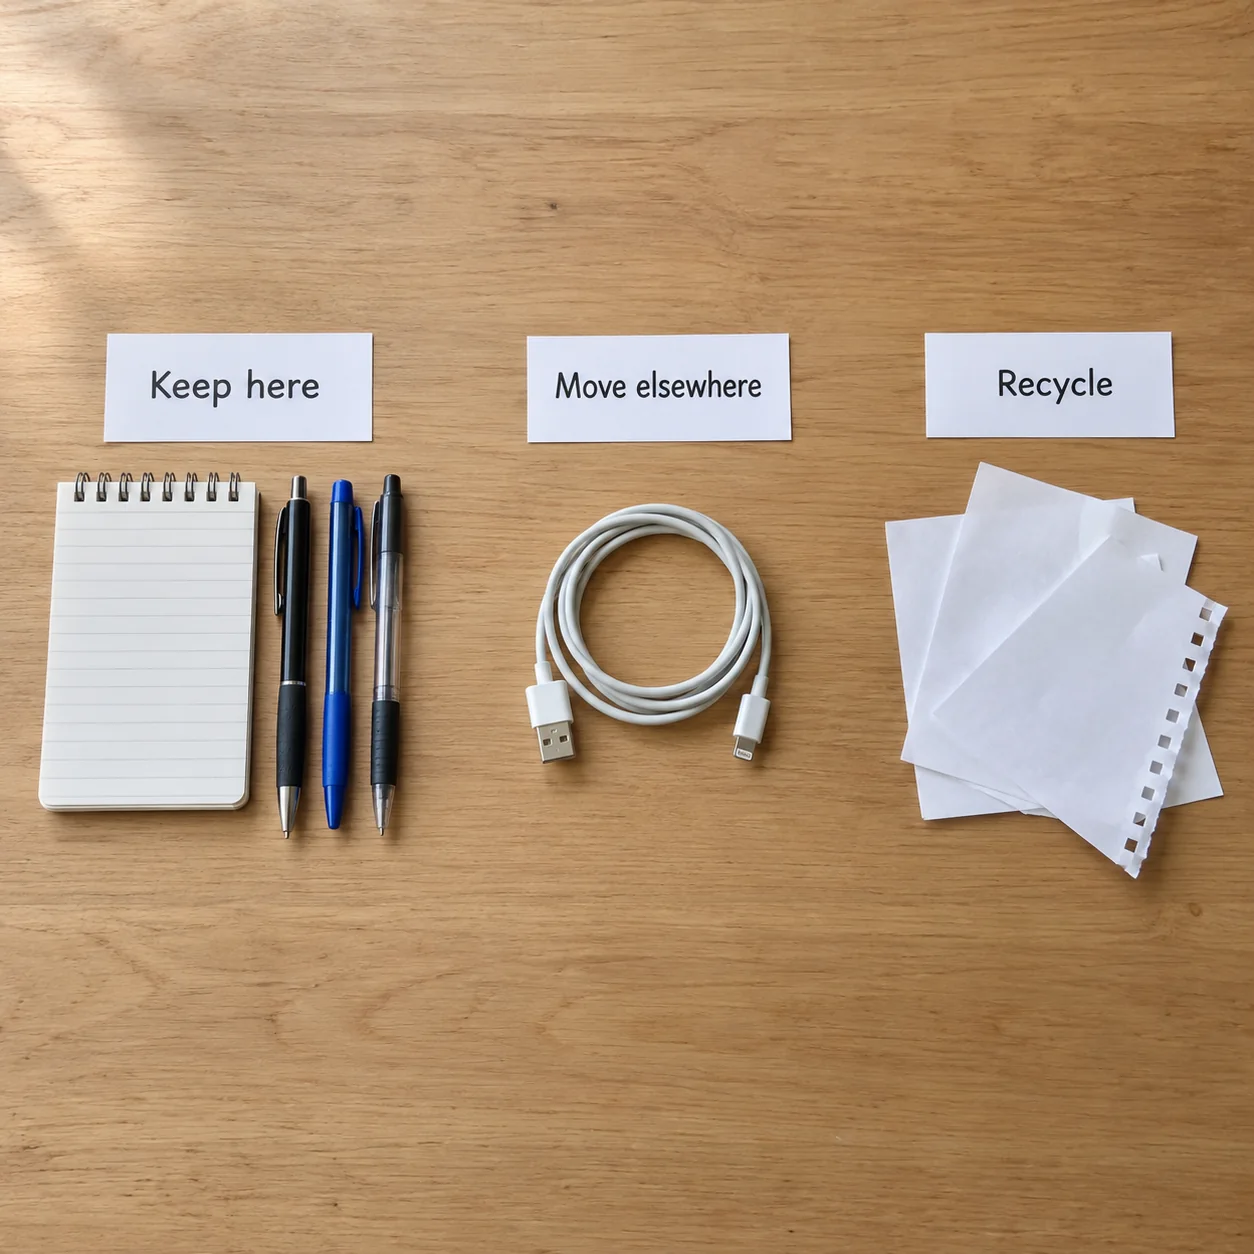
Sort before putting anything back. Check what works, relocate unrelated items, and recycle suitable materials.Open full-size image - 02
Give the drawer a purpose
Choose a useful category: daily socks, stationery, or charging cables. Move unrelated items elsewhere.
- 03
Create visible groups
Use shallow boxes you already have to separate groups. Check that every box fits below the drawer’s opening and cannot catch as it closes. Keep labels or contents visible from above; for clothing, folded rows are easier to browse than tall piles.
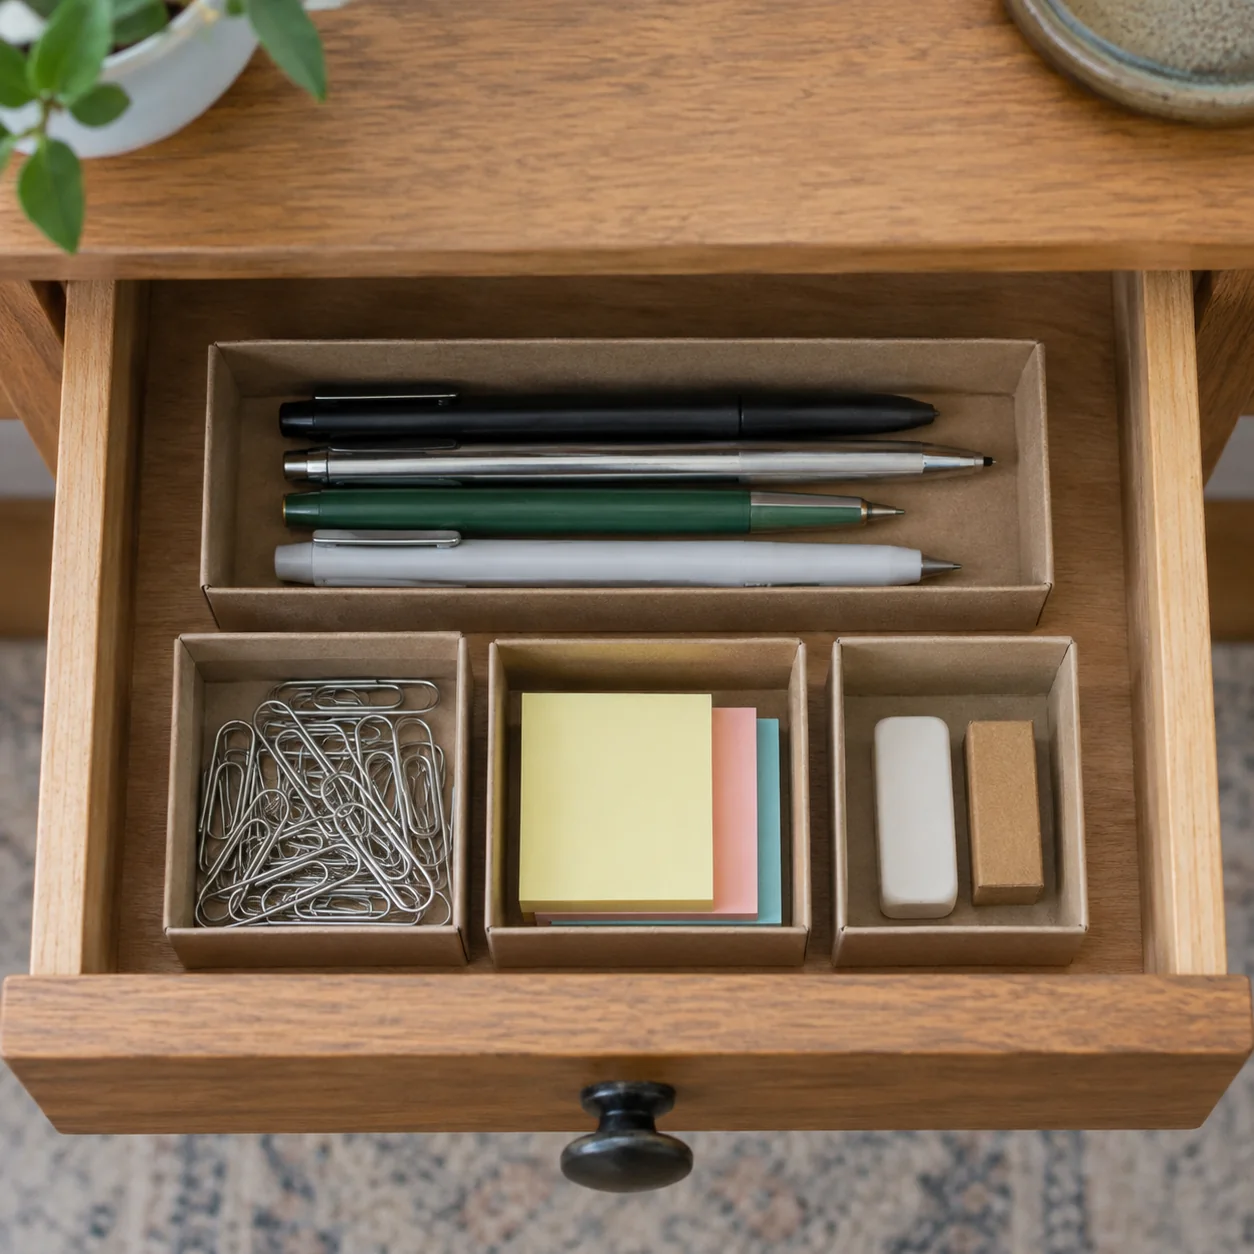
Group similar items in shallow containers. Keep everything below the drawer opening and visible from above.Open full-size image - 04
Arrange for easy access
Put frequently used items where they are easiest to reach. Keep enough space to remove an item without disturbing the rest.
- 05
Try it, then adjust
Close the drawer slowly and check for obstructions. Reopen it, take out one everyday item, and return it. If that requires moving two other containers, simplify the layout. After a few days, adjust the section that keeps collecting loose items.
Optional supplies on Amazon
Affiliate disclosure: As an Amazon Associate I earn from qualifying purchases. How our links work.
Use what you already have. These links open Amazon search results so you can compare suitable supplies; they are not individual product reviews.
Try this layout for a busy desk drawer
Make three small groups: things you write with, things you attach with, and things you plug in. Put your everyday pen at the front, paper clips in a small open box, and a few identified charging cables in a separate space. A mystery cable should not automatically earn a permanent place.
Create a temporary “decide later” container outside the drawer for things you genuinely need to identify. Set a date to deal with it. The point is to finish one usable drawer without turning a fifteen-minute task into a full-house sorting project. Avoid putting the undecided pile straight back where it started.
Make the reset easier than making a mess
If returning an item requires lifting two boxes and unfolding a label, simplify the arrangement. Give frequently used items generous, obvious spaces. Leave a little room around each group, then test the layout by taking out and returning a few things with the drawer in its normal position.
After a week, look for the spot that keeps collecting loose objects. It may need a small catch-all compartment, or it may be receiving items that belong elsewhere. Adjust that one spot instead of starting over. If the contents regularly exceed the space, choose what leaves before buying a more complicated organizer.
A quick final check
- The drawer has one clear main purpose.
- Every everyday item has an easy return spot.
- The drawer closes without pushing or compressing the contents.
Common questions & sticking points
How can I organize a drawer without buying organizers?
Clean, sturdy boxes can help you test the layout before buying anything.
It still will not close. What next?
Remove bulky or rarely used items instead of compressing everything into the available space.
Sources & further reading Optional
References used to check this guide. Follow your product’s own safety instructions where its design differs.
Last source check: September 22, 2026