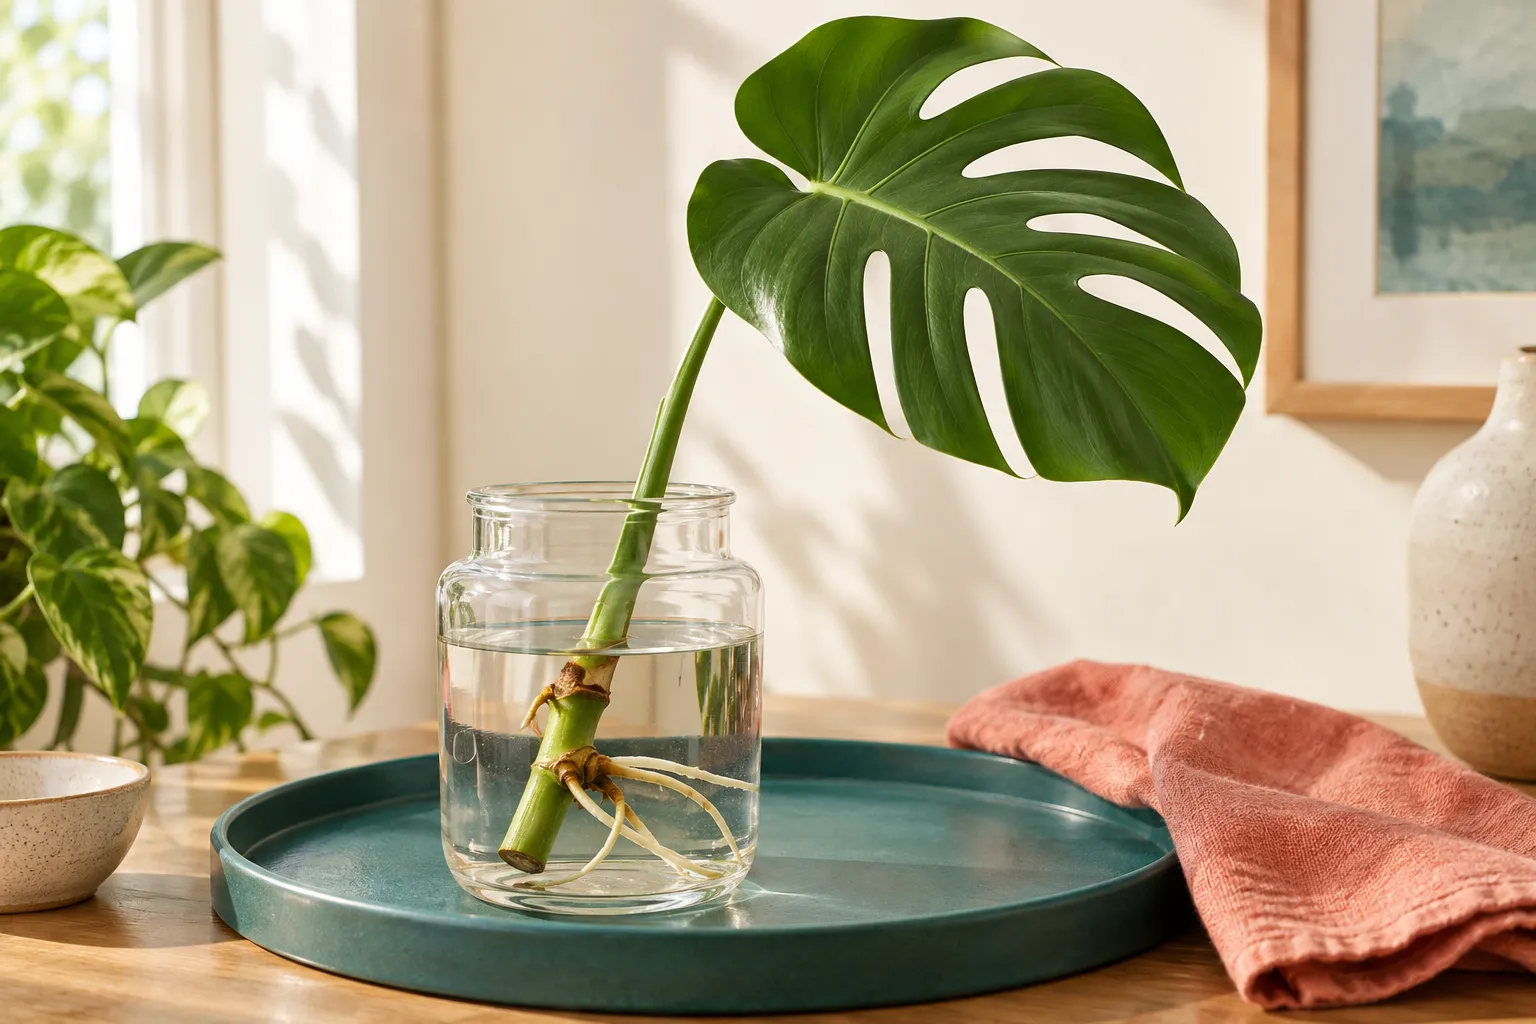
A large monstera leaf can stay attractive in a vase while never becoming a new vine. The missing piece is usually the stem node. Look at the main stem before choosing the prettiest leaf.
Take a healthy stem cutting with a node and leaf, place the node in water while keeping the leaf above it, and provide bright indirect light. Pot after several roots develop and support the stem as it establishes.
Go straight to the stepsYour project helper
Follow the steps and check them off as you go →Before you begin
Wear gloves if sap irritates your skin. Keep cut pieces away from pets and children. Use clean cutting tools and a stable jar that cannot tip under a large leaf. Do not cut a diseased or soft stem for propagation.
What you’ll need
- Healthy monstera stem with a node
- Clean pruning tool
- Stable clean jar
- Small draining pot and airy houseplant mix
- Optional plant support
Let’s do this
Step by step
- 01
Find the stem joint
Identify the thick main stem, not just a leaf stalk. A node is where the leaf stalk and often an aerial root meet that stem. Include a viable growth point on the node in your cutting.
- 02
Cut below the node
Support the leaf and make a clean cut a short distance below the node. Retain a manageable stem section and one healthy leaf. Large top-heavy cuttings need a wider, heavier container.
- 03
Place the node in water
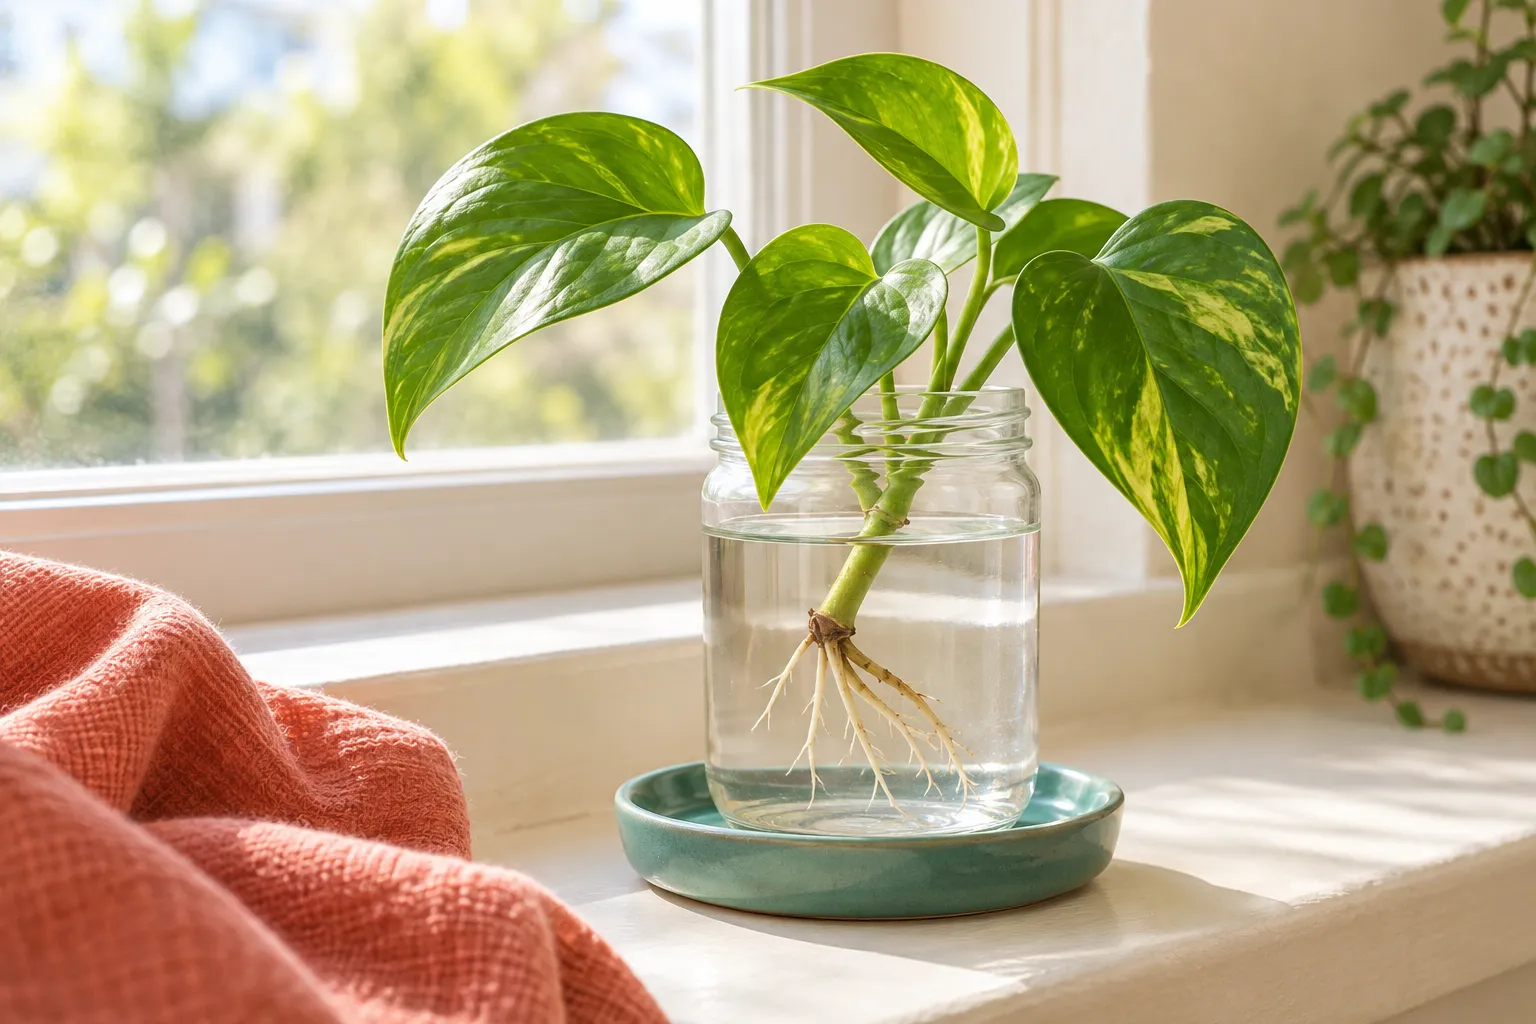
Set the node below the water surface but keep the leaf and most of its stalk above water. An existing aerial root can enter the water. Put the jar in bright indirect light, away from hot sun.
- 04
Refresh and inspect
Replace water regularly and wash the jar if a film develops. Look for firm new roots and remove decaying material. Avoid repeated handling of delicate new root tips.
- 05
Pot the rooted cutting
Once there are several roots a few inches long, place the cutting in a draining pot with airy mix. Keep the leaf stalk above the mix. Water through, drain and support the main stem if it leans.
- 06
Establish before upsizing
Keep conditions steady while the plant adjusts to soil. A huge pot is not a shortcut to huge leaves; excess wet mix can stay saturated around a small root system.
Checks stay on this page while you work and reset when you leave.
Root growth and leaf growth run on different clocks
Do not judge success only by a new leaf. A cutting often invests in roots first. Take a weekly photo and look for gradual changes rather than lifting it out every day.
Train the stem, not the leaf stalk
Attach a support loosely around the main stem if needed. Leaf stalks move to orient their leaves; tying them tightly to a pole can damage them.
A quick final check
- Find the stem joint
- Cut below the node
- Place the node in water
- Refresh and inspect
- Pot the rooted cutting
- Establish before upsizing
Common questions & sticking points
Can I root a single leaf?
A leaf may form roots or remain green for a while, but a node with a viable growing point is needed for a new climbing plant.
Does an aerial root replace the node?
No. The node and its growth point are still necessary. Include the stem section where the aerial root originates.
Sources & further reading Optional
References used to check this guide. Follow your product’s own safety instructions where its design differs.
Last source check: September 24, 2026