Snake plants multiply slowly from leaf sections. The most useful preparation is marking which end grew closest to the roots. Turning a section upside down is an easy mistake once several pieces are lying on a table.
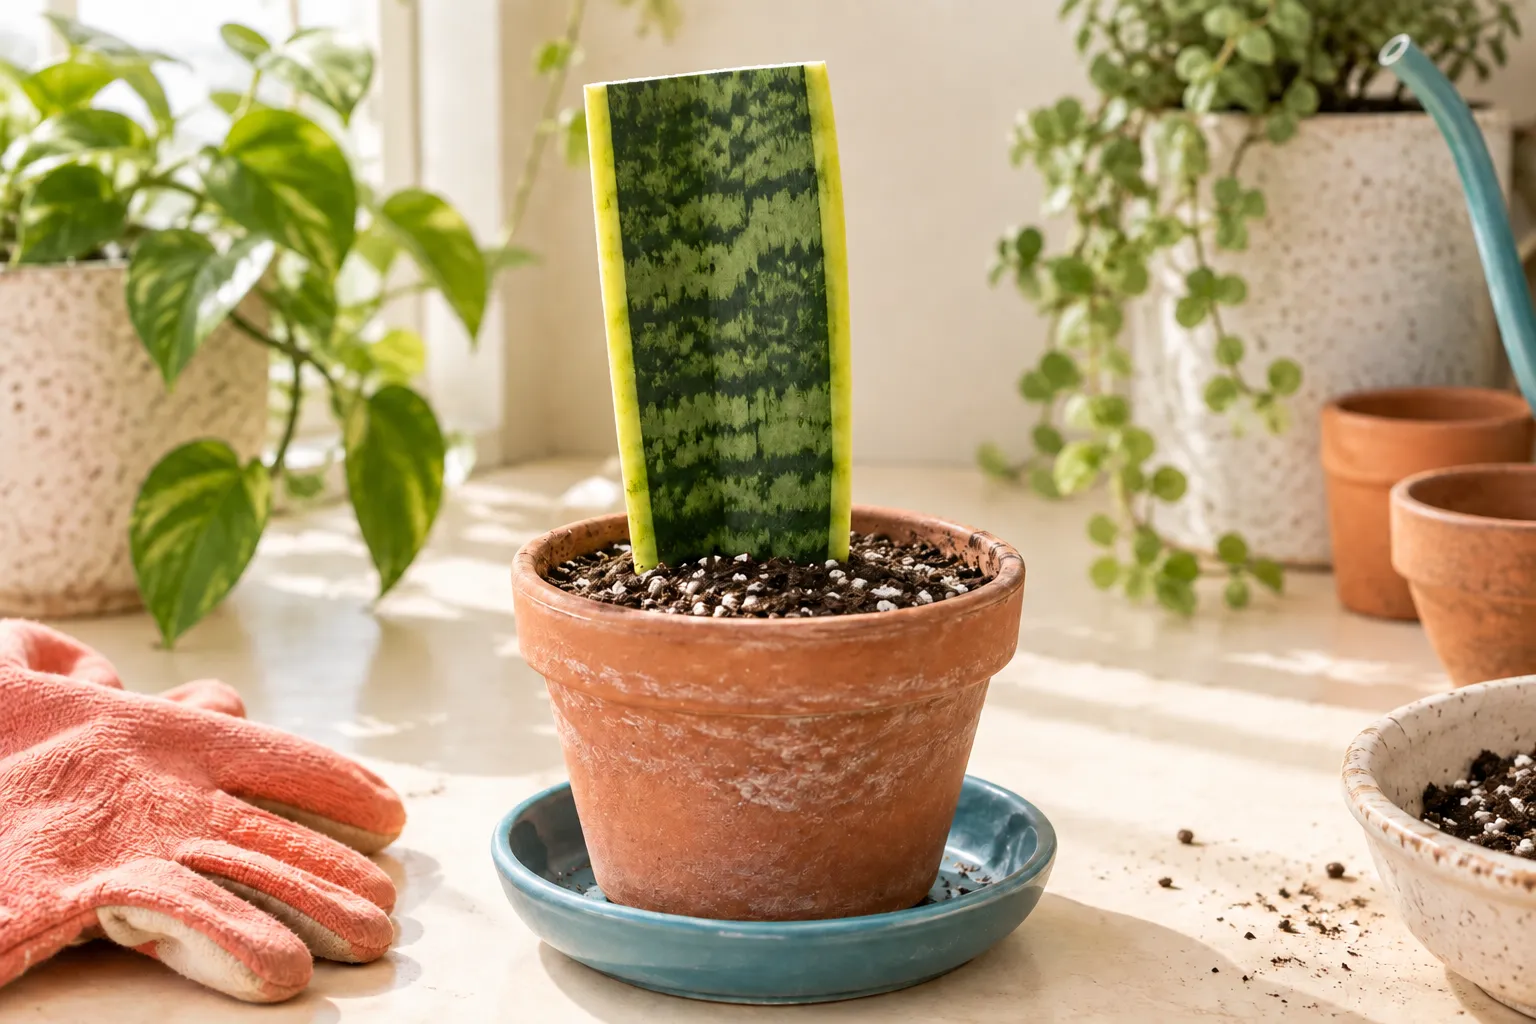
Cut a healthy leaf into sections, keep track of the original bottom end and insert that end into a well-aerated rooting medium. Keep warm in indirect light and avoid saturated soil while roots and shoots form.
Go straight to the stepsYour project helper
Follow the steps and check them off as you go →Before you begin
Leaf propagation may not preserve the yellow margins of some varieties. Divide an established rooted clump instead when preserving that pattern matters. Keep plant pieces away from pets and young children.
What you’ll need
- Healthy snake plant leaf
- Clean sharp knife or snips
- Small pot with drainage
- Airy propagation medium
- Plant labels
Let’s do this
Step by step
- 01
Select a healthy leaf
Use a firm mature leaf without rot. Clean the cutting tool. Photograph the leaf before cutting and label the side nearest the soil so the orientation remains clear.
- 02
Divide into sections
Make sections roughly 3–4 inches long. Mark or shape each bottom edge consistently. Keep pieces in order on a clean surface and let cut surfaces dry before inserting them into the rooting medium.
- 03
Insert the bottom ends
Use a small container of lightly moistened, well-aerated medium. Insert the original lower end just deeply enough to hold each section upright. Do not bury most of the leaf or compact wet soil around it.
- 04
Keep conditions steady
Place in bright indirect light in a warm room. Check the medium and add water sparingly when needed; a constantly soaked pot encourages decay. Do not repeatedly pull sections out to inspect hidden roots.
- 05
Wait for independent growth
Roots and new plantlets may take months. Once a plantlet has enough roots and growth to handle, pot it gently in a small draining container. Leave very small shoots with the rooted section until they are sturdier.
Checks stay on this page while you work and reset when you leave.
Choose division for a faithful copy
A rooted offshoot separated with part of the rhizome is often the better choice for a striped cultivar. Leaf sections can produce plain green plants even when the parent has yellow edges.
Watch for decay
A softening base or collapsing leaf is different from slow growth. Isolate damaged pieces, check drainage and avoid trying to rescue rot with extra fertilizer.
A quick final check
- Select a healthy leaf
- Divide into sections
- Insert the bottom ends
- Keep conditions steady
- Wait for independent growth
Common questions & sticking points
Why is nothing happening after two weeks?
This method is slow. Firm sections can remain unchanged above the soil while roots develop.
Should I add rooting hormone?
It is not essential to try this method. If using one, follow the label rather than coating every surface heavily.
Sources & further reading Optional
References used to check this guide. Follow your product’s own safety instructions where its design differs.
Last source check: September 24, 2026