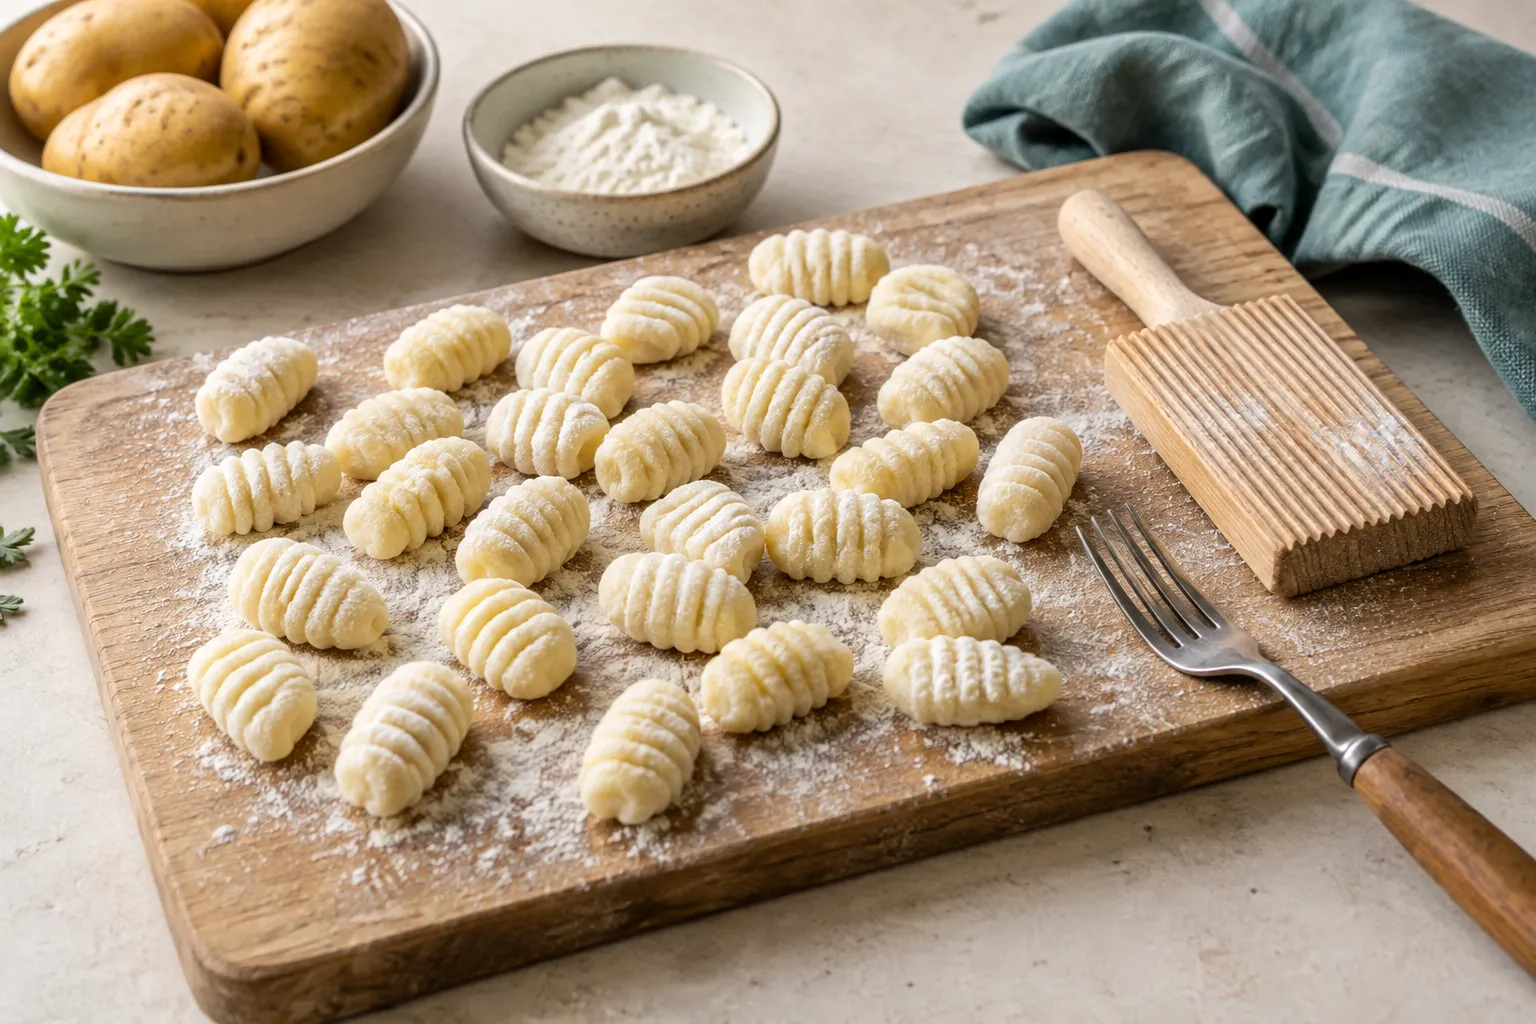
Gnocchi dough is a balance between enough flour to hold and so much that the dumplings become dense. Start with dry, fluffy potato and test one piece in simmering water before committing to a trayful.
Bake starchy potatoes until tender, rice the flesh and cool slightly. Mix with egg, salt and just enough flour, roll into ropes, cut pillows and simmer in batches until cooked.
Go straight to the stepsYour project helper
Follow the steps and check them off as you go →Before you begin
Wash and pierce potatoes before baking. Hot potato flesh gives off steam. Avoid eating raw flour or dough, and keep any waiting egg-containing dough cool if preparation is delayed.
What you’ll need
- Oven and baking tray
- Potato ricer
- Bench scraper
- Large pot
- Slotted spoon
Measure before you start
Ingredients
Base batch: 4 portions
Ingredient amounts scale; oven temperatures and cooking times do not. Split a larger batch between pans when needed. For half an egg, beat it and measure half.
Use the base batch for your first attempt. Adjust seasoning to taste and check texture as you cook.
Let’s do this
Step by step
- 01
Bake the potatoes
Bake whole potatoes at 400°F until easily pierced, often 50–70 minutes depending on size. Baking keeps the flesh drier than boiling peeled pieces in water.
- 02
Rice while warm
Open carefully, scoop out the flesh and pass through a ricer. Spread briefly so steam can escape. Let cool until warm rather than hot enough to cook the egg on contact.
- 03
Mix lightly
Add salt, beaten egg and most of the flour. Fold with a scraper or hands until the dough just holds together. Add a little more flour only if necessary; avoid kneading like bread.
- 04
Test one dumpling
Shape one small piece and simmer it in salted water. Once it rises, allow a little more time and check the center. If it disintegrates, gently add a little flour to the remaining dough and test again.
- 05
Shape and cook batches
Roll portions into thumb-thick ropes and cut into roughly ¾-inch pillows. Add optional ridges with a fork. Simmer without crowding, lifting cooked gnocchi with a slotted spoon.
- 06
Sauce gently
Transfer to a warm prepared sauce and fold gently. Do not leave delicate dumplings in a hard rolling boil while you finish another task.
Checks stay on this page while you work and reset when you leave.
Flour is an adjustment, not a rescue for soaked potatoes
The moisture in the cooked potato changes the amount needed. Keep the dough soft and handle minimally. A ricer gives an even texture without the aggressive mixing of a processor.
Serve now or store safely
Refrigerate perishable cooked food in shallow containers within 2 hours, or within 1 hour when the room or outdoor temperature is above 90°F. Keep the refrigerator at 40°F or below. Use most cooked leftovers within 3–4 days and reheat to 165°F. Do not wait for a large pot to cool completely on the counter.
A quick final check
- Bake the potatoes
- Rice while warm
- Mix lightly
- Test one dumpling
- Shape and cook batches
- Sauce gently
Common questions & sticking points
Are ridges necessary?
No. Plain pillows work; ridges add texture and hold a little sauce.
Why are they chewy?
Too much flour or excessive working can make the dough heavy. Use drier potatoes and a lighter touch next time.
Sources & further reading Optional
References used to check this guide. Follow your product’s own safety instructions where its design differs.
Last source check: September 24, 2026