Room corners are not always exactly 90 degrees, and floors are not always flat. Test joints with short offcuts before committing a long board. Caulk can disguise a small paint-grade seam; it is not a substitute for a badly cut corner or a board that cannot sit properly.
Measure the room, dry-fit each piece and corner, then fasten the trim to the wall and finish small cosmetic gaps.
Go straight to the stepsBefore you begin
Locate hidden services before fastening. Follow saw and nailer instructions, using eye and hearing protection. Keep required floor expansion gaps clear. Assess old painted trim for lead before removal.
What you’ll need
- Baseboard suited to the room
- Tape measure and pencil
- Suitable saw and safe cutting setup
- Stud finder
- Specified finish fasteners
- Paintable filler and caulk where appropriate
Let’s do this
Step by step
- 01
Measure and label the wall runs
Record each wall length and the corner type at both ends. Mark pieces by room location and note the face that will show. Allow for joint cuts and a little waste rather than adding all lengths and buying that exact total.
- 02
Plan the corner joints
Outside corners usually need fitted miters. Inside corners can be coped or fitted with the appropriate joint for the profile and material. Practice the selected method on offcuts, check the actual wall angle and keep the top edge orientation consistent.
- 03
Cut and dry-fit
Make cuts with a secured tool and properly supported stock. Fit each board before attaching it and adjust small errors gradually. Keep any scribing or profile trimming within your skill level; a rough floor may need more than a straight cut.
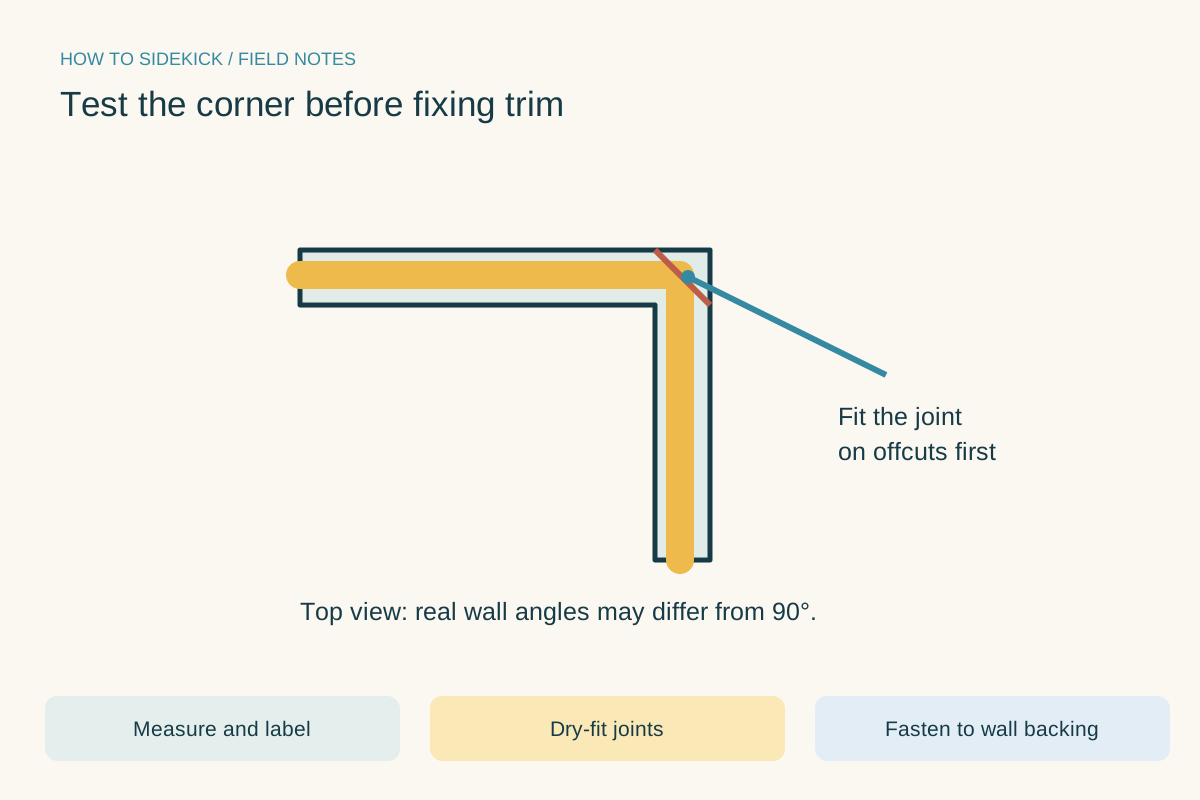
Test the corner before fixing trim. Use the instructions below for the full procedure.Open full-size image - 04
Fasten to suitable backing
Locate framing and choose fasteners for the trim and wall assembly. Secure the board without splitting it or crushing a soft profile. Nail into the wall backing, not down through a floating floor, and preserve the flooring maker’s movement allowance.
- 05
Fill and finish
Fill small nail holes with a compatible product. Use paintable caulk for appropriate small trim-to-wall gaps, not movement gaps that must remain open. Let fillers and caulk dry as directed, then prime and paint to match the material.
Buy material for the room
Paint-grade wood, MDF and moisture-resistant profiles have different cutting and finishing needs. Match the profile and height to adjoining trim before purchasing. In a damp location, use a material approved for that exposure.
A quick final check
- Runs and corners labeled
- Test joints fit
- Fasteners enter backing
- Floor movement preserved
Common questions & sticking points
Can I simply cut every corner at 45 degrees?
Only a true square corner divides evenly that way. Test the actual angle and fit; a coped inside corner is another option for suitable profiles.
Should I caulk the baseboard to the floor?
Do not block a required expansion gap or bond a floating floor to the trim. Follow the flooring and trim system requirements.
Sources & further reading Optional
References used to check this guide. Follow your product’s own safety instructions where its design differs.
Last source check: September 24, 2026