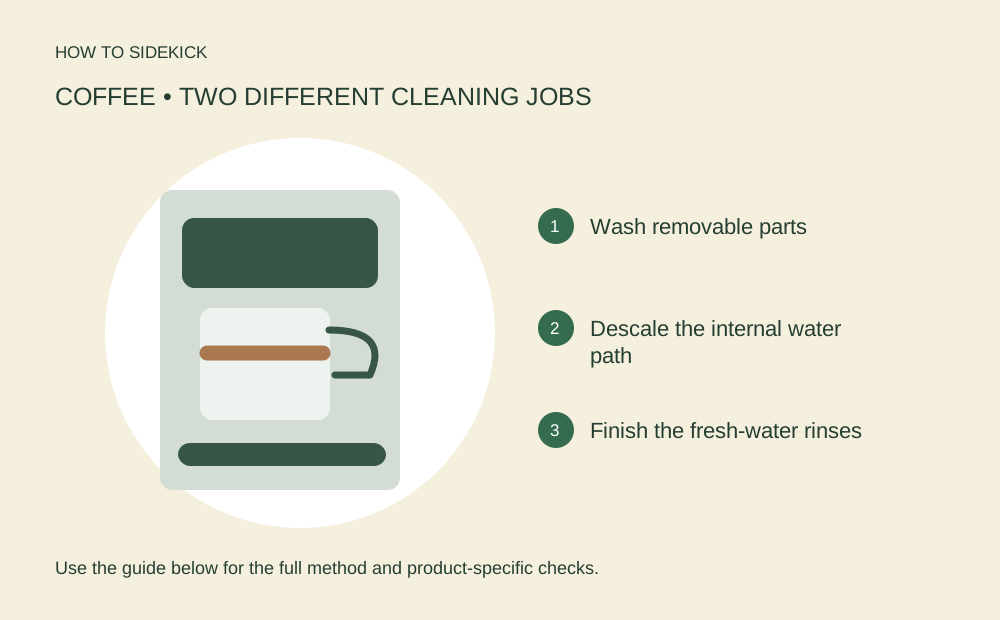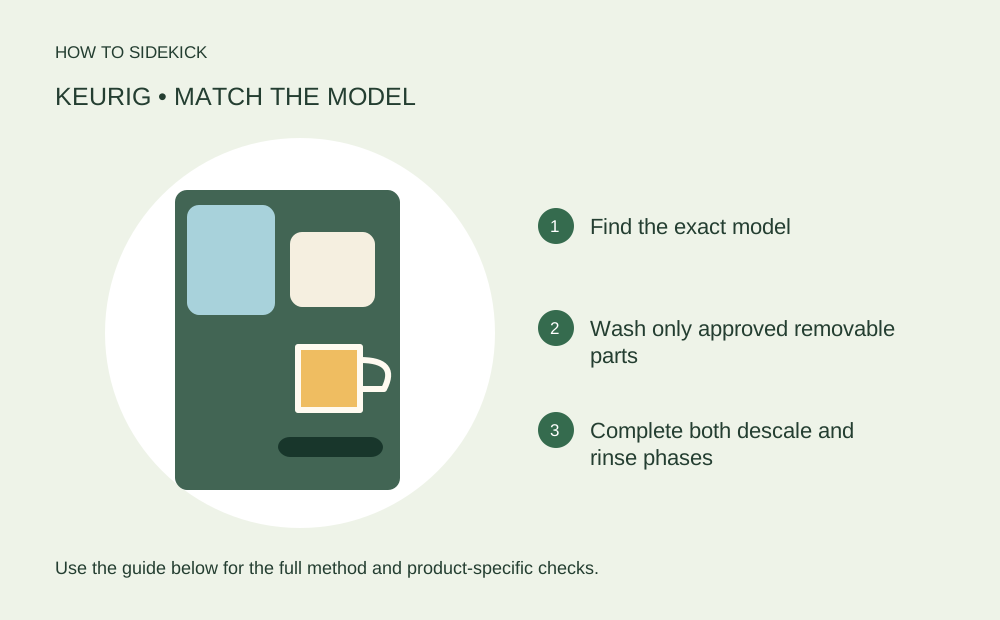
A clean drip tray does not mean the brewer is descaled. Identify the model and separate everyday cleanup from the internal cleaning cycle.
Clean removable parts and the cooled exterior first. Descaling is a separate model-specific process: use the approved solution and finish both the cleaning and fresh-water rinse phases. There is no single button combination for every Keurig.
Go straight to the stepsYour project helper
Keep track as you go 0/4
Check off what you have verified. This list resets when you leave the page.
Before you begin
Unplug before hand cleaning. The pod holder contains sharp needles. Do not put fingers into it, submerge the brewer or use a needle-clearing method from a different model.
What you’ll need
- Soft cloth
- Mild soap for approved removable parts
- Fresh water
- Large suitable mug
- Exact model’s use-and-care guide
Optional tools & supplies
Affiliate disclosure: We may earn a commission when you buy through these links. How our links work.
Use what you already have. Choose supplies that fit your task, and check instructions and current prices.
 Rubbermaid Commercial microfiber cloths, 16-packLowe’s · Product
Use a clean cloth approved for the surface; keep dirty or gritty cloths away from delicate finishes.
 Dawn Platinum Original dish soap, 56 ozLowe’s · Product
Use only where the surface or appliance maker permits dish soap. Follow dilution and rinsing directions.
Let’s do this
Step by step
- 01
Identify the brewer
Find the model name on the brewer or label. Locate its official use-and-care guide before starting a descale cycle. K-Express, K-Mini and K-Duo controls and water paths differ.
- 02
Empty and clean accessible parts
Remove the used pod and empty the drip tray. Wash only parts the manual identifies as washable, then rinse thoroughly. Wipe the unplugged, cooled exterior with a lightly damp cloth.
- 03
Check the symptom
For a partial cup, follow the model’s pod-holder and needle-cleaning directions carefully. For a descale reminder, use the descaling procedure. A clean-looking reservoir does not rule out scale inside.
- 04
Complete the model’s descaling sequence
Remove any filter if instructed. Use the specified solution quantity, water quantity and mug size, without a pod. Follow each button step and dispose of the hot output carefully.
- 05
Finish the fresh-water rinse phase
Refill and run the required rinses until the manual’s completion condition is met. Do not unplug halfway through to clear the reminder. Refit components and try a plain-water brew before making coffee.
Two jobs, two kinds of supplies
A cloth and dish soap help with approved removable parts and the exterior. They are not descaling ingredients. Buy a descaler only after matching its compatibility to your brewer.
When cleaning does not restore a full cup
Record the model, lights shown and which steps you completed. If the correct cleaning and descaling procedures do not help, that record will make a support call more useful than repeatedly restarting the cycle.
A quick final check
- Model identified
- Used pod removed
- Washable parts rinsed
- Full descale and rinse phases finished
Common questions & sticking points
Can I use the K-Express button sequence on a K-Duo?
No. Use the exact brewer’s instructions; a dual brewer may have separate single-cup and carafe procedures.
Why is the descale light still on?
A required phase may be incomplete, or the brewer may need further service. Follow the model’s completion instructions rather than assuming one rinse resets it.
Sources & further reading Optional
References used to check this guide. Follow your product’s own safety instructions where its design differs.
Last source check: September 24, 2026