Add staff text at the starting note or rest, then open its Staff text properties and configure the Swing settings. A Swing indication from the Tempo palette uses system text and applies more broadly. Check the chosen subdivision and ratio, then listen with the other instruments. Staff-specific settings are useful when one part needs a different rhythmic interpretation from the rest of the ensemble.
Place a Straight marking from the Tempo palette at the note or rest where ordinary timing should resume. Check that its scope matches the earlier swing instruction, especially if swing was assigned through staff text for only one staff. Listen through the transition rather than judging the printed eighth notes alone, because those notes can look identical while their playback interpretation changes.
Enter the phrase on one staff first, then select the notes to display on the other staff and use the cross-staff command or shortcut. The moved notes still belong logically to their original staff, even though they are drawn elsewhere. This preserves the shared rhythmic line. Check beam direction and spacing afterward instead of entering duplicate notes independently on both staves.
Cross-staff movement moves the chord as a unit rather than individual chord tones. Put the notes that need to remain on the original staff into a different voice before using the cross-staff operation. Check both voices' rhythms afterward. The visual staff placement and the underlying voice structure are separate, so a split-looking chord may need more than one voice to represent the intended notation.
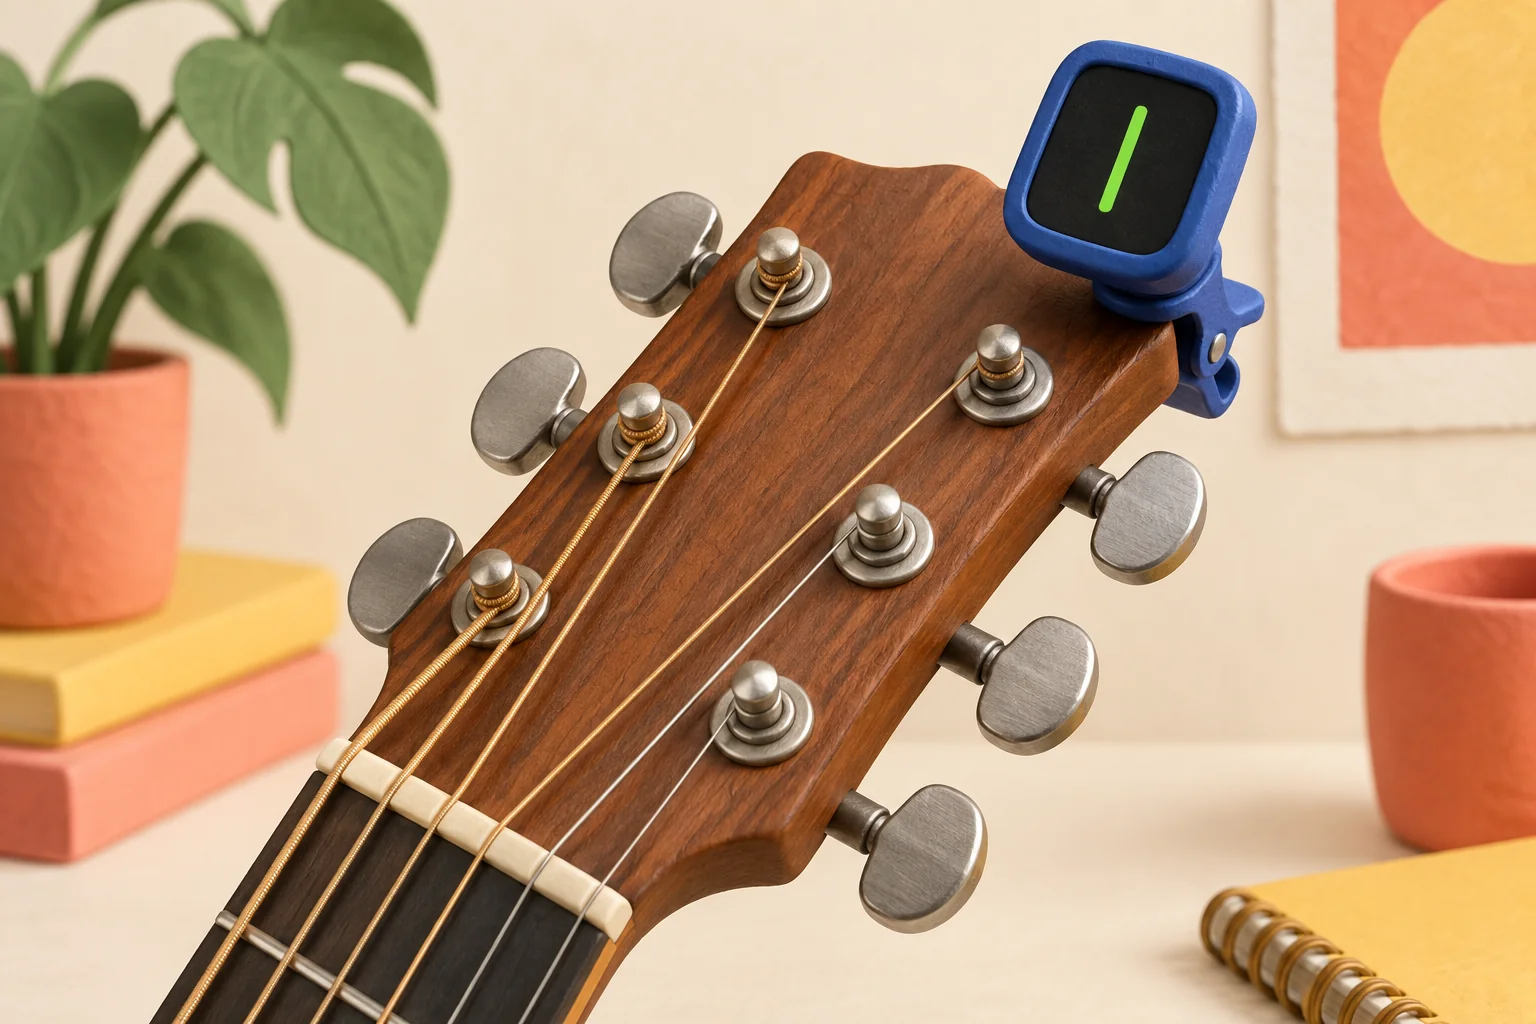
Lower only the thickest string from E to D, checking with a chromatic tuner. Leave the other strings at A, D, G, B, and E. The lowered string should sound an octave below the open fourth string, not at the same pitch. Recheck the tuning after the change, and remember that familiar shapes using the sixth string now need different fingering or interpretation.
Optional supplies on Amazon
Affiliate disclosure: As an Amazon Associate I earn from qualifying purchases. How our links work.
Once the guitar is in D-A-D-G-B-E tuning, fret the three lowest strings at the same fret and play only those strings. They supply a root, fifth, and octave. Move that shape together to change the chord, keeping unused strings quiet. Try the open three strings first to hear the relationship. This fingering relies on Drop D and will sound different in standard tuning.
Pick a fretted note, then place another fretting-hand finger firmly onto a higher fret of the same string. That second contact starts the higher note without another pick stroke. Begin with two nearby frets and compare the volume of the two notes. Aim for a clear, controlled fingertip landing rather than a large hand movement; keep the first finger in place beneath it.
Simply lifting straight away may leave too little string motion to sound the lower note. Keep the lower note fretted, then release the higher finger with a small plucking motion as it leaves the string. Practice slowly on one string and listen for two distinct notes. Avoid dragging into an adjacent string, and reduce the movement once you can produce a clear lower note.
Rest the heel or edge of the picking hand lightly on the strings near the bridge while picking. Move a little toward or away from the bridge and change pressure until the note sounds short and controlled but still has a clear pitch. Start on one low string before trying a chord. The placement and pressure work together, so make small adjustments while listening.
Keep the muting contact in place and vary the picking strength, listening for the balance between attack and damping. Palm position, pressure, and pick force each affect the result. Practice a short repeating rhythm softly, then more firmly at the same tempo. If the louder version becomes a dull thud, reduce damping slightly instead of simply hitting the string harder and harder.
For the intended note, align the slide over the metal fret itself rather than midway between frets. Touch the strings lightly without pressing them onto the fingerboard. Listen carefully and make small position corrections, since the slide determines the sounding string length directly. Begin with one sustained note and compare it to a reference before trying long slides between several notes.
Optional supplies on Amazon
Affiliate disclosure: As an Amazon Associate I earn from qualifying purchases. How our links work.
Try the ring finger and little finger with a comfortably fitting slide. The little finger leaves three fingers available for ordinary fretting, while some players find the ring finger easier to control. Test both with a simple phrase that alternates slide notes and fretted notes. Choose by control and movement rather than assuming every player must copy the same finger choice.
Optional supplies on Amazon
Affiliate disclosure: As an Amazon Associate I earn from qualifying purchases. How our links work.
Play a single string with alternating downstrokes and upstrokes, keeping the notes evenly spaced. Start slowly enough to hear whether one direction is louder or catches the string. Add a simple fretted pattern only after the picking motion feels controlled. Keep the pick movement small and stop if you tense up; a steady down-up sequence is more useful practice than an uneven burst of speed.
Optional supplies on Amazon
Affiliate disclosure: As an Amazon Associate I earn from qualifying purchases. How our links work.
Hybrid picking combines the pick with one or more free fingers of the picking hand. Hold the pick normally between thumb and index finger, then use an available finger to pluck another string. Practice two separated strings slowly so the attacks are balanced. You can keep the pick ready for the next strum instead of putting it down or trying to hold it in your mouth.
Optional supplies on Amazon
Affiliate disclosure: As an Amazon Associate I earn from qualifying purchases. How our links work.
Fret the D string at the third fret, G string at the second, and B string at the first. Play only those three strings. They give F, A, and C, so the chord is complete even without all six strings sounding. Check each note separately, then practice moving to and from a familiar chord without accidentally striking the unneeded open strings.
Keep the D string at fret three and G string at fret two, then flatten your index finger enough to fret both the B and high E strings at fret one. Play only those four strings. Check that each rings clearly before strumming. This small barre is a useful step toward larger shapes, but stop and reposition if your wrist or fingers hurt.
The open E adds a major seventh to the F, A, and C notes of F major. With D-string fret three, G-string fret two, B-string fret one, and an open high E, you get Fmaj7. Play only those four strings. It can be a useful chord in its own right, but it adds a different harmony rather than being an identical replacement for every F major chord.
A sharp means raise the named note by one half step, whatever color the resulting key is. E sharp therefore uses the F key, and B sharp uses the C key, because those pairs of white keys have no black key between them. Start from the written letter and move one immediate key to the right. Do not replace that rule with a black-key shortcut.
Raise the named note by two half steps, which equals one whole step. F double sharp therefore sounds on the G key of a piano. The sign modifies one pitch; it does not mean play the note twice or add two extra notes. Keep the written letter in mind when reading the passage, since the spelling helps show how that note belongs to its scale or chord.
It identifies the octave, so you can distinguish different pitches with the same letter name. In American Standard Pitch Notation, middle C is C4. The octave number changes at C: B3 is followed by C4, while A4 and B4 still belong to octave 4. Check which naming convention your instrument or software uses before matching labels, because a letter alone does not identify a particular register.
Both use the C-clef symbol, whose middle points to the line for middle C. In alto clef that is the middle staff line; in tenor clef it is the fourth line counting upward from the bottom. Locate that reference first, then read neighboring lines and spaces in letter order. The symbol's vertical position matters, so recognizing its shape alone is not enough to identify every note.
Look at the dot's position. A duration dot sits to the right of the notehead and adds half the note's value. A staccato dot appears above or below the note and asks for a separated articulation. A note can have both markings: one controls its rhythmic value and the other how it is played. Count the written rhythm while giving the sound the requested separation.
A crescendo asks you to become louder, not faster. Keep the underlying pulse steady unless a separate tempo instruction changes it. The widening hairpin indicates increasing volume; the narrowing version indicates decreasing volume. Practice the passage slowly while keeping the beat consistent and shaping only the sound level. This helps separate expression through dynamics from acceleration that may accidentally shorten the phrase.
Relative major and minor keys share a key signature, while parallel keys share their starting note. A minor is the relative minor of C major because both use a key signature without sharps or flats. C minor is C major's parallel minor because both have C as their tonic. To find a major key's relative minor, count down three half steps and check the matching key signature.