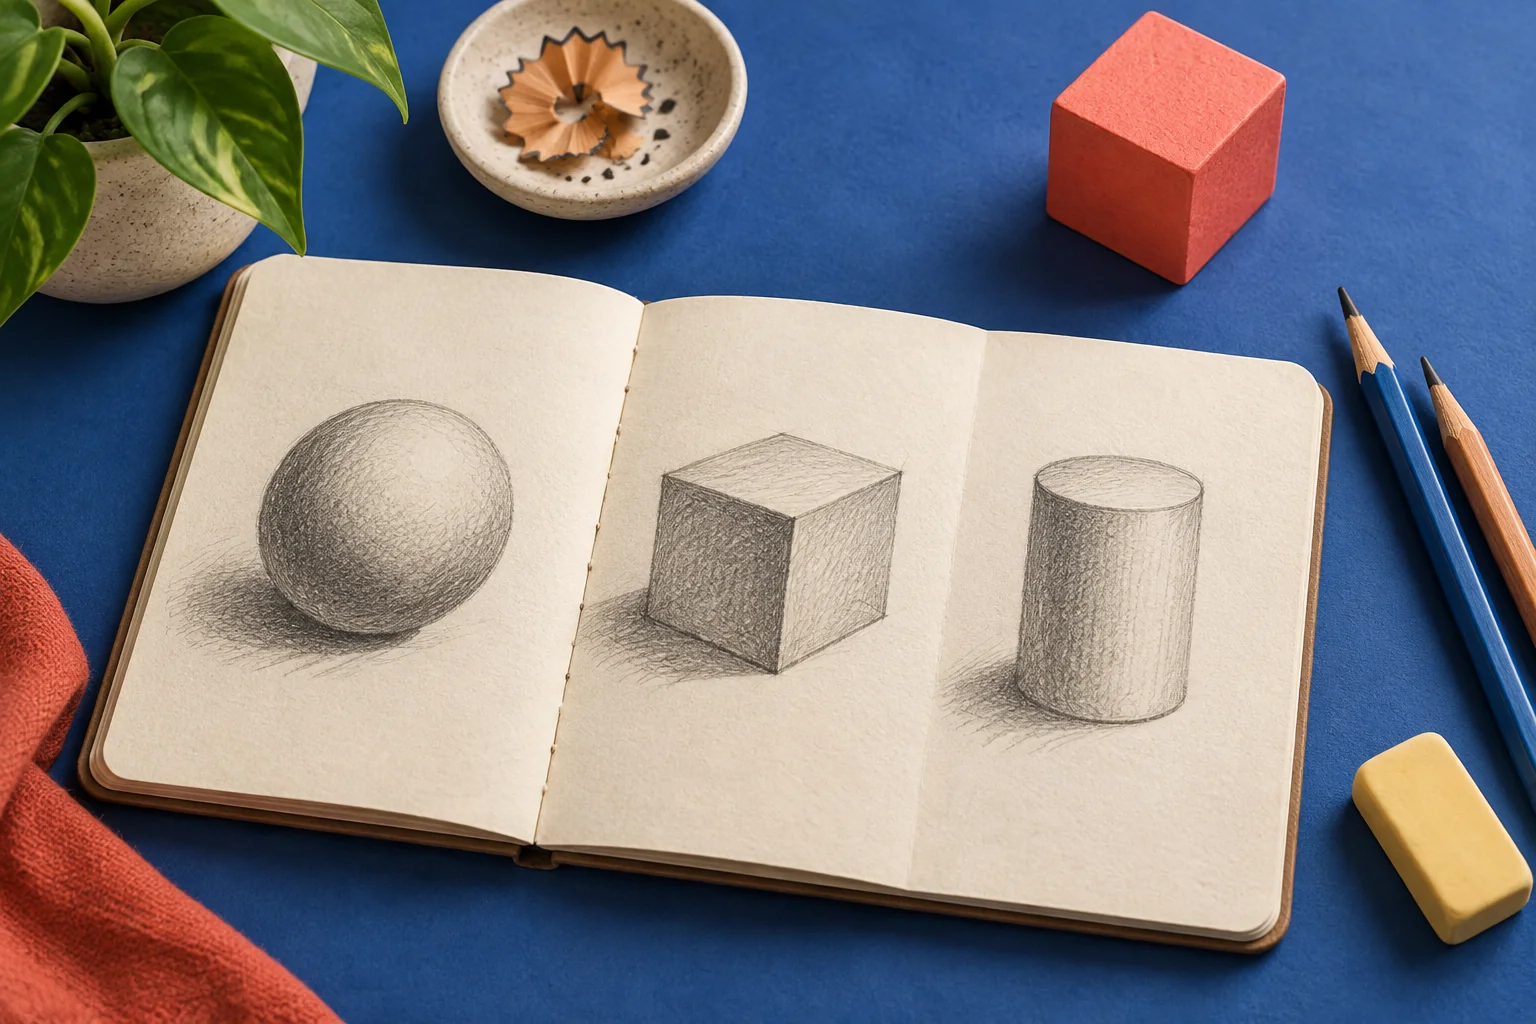
Natural oils from your fingers can affect how graphite takes to the surface and may leave marks that appear only as shading builds. Keep a clean scrap sheet under your resting hand and handle the drawing by its margins. Replace the guard sheet when it becomes dirty. This simple barrier also reduces accidental smudging as you move across finished graphite passages.
Yes, oil pastel can make bold opaque accents over a dry watercolor layer. Let the wash dry first, then test the pastel's grip on the paper and decide where its creamy texture helps. Use a small sample to explore layering or scratching back. The result behaves as mixed media, so protect the finished surface rather than treating the pastel as a dry watercolor stain.
Use Embed to KRA for reference images that should travel inside the document. A reference linked to an external file depends on that file remaining available at the expected location. Check the storage mode before moving the project, particularly for important small references. Embedding increases document size, so large changing reference files may be better linked when you can preserve their paths reliably.
Select the reference image with the Reference Images tool and reduce its Saturation in Tool Options. This lets you examine value relationships without changing the original reference file or your painting layers. Keep its aspect ratio locked when resizing for comparison. You can restore saturation when you return to color decisions, or hide reference images temporarily from the View menu to judge the drawing alone.
Place the flat-color layers in a group and add the shading layer above them inside that group. Enable alpha inheritance on the shading layer so its visible area follows the combined transparency below it. Check the group's contents before painting. A fully opaque background inside the same group can make the clipping area cover the entire canvas instead of just the shapes you meant to shade.
Alpha inheritance relies on the group's separately composited result. Pass-through mode changes that relationship by letting the group interact directly with the wider layer stack. Disable pass-through when the group is meant to provide a bounded clipping area, then review the layers below the clipped layer. Group structure is part of how the mask works, rather than merely a way to organize names.
Add a Transparency Mask to the paint layer and paint on the mask. Black hides the corresponding area, white reveals it again, and gray produces partial transparency. Confirm the mask thumbnail is selected before brushing so you do not paint directly onto the artwork. This keeps the source pixels available while you refine an edge, compare alternatives, or restore a section later.
Add a Transform Mask, select that mask, and use the Transform tool to set the change. The mask retains the transformation separately from the paint layer. Toggle its visibility to compare with the original, or select it again to revise the transform. Keep the mask selected when making those revisions, since transforming the underlying paint directly has a different effect on the source pixels.
Warp, Cage, and Liquify transformations require more processing than ordinary moves, rotations, or scales. Krita updates those heavier transform masks periodically rather than recalculating them after every source change. Give the preview time to refresh before assuming the mask is broken. A temporary delay while editing a large source layer can therefore reflect the transform's update behavior rather than lost artwork.
A clone layer displays an automatically updated copy of another layer rather than storing independent brushwork. Paint on its source layer, or use masks and effects on the clone to create a linked variation. If you need a separately editable copy, choose a normal duplication workflow instead. Check the layer type before troubleshooting the brush, because this restriction is part of the clone's design.
Select the clone layer, open its context menu, and choose Set Copy From. Pick a valid source in the dialog and inspect the preview before confirming. Krita excludes choices that would create invalid relationships, so not every layer is necessarily available. This can redirect an existing effect setup without rebuilding all the masks already attached to the clone layer.
A file layer references an external file, and Krita stores its location relative to the KRA document. Moving the document without preserving the referenced file's relationship can break the link. Keep both files together in a stable project structure, or update the file layer's source location. Deleting the original file removes the material the layer needs; it is not an embedded copy.
When adding the drawing as a file layer, use Adapt to image resolution if the files represent the same physical size at different resolutions. It scales according to their resolution relationship rather than simply keeping the imported pixel dimensions. Confirm that both documents' resolution metadata is correct. Choose another scaling mode when you instead need the original pixel size or a fit to the canvas boundaries.
Create a selection and add it as a Local Selection Mask to the desired layer. Repeat for other regions, then activate the required mask using its selection icon in the Layers docker. Give each mask a meaningful name so similar outlines are easy to distinguish. Multiple local masks can belong to one layer, letting you revisit separate editing areas without repeatedly tracing them.
Enable Show Global Selection Mask from the Select menu so the current selection appears as a mask in the layer stack. Select that mask to edit the selection itself using painting or transformation tools. Keep the distinction between selected pixels and the artwork clear: changing the mask changes where subsequent edits apply. Review the selection before returning to a paint layer and continuing work.
Select the area and add a Filter Mask with the desired blur filter. The source pixels remain intact, and you can reopen the filter settings by double-clicking the mask in the Layers docker. Use the mask rather than applying the filter directly when you expect revisions. Compare the edge of the blurred area at normal viewing size so the local effect blends as intended.
Select the filter mask and paint on it rather than on the source layer. White includes areas in the effect, black excludes them, and gray applies it partially. Use brush softness and opacity to refine transitions, then inspect the result with the mask visible. The filter's settings and the mask's coverage are separate controls, so you can change the boundary without rebuilding the effect.
Put the layers into a group and add a Filter Layer above them inside it. The filter then processes the underlying group content without permanently changing those paint layers. Double-click the filter layer to revise its settings. Check the group boundary and stacking order so unrelated artwork stays outside the effect. This workflow uses Krita's native filters; external G'Mic filters do not support filter layers.
The Stabilizer deliberately averages movement, and its Delay option can create a dead zone around the cursor. Check Freehand Brush Tool Options and reduce the smoothing or delay if the response feels excessive. For quick details, another smoothing mode may suit the stroke better. Compare on a short test line before changing tablet settings, since this controlled lag can be an intentional brush-tool behavior.
Enable Assistants in the Freehand Brush Tool Options and check the snapping strength. A visible assistant can remain only a guide when brush snapping is disabled or weak. If several assistants compete, the Snap Single setting controls whether a stroke stays with one assistant. Also check the eraser-specific snapping option when painting follows the guide but erasing does not.
Select the color layer, then set the Fill tool's Reference to all visible layers or the relevant color-labeled line-art layers. The current-layer option cannot use boundaries that exist only elsewhere. Click inside the intended region and review the result before filling many areas. Using labeled reference layers is useful in a complex drawing where unrelated visible layers would otherwise affect the boundary detection.
Increase the Fill tool's Grow Selection slightly so the color reaches under the softened line edge. In supported versions, stopping growth at darker or more opaque pixels helps prevent the expansion from crossing thin parts of the outline. Test a small area at normal size and close zoom. Excessive growth can create spillover, so adjust it to the actual line width rather than using a large fixed value.
The strokes are color hints, and you need to run Update to recalculate the colorized result. Check Show output and Edit key strokes as well, since edit mode displays the hints and can make the result appear different from the finished view. Keep the colorize mask in the KRA document if you want to revise those hints later instead of converting it permanently to paint.
Draw a hint color for that region, select its swatch in the Colorize Mask tool's key-stroke palette, and mark it as Transparent. Run Update to recalculate the output. The colored hint may still appear while editing key strokes, even though the finished region is transparent. Turn off the edit display to judge the final result before changing or deleting the hint unnecessarily.
Source checks for these answers: September 23, 2026. Product instructions and local requirements can vary.