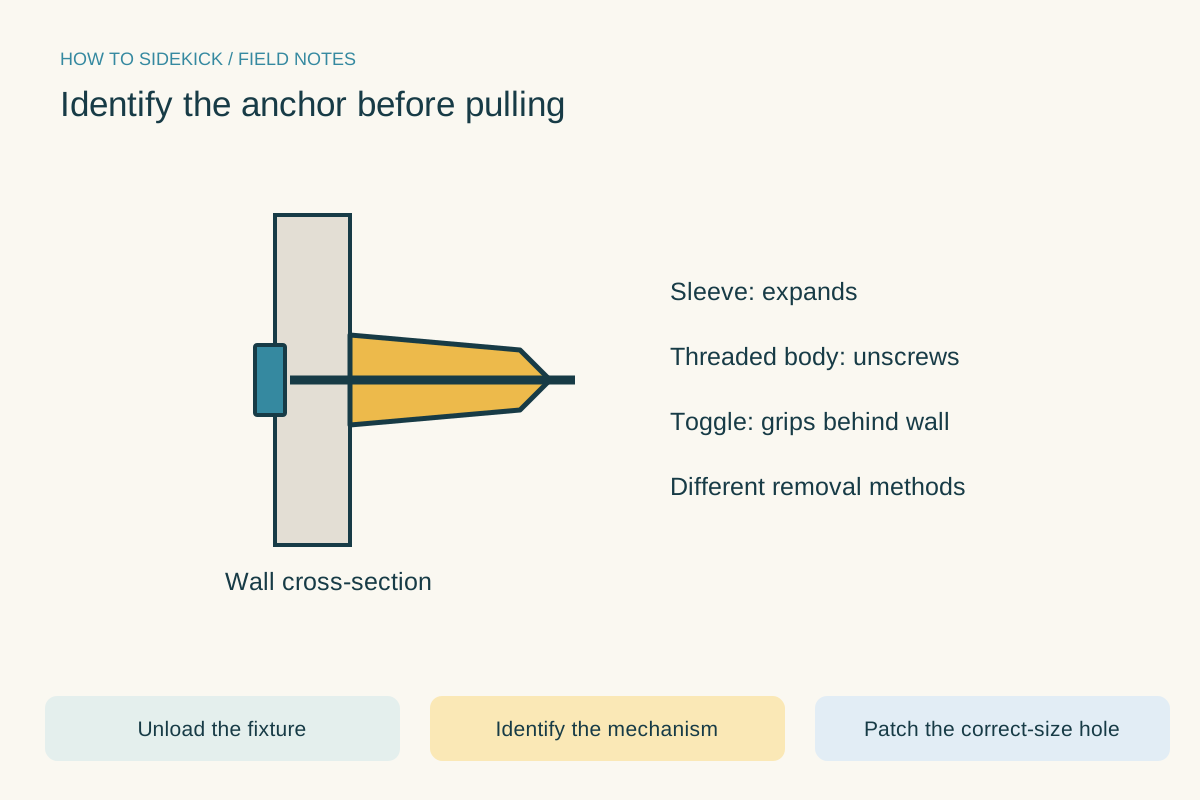
“Drywall anchor” describes several different mechanisms. A sleeve expands, a threaded body grips the board, and a toggle bears behind it. A printed weight rating applies only under particular conditions. More anchors do not automatically multiply that rating.
Match the anchor to the wall, load and fixture. Use its specified hole and screw, seat the collar correctly and stop tightening when snug.
Go straight to the stepsBefore you begin
Check for concealed wiring, plumbing and ducts before drilling. This guide is not a mounting specification for televisions, grab bars, furniture anti-tip restraints or ceiling loads; those need their own structural attachment requirements.
What you’ll need
- Fixture instructions and known weight
- Anchor approved for the wall and load
- Matching screws and driver
- Drill and specified bit if required
- Tape measure, level and eye protection
Let’s do this
Step by step
- 01
Check the fixture and wall
Read the hanging hardware instructions and determine the complete load, including contents and leverage. Confirm sound drywall and its thickness. Use a stud attachment where the fixture calls for it, and do not substitute a generic masonry plug for an approved hollow-wall fixing.
- 02
Mark a verified location
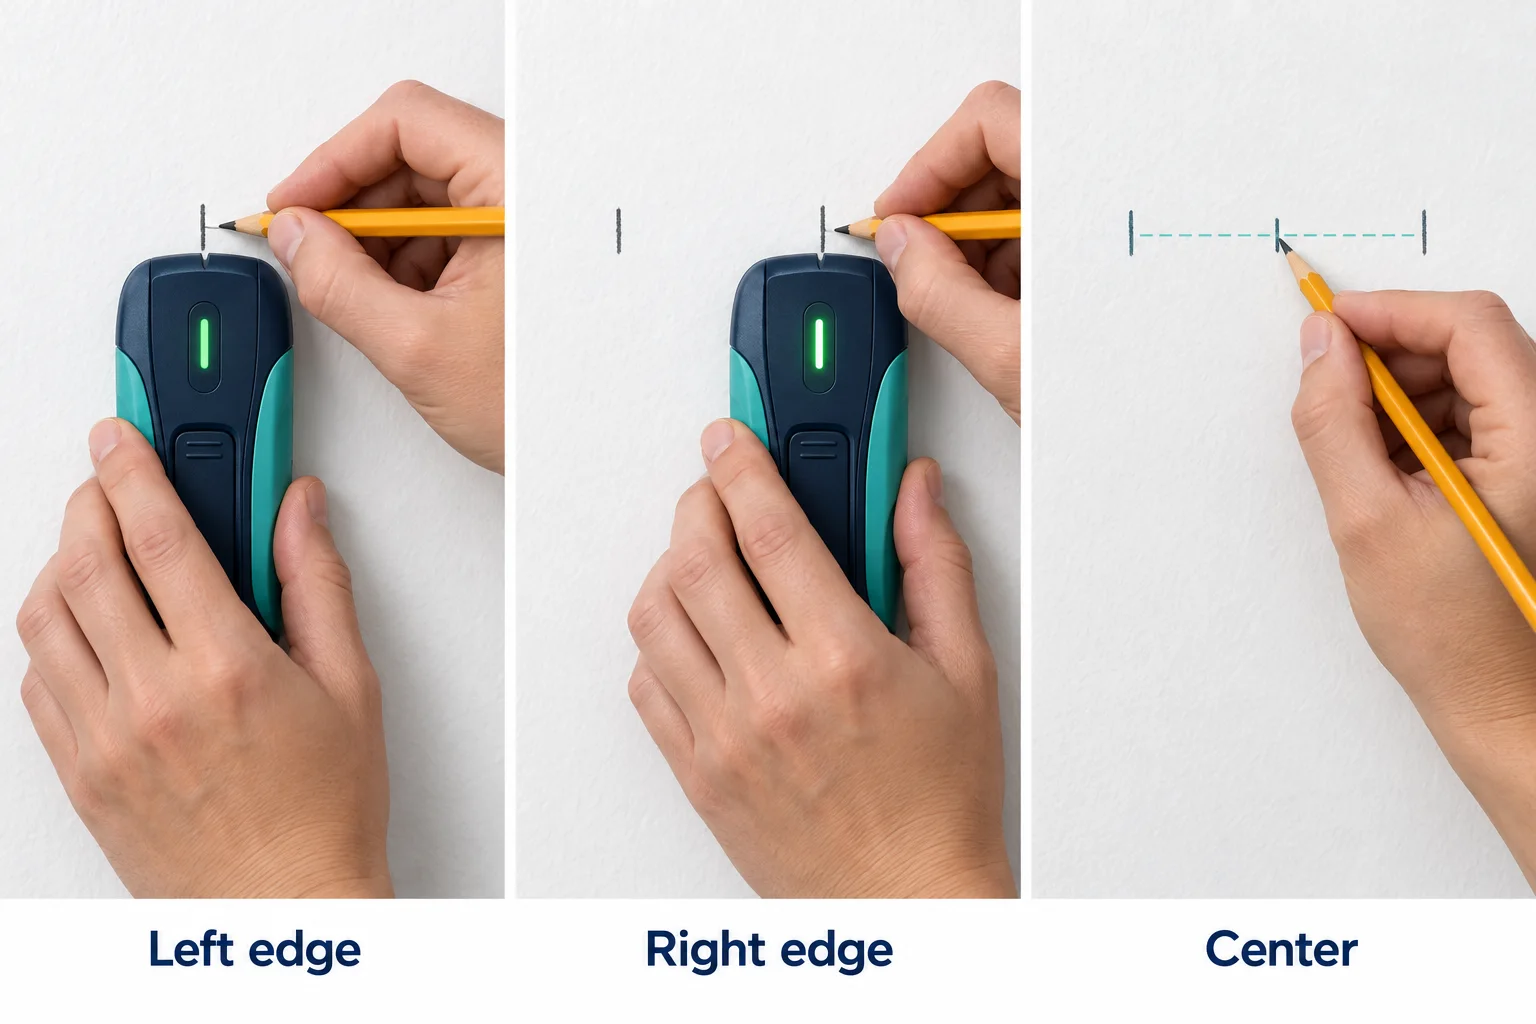
Measure and level the mounting points. Check what may be behind them; a stud finder alone cannot prove the space is clear of services. Use the fixture template if supplied and confirm its orientation before making holes.
- 03
Install the selected anchor type
For a drilled anchor, use the exact bit size and insertion method on its package. For a self-drilling type, follow its driver and wall instructions. Seat the collar flush, not buried in crushed drywall. A loose oversized hole needs correction before loading.
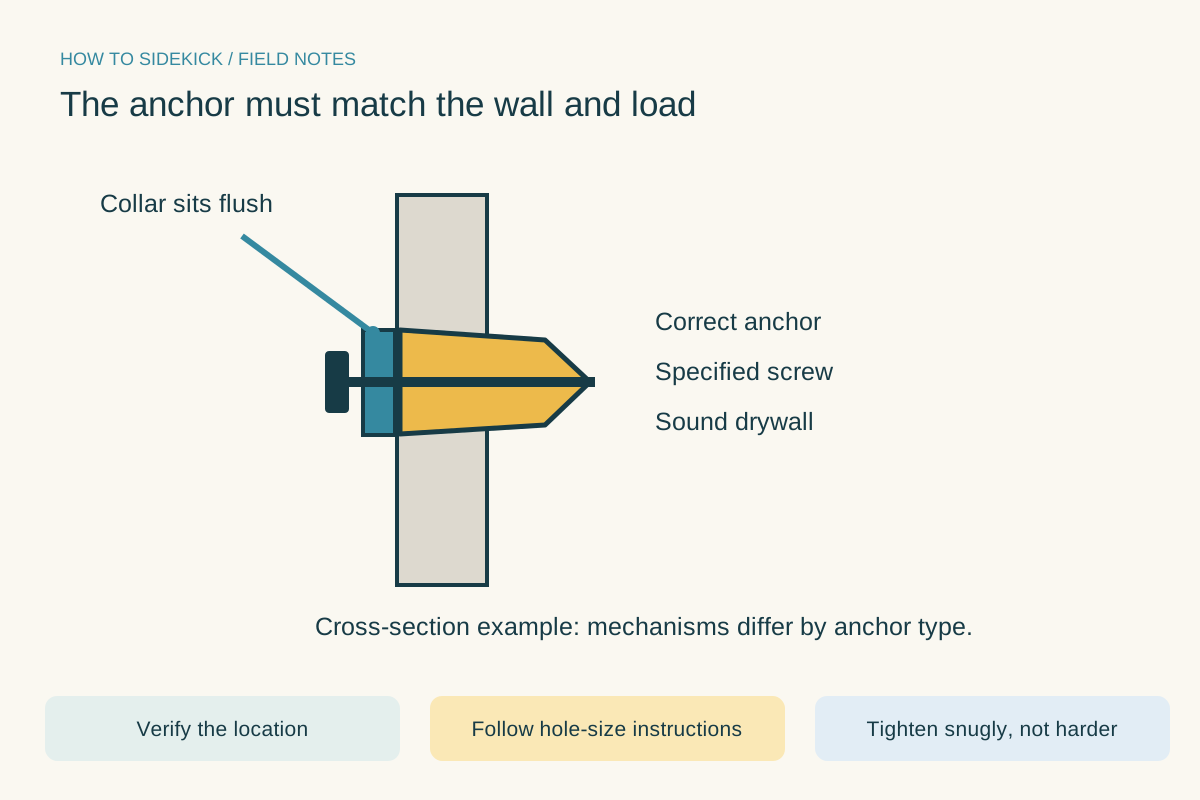
The anchor must match the wall and load. Use the instructions below for the full procedure.Open full-size image - 04
Fit the matching screw and bracket
Use the specified screw through the bracket or fitting. Some toggles require the screw to pass through the fixture before the toggle goes into the wall. Tighten just enough to secure the assembly; spinning or crushing means stop and reassess.
- 05
Inspect and load carefully
Check that the fixture sits securely and the wall surface remains sound. Apply only the permitted load in its intended use. If the anchor moves, remove the load immediately; tightening harder into damaged drywall is not a repair.
Choose the whole fixing system
Wall thickness, edge spacing, screw size, fixture leverage and the manufacturer’s rating method all matter. An anchor package marked for masonry or lightweight decorative use is not a universal answer for every wall.
A quick final check
- Wall and load matched
- Location checked for services
- Correct hole and screw
- Collar flush without crushed board
Common questions & sticking points
Can I add together the ratings of two anchors?
Do not assume that. Load sharing depends on the fixture and installation; follow the complete mounting instructions.
Can I reinstall an anchor in its old hole?
Only if the manufacturer permits it and the wall and fixing remain suitable. Many types are single-use, and a damaged hole may need a different location or proper repair.
Sources & further reading Optional
References used to check this guide. Follow your product’s own safety instructions where its design differs.
Last source check: September 24, 2026