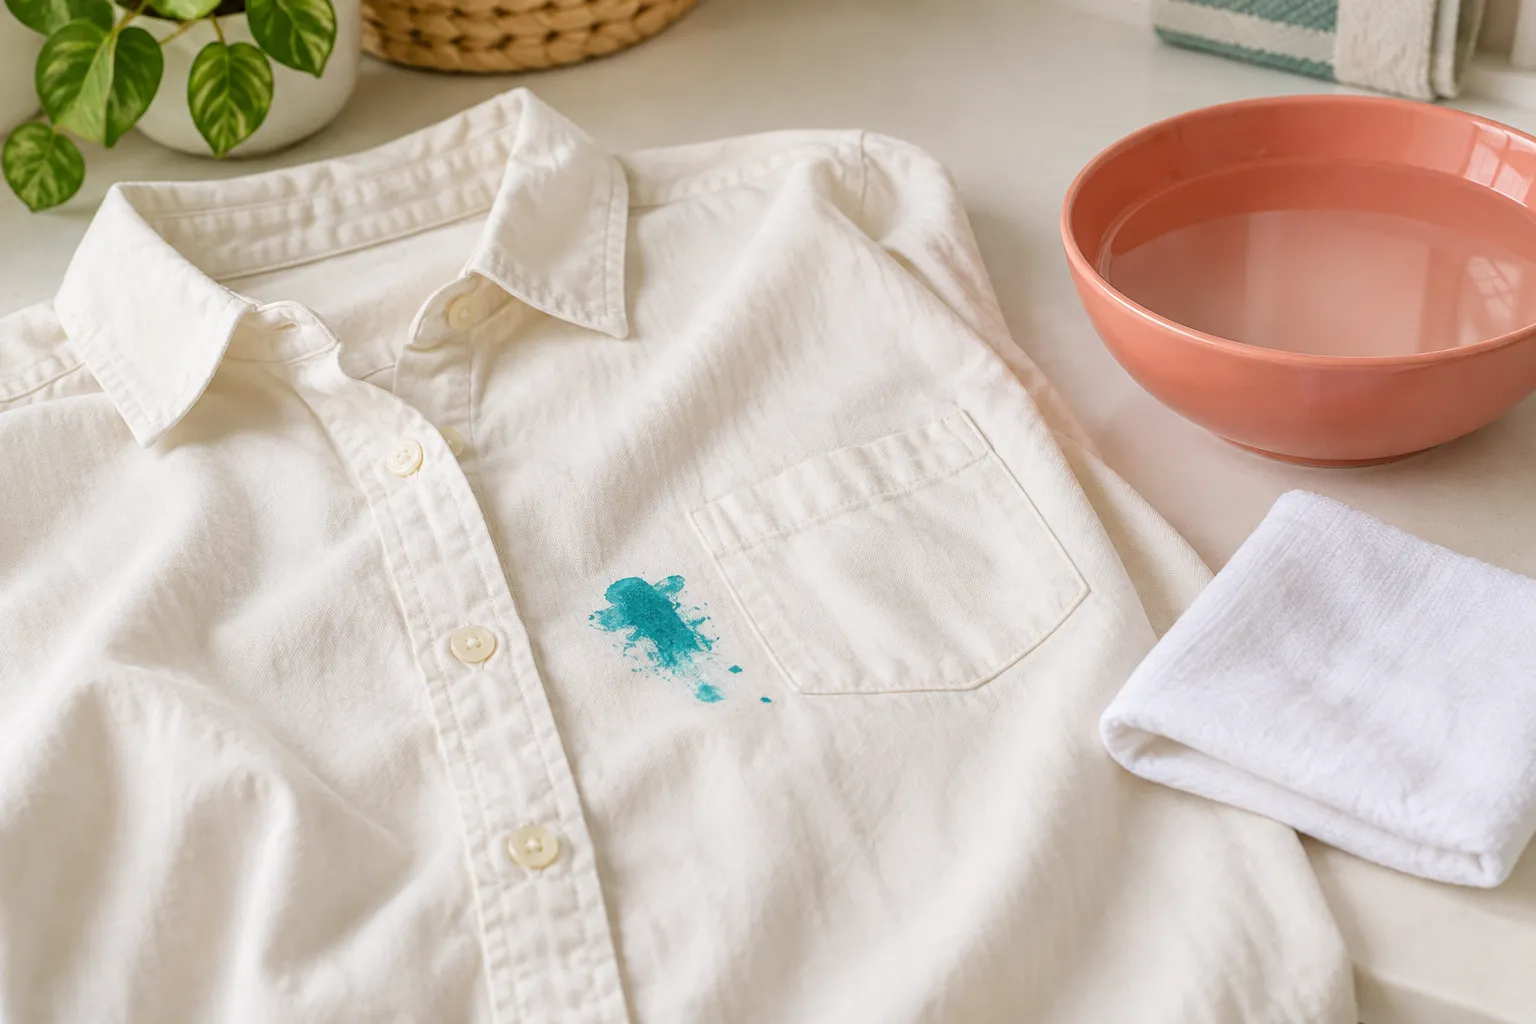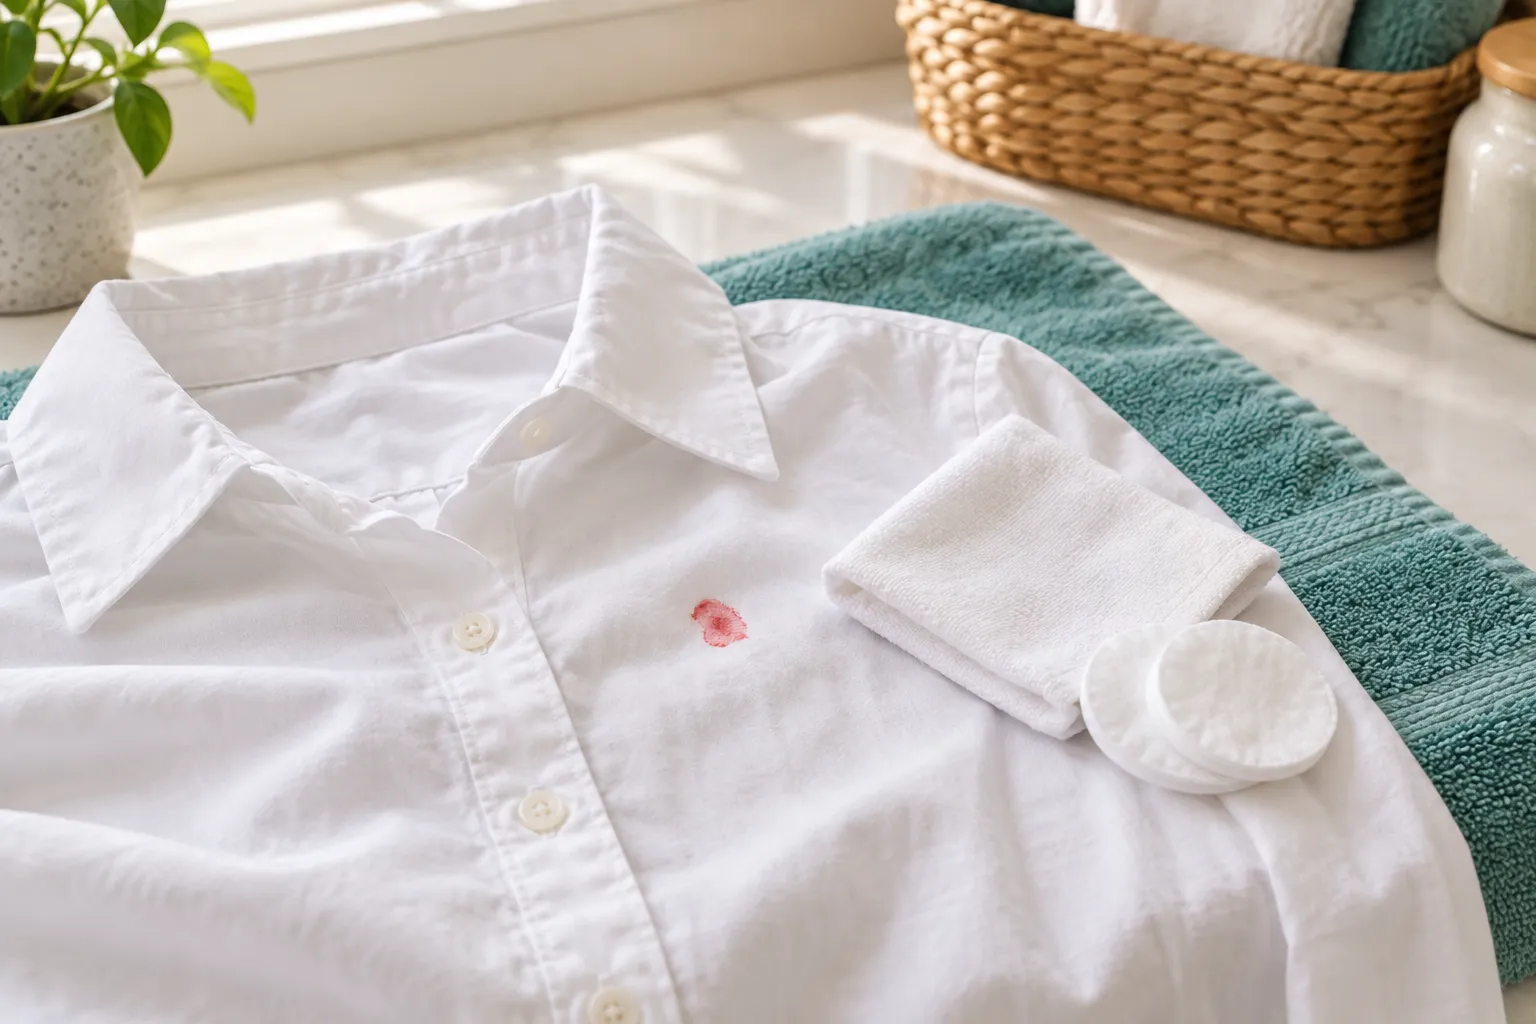
The same solvent that dissolves nail polish can damage a garment. Fiber identification comes first, particularly with acetate-containing fabrics and decorative finishes. A small test is more useful than soaking the whole spot.
Lift excess polish, check the fabric label and test a compatible remover in a hidden area. Blot onto a clean white towel, remove treatment as directed, then wash and air dry before checking the stain.
Go straight to the stepsYour project helper
Follow the steps and check them off as you go →Before you begin
Do not use acetone on acetate, triacetate or modacrylic. Use a cleaner for delicate or dry-clean-only items. Work in ventilation away from ignition sources; never launder or heat-dry a garment still carrying flammable solvent.
What you’ll need
- Absorbent white towels
- Blunt spoon
- Fabric-compatible stain treatment
- Laundry detergent
- Protective work mat
Let’s do this
Step by step
- 01
Check the garment label
Identify the fiber and care method, not just the garment type. Stop if the fiber is unknown or the finish is delicate. Nail-polish remover may also contain oils or dyes, so inspect that label too.
- 02
Remove excess polish
Lift a fresh puddle carefully with a spoon. Do not smear it over the surrounding weave. For dry polish, gently remove only pieces that release without pulling threads.
- 03
Test the proposed treatment
Apply a very small amount in an inconspicuous seam and check for dye transfer or damage. A white towel makes transferred color easier to see. Continue only if the garment and treatment labels allow it.
- 04
Blot onto a clean backing
Place clean white absorbent material behind the stain. Dab lightly from the edge inward, replacing the backing as polish transfers. Keep the treated area small and stop if the garment’s own color begins to move.
- 05
Remove residue and wash
Follow the treatment’s complete removal directions before laundering. Wash as the garment label allows, then air dry and inspect. Do not put solvent residue or an unresolved stain into a hot dryer.
Checks stay on this page while you work and reset when you leave.
Treat embellishments separately
A fabric that tolerates a cleaner may have a printed design, glued decoration or coating that does not. Protect those areas and choose a professional cleaner when treatment would reach them.
Keep expectations realistic
Bright pigments can leave a shadow after the polish binder is removed. Repeated harsh rubbing can leave a more noticeable worn patch than the remaining stain.
A quick final check
- Check the garment label
- Remove excess polish
- Test the proposed treatment
- Blot onto a clean backing
- Remove residue and wash
Common questions & sticking points
Is non-acetone remover always safe?
No. Alternative solvents can still affect dyes and finishes. Compatibility depends on the exact fabric and remover.
Can I mix treatments to make them stronger?
No. Use one compatible labeled process and remove its residue as directed before any further treatment.
Sources & further reading Optional
References used to check this guide. Follow your product’s own safety instructions where its design differs.
Last source check: September 24, 2026