One healthy garlic clove can develop into a bulb. Give each clove its own space and match the planting season to your garden.
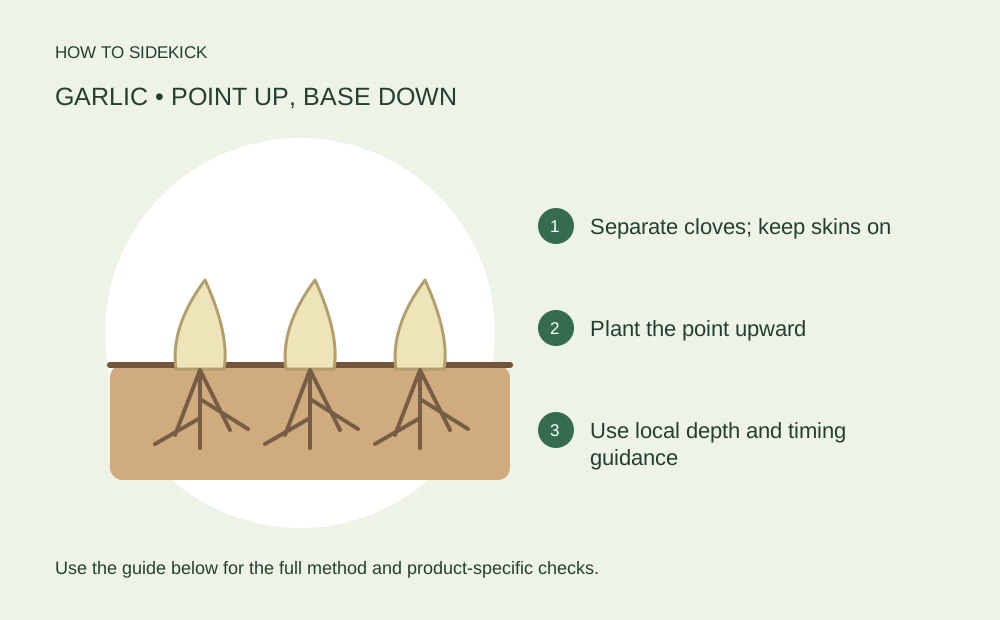
Plant healthy cloves separately, pointed end up, in loose well-drained soil. Keep their papery skins on. Fall planting is common in cold-winter areas, but timing and variety should match your region.
Go straight to the stepsYour project helper
Keep track as you go 0/4
Check off what you have verified. This list resets when you leave the page.
Before you begin
Buy garlic intended for planting from a reliable source. Grocery garlic may be poorly suited to your climate and is not a disease-free seed guarantee.
What you’ll need
- Healthy planting garlic
- Prepared soil
- Trowel or small hoe
- Water source
- Clean straw or leaf mulch if locally recommended
Optional tools & supplies
Affiliate disclosure: We may earn a commission when you buy through these links. How our links work.
Use what you already have. Choose supplies that fit your task, and check instructions and current prices.
 Kings County Tools 17-in garden hoe and trowelLowe’s · Product
Use shallow strokes near plant roots and keep hands and feet clear of the edge.
 NeverKink FLX 5/8-in x 50-ft garden hoseLowe’s · Product
Choose the length and fittings for your garden. Follow the hose’s drinking-water and temperature restrictions.
 Back to the Roots organic potting mix, 1 cu ftLowe’s · Product
For suitable plants in draining containers. Not orchid bark, and not an amendment to automatically add to every garden bed.
Let’s do this
Step by step
- 01
Choose timing and variety locally
Use regional advice for hardneck or softneck types and planting dates. Do not apply a northern fall calendar unchanged to a warm-winter garden.
- 02
Prepare the bed before separating cloves
Choose a sunny, well-drained site and remove weeds. Loosen the growing area and use a soil test to guide fertility. Prepare enough room for each clove to develop its own bulb.
- 03
Separate and place cloves
Break the bulb apart shortly before planting, leaving each clove’s skin intact. Put the broad base down and the point up. Minnesota guidance places the base 2–3 inches below the surface with about 6 inches between cloves; adapt to local recommendations.
- 04
Water and apply appropriate mulch
Water to settle the soil without waterlogging it. In cold climates, a suitable loose straw or leaf mulch can moderate temperature swings. Avoid piling dense wet material over emerging shoots.
- 05
Maintain and harvest by the crop
Keep weeds under control and monitor moisture through active growth. Follow local guidance as leaves begin to mature. Lift a sample bulb to judge development rather than waiting for every leaf to die.
Buy once, plant carefully
A clove is a planting unit, not a whole bulb to bury intact. Label each variety and planting date; differences in maturity can otherwise make one part of a bed look ready while another is not.
A quick final check
- Planting stock selected
- Cloves separated with skins intact
- Points face up
- Local timing and mulch checked
Common questions & sticking points
Can I peel the cloves first?
Leave the protective papery covering in place when separating healthy cloves.
Can garlic grow in a pot?
Yes, with adequate depth, drainage and spacing. Use container mix and local advice for protecting roots during winter.
Sources & further reading Optional
References used to check this guide. Follow your product’s own safety instructions where its design differs.
Last source check: September 24, 2026