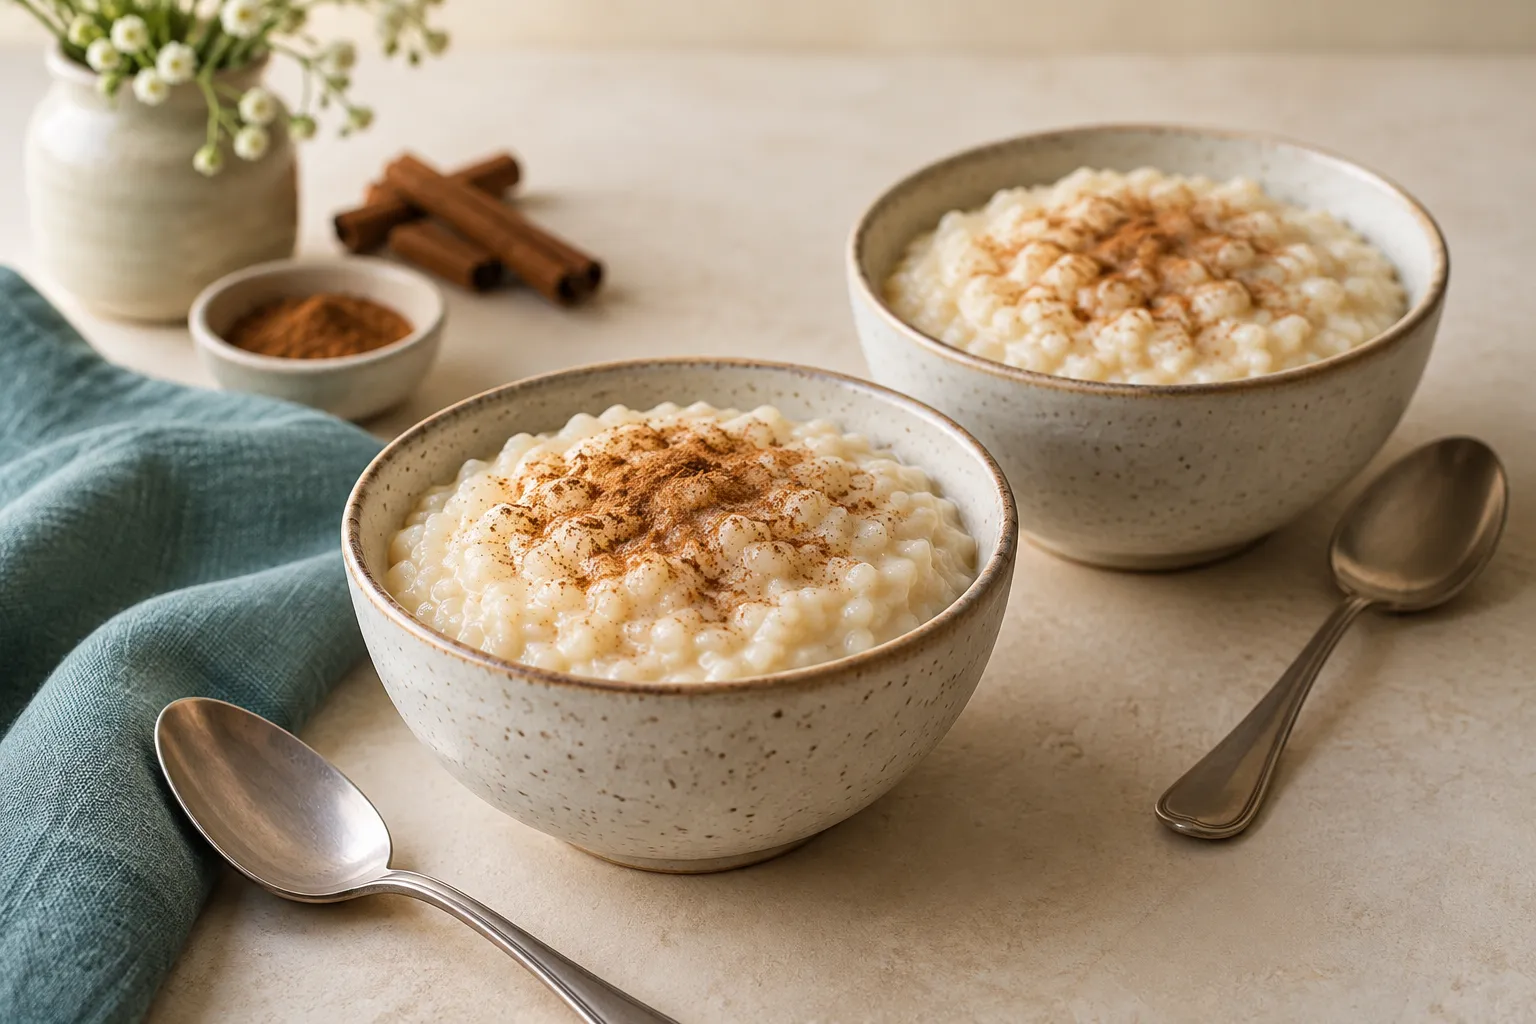
Rice pudding is an exercise in gentle heat. A heavy saucepan and regular stirring help keep milk from scorching while the rice softens. This version uses uncooked white rice and no egg.
Simmer rice with milk and a little sugar, stirring frequently until the grains are tender and the mixture is creamy. Add vanilla at the end and allow for thickening during cooling.
Go straight to the stepsYour project helper
Follow the steps and check them off as you go →Before you begin
Use uncooked rice for this formula, not the same quantity of cooked rice. Keep milk cold until use. Stir hot milk carefully and do not leave the pot unattended.
What you’ll need
- Heavy saucepan
- Wooden spoon or silicone spatula
- Measuring cups
- Shallow storage containers
Measure before you start
Ingredients
Base batch: 4 small portions
Ingredient amounts scale; oven temperatures and cooking times do not. Split a larger batch between pans when needed.
Use the base batch for your first attempt. Adjust seasoning to taste and check texture as you cook.
Let’s do this
Step by step
- 01
Combine the base
Add rice, milk, sugar and salt to the saucepan. Stir and warm gradually until the mixture reaches a gentle simmer.
- 02
Keep the heat low
Reduce heat so only small bubbles appear. Stir along the bottom and corners regularly to prevent a stuck layer. A rolling boil can scorch the milk and reduce liquid too quickly.
- 03
Check the rice
After about 25 minutes, test a few grains. Continue cooking until tender, often 30–40 minutes total. Add a small splash of milk if the pot gets dry before the grains soften.
- 04
Finish slightly loose
Remove from heat while still a little looser than the final texture you want. Stir in vanilla and optional cinnamon. The starch continues thickening the pudding as it cools.
- 05
Serve or chill promptly
Serve warm or divide into shallow containers and refrigerate promptly. Stir in a little milk later if chilled pudding has become too firm.
Checks stay on this page while you work and reset when you leave.
Texture is easier to adjust than scorched flavor
You can thin thick pudding with milk. Burnt milk flavor is harder to fix; do not scrape a scorched bottom into the rest of the batch. Use lower heat and a heavy pan next time.
Serve now or store safely
Refrigerate perishable cooked food in shallow containers within 2 hours, or within 1 hour when the room or outdoor temperature is above 90°F. Keep the refrigerator at 40°F or below. Use most cooked leftovers within 3–4 days and reheat to 165°F. Do not wait for a large pot to cool completely on the counter.
A quick final check
- Combine the base
- Keep the heat low
- Check the rice
- Finish slightly loose
- Serve or chill promptly
Common questions & sticking points
Can I use brown rice?
It needs different liquid and cooking time. Use a brown-rice-specific formula.
Why is it thicker the next day?
Rice starch continues binding liquid as it cools. Add a little milk while stirring or reheating gently.
Sources & further reading Optional
References used to check this guide. Follow your product’s own safety instructions where its design differs.
Last source check: September 24, 2026