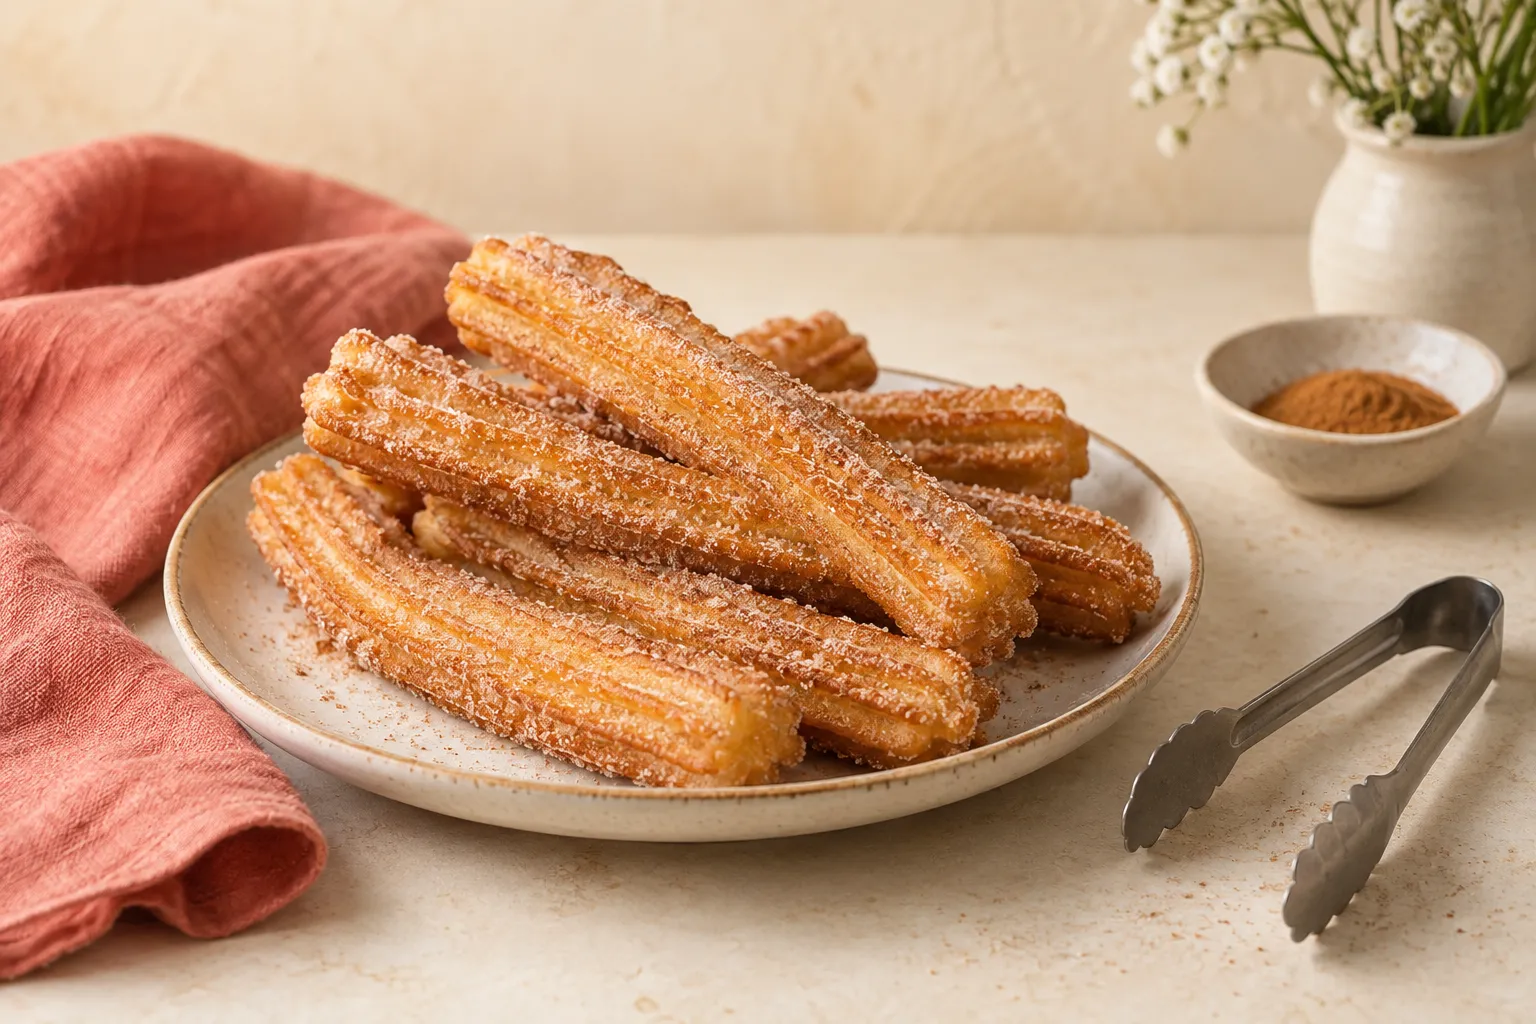
Churros need a sturdy piping bag, a star tip and careful frying. The ridges help the dough cook through. Make a small batch and test one piece rather than filling the pan immediately.
Cook water, butter and flour into a smooth paste, cool slightly and beat in eggs. Pipe short ridged lengths, fry at the recipe’s controlled temperature and coat with cinnamon sugar while warm.
Go straight to the stepsYour project helper
Follow the steps and check them off as you go →Before you begin
Keep children, pets and water away from hot oil. Have a metal lid nearby, never leave frying unattended and never use water on an oil fire. Use a pan with generous headroom; do not scale oil by the ingredient multiplier.
What you’ll need
- Heavy stable frying pan
- Frying thermometer
- Saucepan and mixer
- Strong piping bag with large star tip
- Long tongs or slotted spoon
- Paper-towel-lined tray
Measure before you start
Ingredients
Base batch: About 20–24 short churros
Ingredient amounts scale; oven temperatures and cooking times do not. Split a larger batch between pans when needed. For half an egg, beat it and measure half.
Ingredient scaling does not change safe oil depth or pan capacity. Cook additional dough in batches.
Let’s do this
Step by step
- 01
Cook the paste
Bring water, butter and salt to a boil. Remove from heat, stir in all the flour, then return to moderate heat and stir until a smooth mass pulls together, about a minute.
- 02
Cool before adding eggs
Let the paste cool below about 125°F so it will not scramble the eggs. Beat in eggs one at a time until smooth. Use a strong piping bag; forcing stiff dough through a weak bag can split it.
- 03
Prepare the frying station
Heat roughly ½–¾ inch of oil in a suitable heavy pan to about 375°F, checking with a frying thermometer. Keep handles secure and a clear place ready for draining cooked pieces.
- 04
Fry a test piece
Pipe a short ridged length close to the surface without touching the oil, cutting it carefully. Fry and turn until golden and cooked inside, generally a few minutes per side. Adjust temperature if the outside colors before the center cooks.
- 05
Cook small batches
Add only a few pieces at a time so the oil temperature remains controlled. Keep hands away from splashes and let the thermometer guide adjustments. Do not add water to hot oil.
- 06
Drain and coat
Lift to the prepared tray, drain briefly and toss with cinnamon sugar while warm. Serve fresh. Let the oil cool fully before handling or disposal.
Checks stay on this page while you work and reset when you leave.
Use the test piece to prevent a raw center
Break open one cooled test churro. If the middle is wet, make thinner pieces or adjust heat and time before repeating. Browning alone does not show that the inside is cooked.
A quick final check
- Cook the paste
- Cool before adding eggs
- Prepare the frying station
- Fry a test piece
- Cook small batches
- Drain and coat
Common questions & sticking points
Can I use a plain round piping tip?
Use a star tip for the intended ridged shape and cooking behavior. A thick smooth tube is not the same preparation.
Can I bake this dough instead?
Choose a baking-specific recipe. Oven baking changes expansion and texture, so it is not a simple timer swap.
Sources & further reading Optional
References used to check this guide. Follow your product’s own safety instructions where its design differs.
Last source check: September 24, 2026