The bag’s instructions control mixing, working time, cleanup and curing. Cement, epoxy and ready-to-use grouts are not interchangeable recipes. Practice on a sample if the tile is easily scratched or stained, and work a section small enough to clean before residue becomes hard to remove.
Use grout compatible with the tile and joint width, pack clean joints, remove excess diagonally and clean at the product’s specified stage.
Go straight to the stepsBefore you begin
Tile adhesive must cure as directed before grouting. Test scratch-sensitive or porous tile first. Keep required movement joints open for the specified flexible sealant; grout is not waterproofing.
What you’ll need
- Tile and grout instructions
- Compatible grout
- Rubber grout float
- Grout sponge and clean water
- Gloves and required eye/dust protection
Let’s do this
Step by step
- 01
Prepare the joints
Remove spacers if their instructions require removal and clear loose debris or excess mortar to the grout’s required depth. The tile should be secure. Identify perimeter and movement joints so you do not accidentally fill them with rigid grout.
- 02
Measure and mix correctly
Measure the liquid and powder exactly as directed, or stir a ready-to-use product only as instructed. Follow the specified mixing speed and any rest/remix requirement. Do not assume every grout needs the same slake time or add extra water to revive a stiffening batch.
- 03
Pack the joints with the float
Press grout into the joints with a rubber float, working from different directions to avoid gaps. Hold the float as directed and remove surface excess diagonally across the joints. Stop spreading early enough to manage cleanup within the working window.
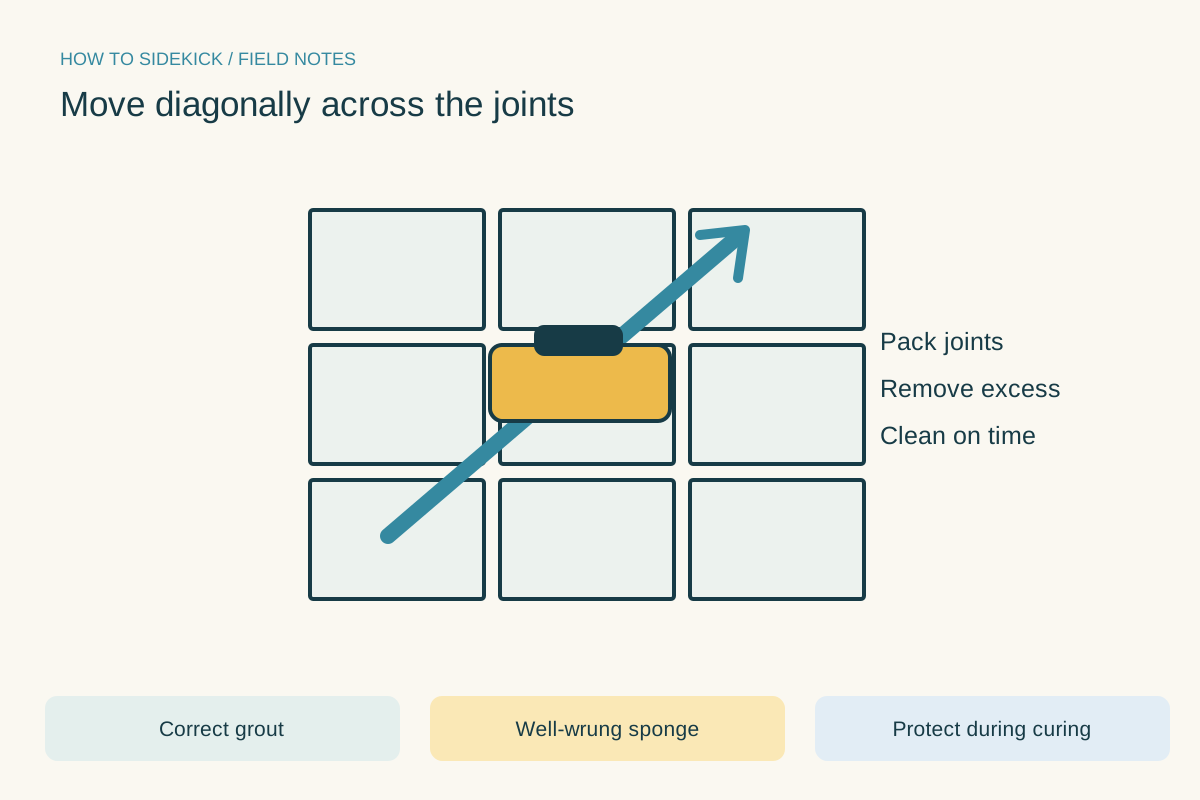
Move diagonally across the joints. Use the instructions below for the full procedure.Open full-size image - 04
Clean at the correct stage
Follow the grout’s test and timing for the first wash. Use a well-wrung damp sponge, not a dripping one, with light diagonal passes. Rinse frequently and change dirty water. Avoid repeatedly digging into soft joints while trying to make the tile spotless.
- 05
Finish and protect the surface
Remove remaining haze using the product’s approved method and timing. Keep traffic, cleaning water and shower use off the installation until permitted. Seal only if the specific grout requires it, after the stated cure; some formulations do not need sealer.
Why grout color can look uneven
Uneven water additions, inconsistent cleaning and substrate conditions can affect the result. Record the mix ratio and use the same cleanup technique across batches. Judge the final color only after the product’s curing period.
A quick final check
- Tile adhesive cured
- Grout matches tile and joints
- Movement joints preserved
- Cleanup and cure times followed
Common questions & sticking points
Can I grout a shower and use it that night?
Do not assume so. Follow the grout and complete tile-system return-to-water requirements; apparent surface dryness is not full cure.
Is grout a substitute for shower waterproofing?
No. The waterproofing belongs in the tile assembly. Grout and sealer cannot correct a missing or failed waterproofing layer.
Sources & further reading Optional
References used to check this guide. Follow your product’s own safety instructions where its design differs.
- MAPEI: Ultracolor Plus FA application instructions
- Lowe’s: tile installation and grouting
- MAPEI: grout types and sealer requirements