A toilet that refills every few minutes can have a different fault from one that never stops filling. Replacing every tank part at once makes diagnosis harder. Observe what the water is doing first and buy for the exact toilet or valve, not just a package labeled universal.
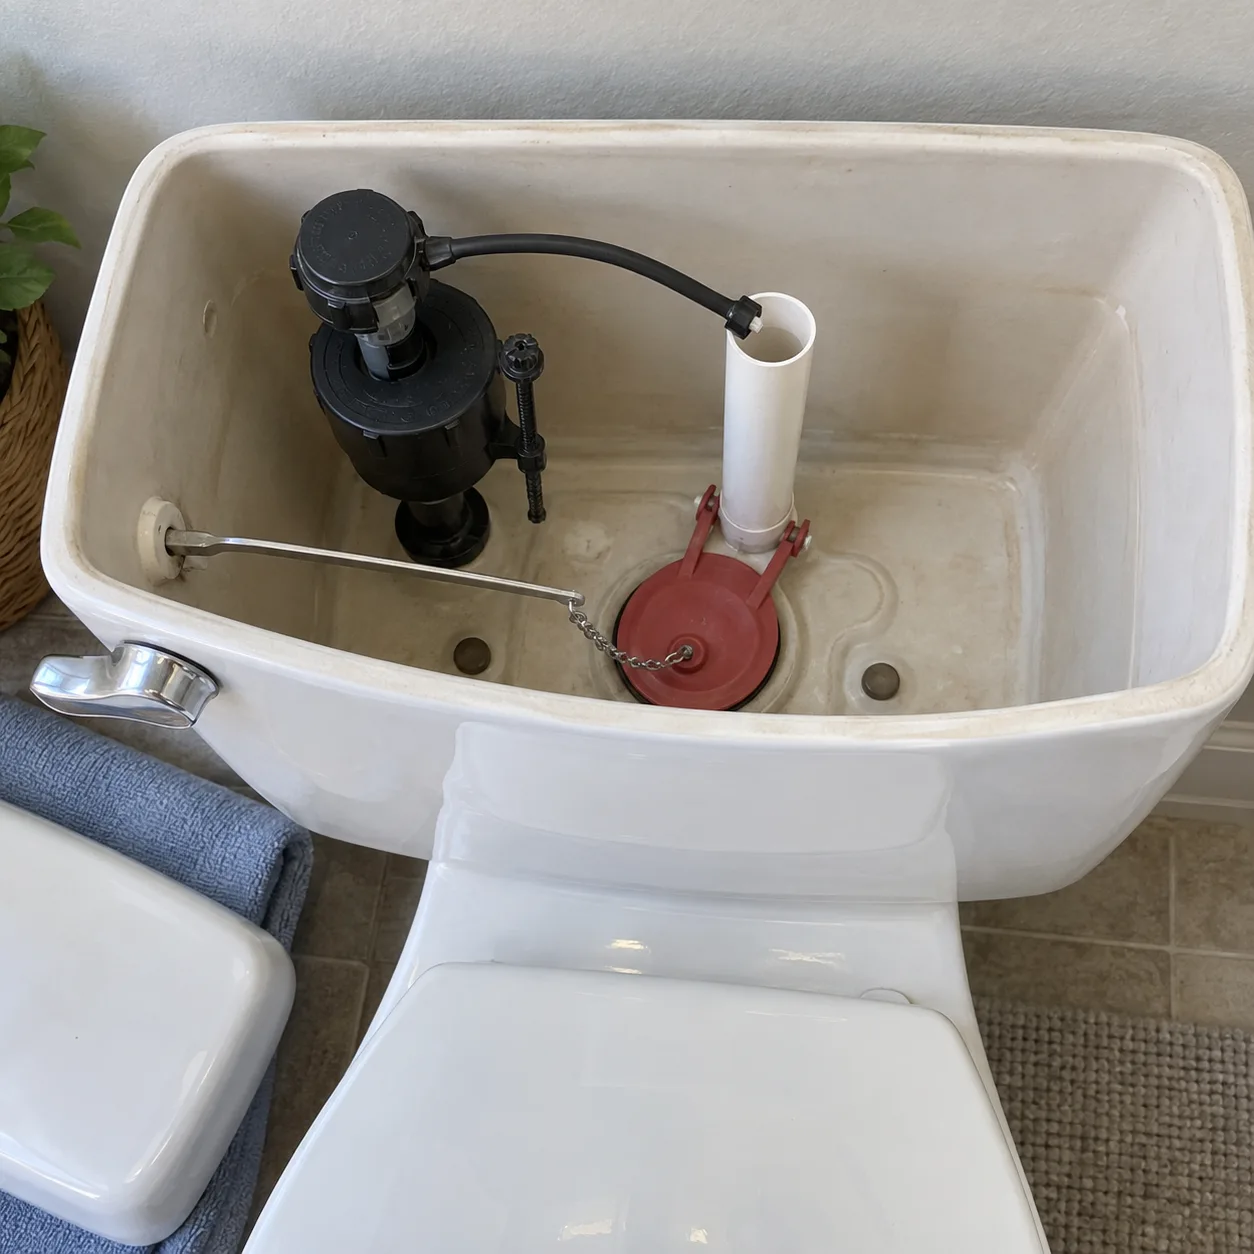
Watch the tank during and after a flush. Identify whether water is escaping past the flush seal or flowing into the overflow tube.
Go straight to the stepsBefore you begin
This guide covers ordinary gravity-flush tanks. Pressure-assisted units and concealed cisterns differ. Know how to shut off the water; do not force a seized valve. Stop for cracks or water leaking onto the floor.
What you’ll need
- Toilet model and repair instructions
- Towel for the tank lid
- Flashlight
- Screwdriver if your adjustment needs one
- Compatible replacement part only after diagnosis
Let’s do this
Step by step
- 01
Open the tank and observe one flush
Lift off the ceramic lid carefully and place it flat on a towel away from the work area. Watch the flush seal close and the water rise. Locate the overflow tube and any marked operating water level.
- 02
Check the handle and chain
Make sure the handle returns and the chain does not snag or hold the flapper open. Adjust only as the toilet instructions allow: enough slack for a complete seal, but not a long loop that tangles. Flush again to see whether that specific change helped.
- 03
Inspect the flapper or canister seal
If the tank loses water after filling, check the flush seal. Shut off the supply before removing parts. A warped, hardened or damaged flapper needs a compatible replacement; a canister-style flush valve uses a different seal. Clean accessible mating surfaces gently.
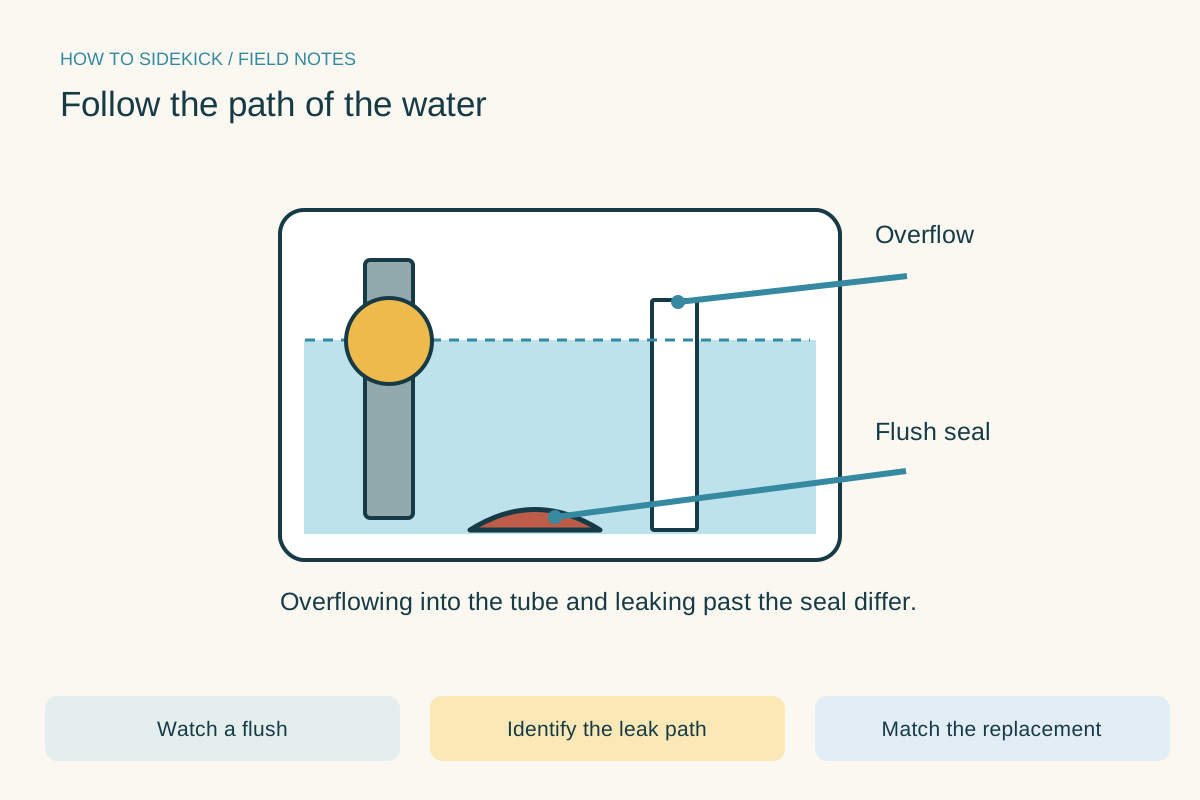
Follow the path of the water. Use the instructions below for the full procedure.Open full-size image - 04
Check the water level and refill tube
If water runs into the overflow, use the fill valve’s specified float adjustment to reach the toilet’s marked level. Keep the refill tube clipped in its approved position above the overflow opening; a tube pushed deep into the overflow can siphon water.
- 05
Retest and narrow the fault
Restore water after correct reassembly, flush and watch until filling stops. Wait and listen for another refill without flushing. If the valve will not shut off at the proper level or adjustment does not hold, follow its troubleshooting directions or arrange replacement/service.
Match the replacement to the toilet
Check the tank model, flush-valve style, outlet size and part compatibility. A two-inch flapper, three-inch flapper and canister seal are not interchangeable. Take a clear photo and model number when shopping.
Check the floor too
A running tank is not the same as a leaking supply connection. Dry the floor and inspect connections after work. If water appears outside the toilet, shut off the supply and address the leak promptly rather than continuing flush tests.
A quick final check
- Flush mechanism identified
- Chain closes freely
- Water stops at marked level
- No unexplained refill or floor leak
Common questions & sticking points
Why does the toilet refill when nobody used it?
Water may be leaking from the tank to the bowl or siphoning through an incorrectly positioned refill tube. Observe the level and inspect those paths.
Should I buy a complete repair kit?
Only if its parts match your toilet and you need them. A simple chain adjustment or correctly sized flush seal may solve the particular fault.
Sources & further reading Optional
References used to check this guide. Follow your product’s own safety instructions where its design differs.
- Fluidmaster: toilet troubleshooting and repair guide
- Lowe’s: common toilet problems
- Lowe’s: running-toilet diagnosis