A tank that refills between flushes may be losing water through its flush-valve seal. A flapper replacement can help when that seal is worn, but a tangled chain or an overfilling tank can cause similar symptoms. Look inside before buying a part so you solve the fault you actually have.
Confirm that the flapper is the problem, choose the exact compatible part, turn off and drain the tank, fit the new flapper, adjust its chain and test.
Go straight to the stepsBefore you begin
This guide covers an ordinary accessible flapper in a gravity-flush tank. A canister, pressure-assisted vessel or concealed tank uses different parts. Stop for a cracked tank, external leak, seized shutoff or a valve that will not stop the water.
What you’ll need
- Toilet and flush-valve model information
- A compatible replacement flapper and its instructions
- Towels and a safe place for the tank lid
- A few drops of food coloring or a toilet leak-test tablet
- A clock or timer
Let’s do this
Step by step
- 01
Observe where the water is going
Lift the lid carefully and lay it flat on a towel in a secure place. After a flush finishes, check whether water keeps flowing into the overflow tube or the chain prevents the flapper closing. Those faults need attention rather than an automatic flapper replacement.
- 02
Test for a quiet tank-to-bowl leak
With the tank full and no flush underway, add a few drops of food coloring or a suitable dye tablet. Wait 10 minutes without flushing. Color in the bowl shows a leak from the tank. Flush after the test to limit staining. Check the chain and seal before choosing the repair.
- 03
Match the part before dismantling
Use the toilet or flush-valve model and the replacement maker’s compatibility list. Opening size, mounting style and adjustable settings matter. Photograph the existing chain connection and hinges. Keep the new part’s instructions beside you; a similar color or shape does not establish compatibility.
- 04
Turn off the supply and release the old flapper
Close the toilet shutoff gently, then flush to drain the tank. Confirm it stops refilling. Disconnect the chain from the lever and release the flapper’s mounting arms using the method specified for that valve. Avoid twisting the overflow tube or prying against the porcelain.
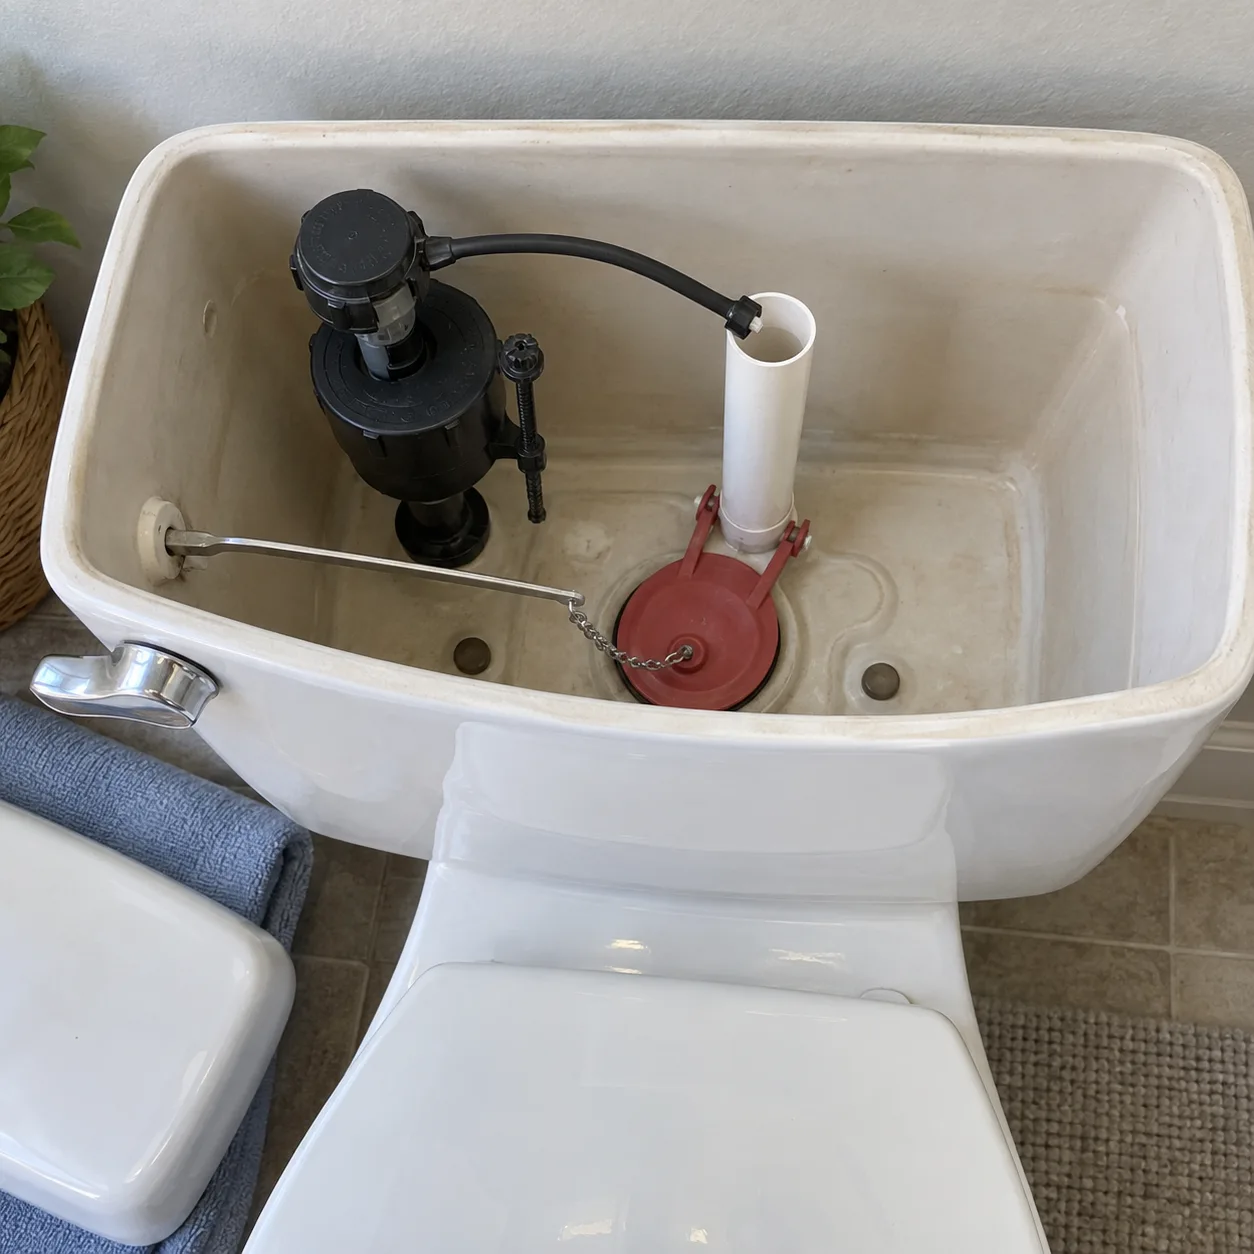
The flapper covers the flush-valve opening; the tall overflow tube sits beside it.Open full-size image - 05
Fit the replacement and set the chain
Attach the compatible flapper as instructed and check that it moves freely and sits flat. Connect the chain with the small amount of slack the maker specifies when closed. It must lift the flapper without holding it open. Keep loose chain out of the seal and follow any model-specific dial setting.
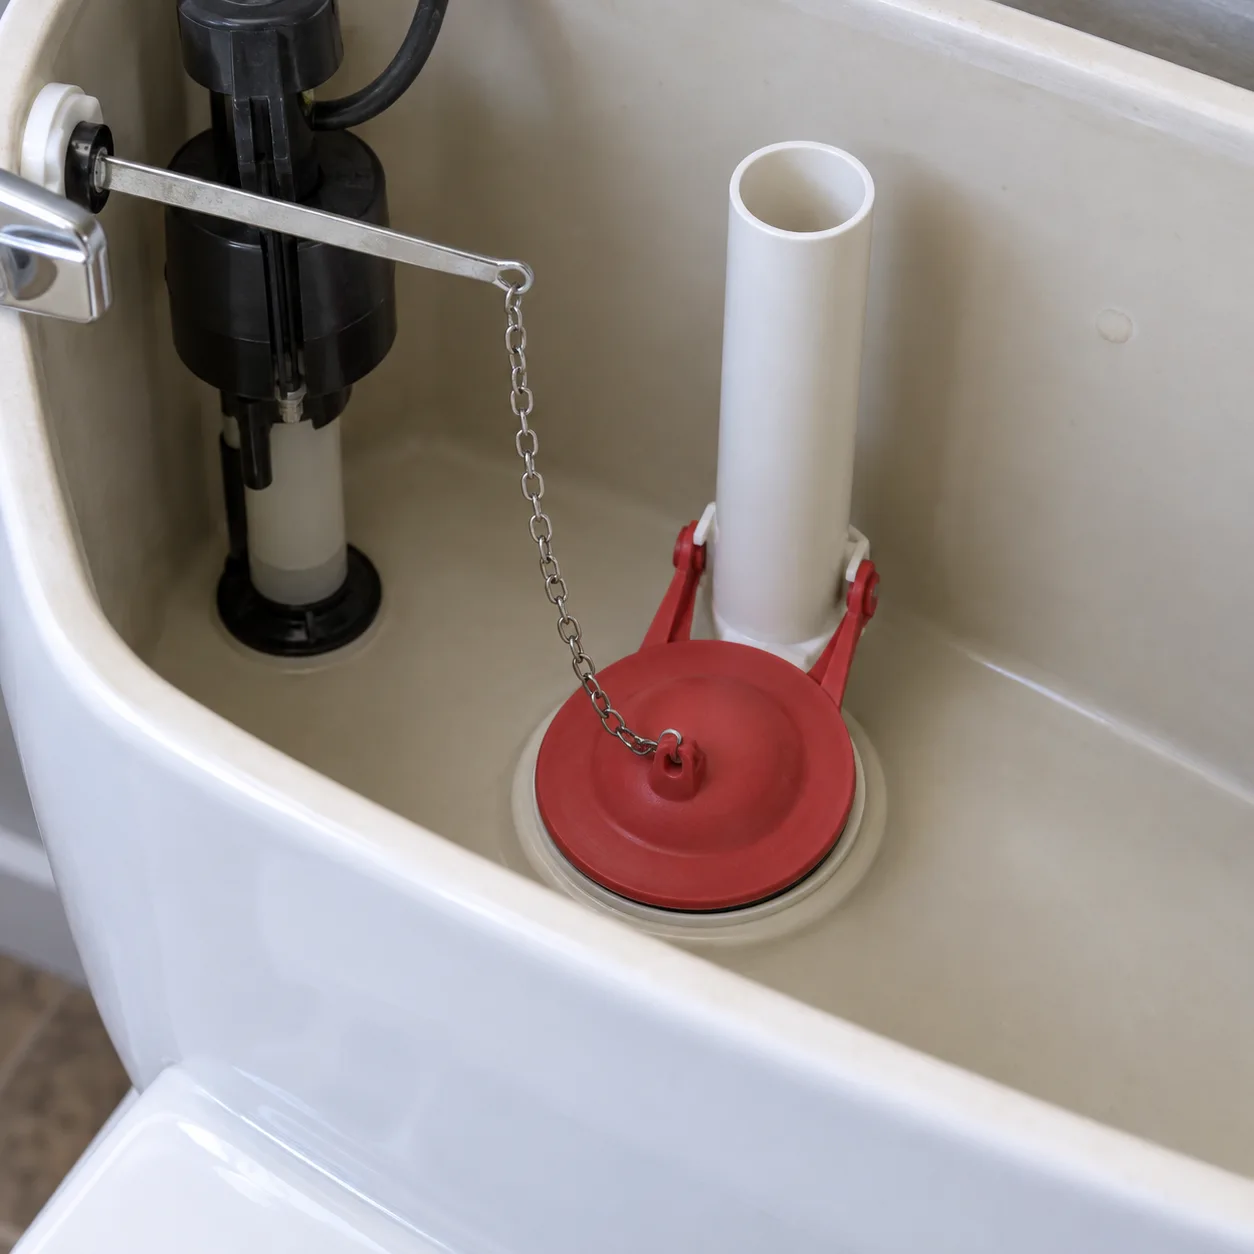
Leave the chain slightly slack so the flapper can close fully. Follow the part’s adjustment instructions.Open full-size image - 06
Refill, flush and repeat the leak check
Open the supply slowly and watch the tank refill. Flush several times, checking that the lever returns and the flapper seats each time. Verify the water stops at the intended level. Repeat the dye test if needed. If leaking remains, investigate the valve seat or another cause rather than tightening unrelated parts.
Optional supplies on Amazon
Affiliate disclosure: As an Amazon Associate I earn from qualifying purchases. How our links work.
Use what you already have. These links open Amazon search results so you can compare suitable supplies; they are not individual product reviews.
Keep the diagnosis with the repair
Write down the part number and the final adjustable setting, if present. If you need help afterward, a note such as “water stops below the overflow, but dye still reaches the bowl” is more useful than “it still runs.” It distinguishes a loss of stored tank water from a fill system that will not stop.
A new flapper is not a complete tank rebuild
This job does not require removing the tank or disturbing its large bottom seal. If the seat is damaged, the tank is cracked, or water appears outside the toilet, the repair has moved beyond a simple flapper swap. Shut off the supply if a leak is active and arrange the appropriate repair.
A quick final check
- The replacement matches the flush valve.
- The chain allows the flapper to close fully.
- A test flush and leak check show the tank holding water.
Common questions & sticking points
Does a universal flapper fit every toilet?
No. Confirm the listed model, valve size and mounting arrangement. A canister seal is also a different part from a hinged flapper.
Can a tight chain cause a running toilet?
Yes. It can hold the flapper just off its seat. Follow the specified slack and check that the handle returns; excessive dangling chain can also interfere with closing.
What if the toilet still refills after I replace the flapper?
Recheck compatibility, free movement, chain routing and tank water level. A damaged flush-valve seat or a different seal can still leak. A new flapper alone cannot correct every running-toilet fault.
Sources & further reading Optional
References used to check this guide. Follow your product’s own safety instructions where its design differs.
- EPA WaterSense: toilet leak checks
- Kohler: occasional running and leak diagnosis
- Fluidmaster: model-specific flapper installation
- Fluidmaster: compatibility and flapper types