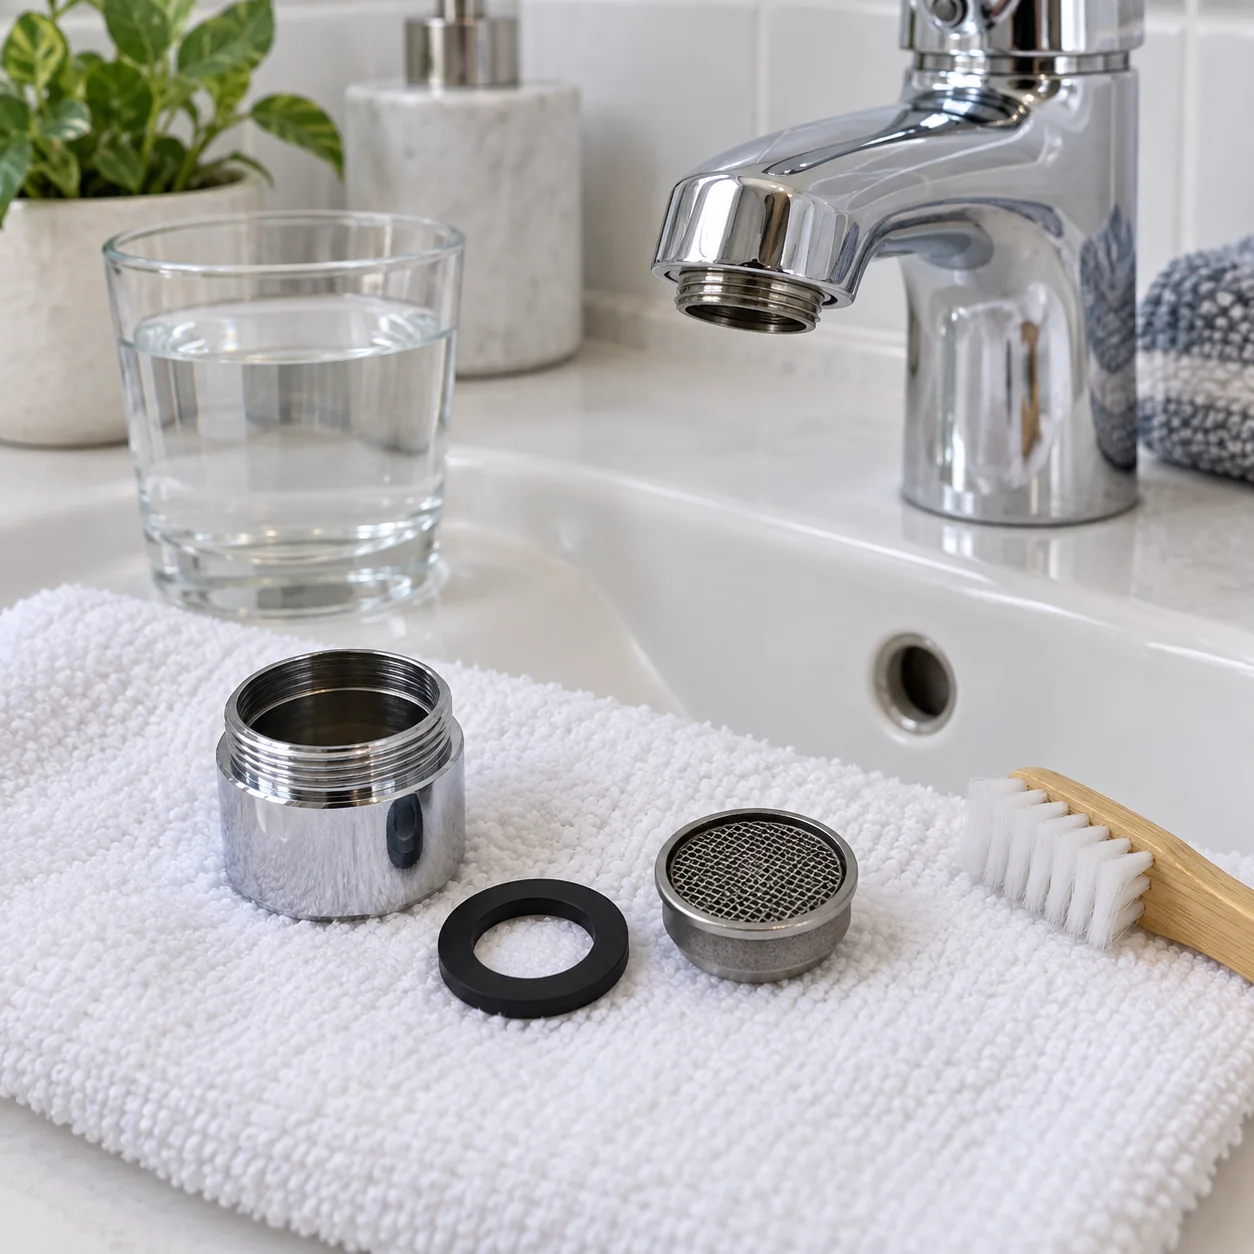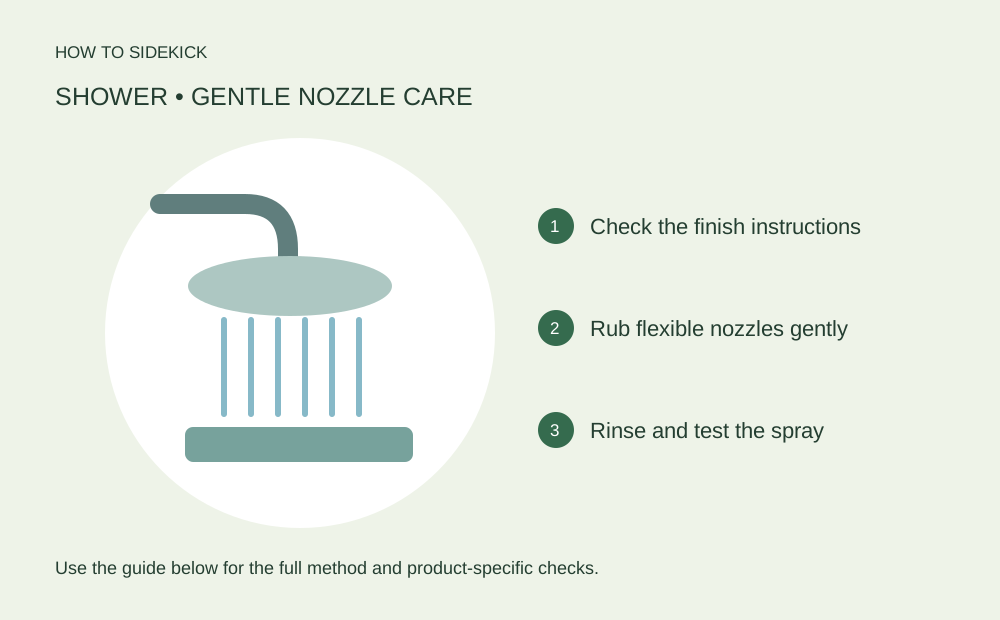
An uneven spray may be a few blocked nozzles, not a reason to replace the fixture. Start with the gentlest method your shower head allows.
Start with the shower-head maker’s care instructions, mild soap and a soft cloth. Rub flexible nozzles gently if designed for it. Use vinegar or a descaler only when approved for that exact finish and model.
Go straight to the stepsYour project helper
Keep track as you go 0/4
Check off what you have verified. This list resets when you leave the page.
Before you begin
Protect nearby natural stone from acidic cleaners. A fixed head does not always need removing. Do not force a fitting or twist the shower arm in the wall.
What you’ll need
- Soft cloth
- Mild soap
- Soft brush if approved
- Optional manufacturer-approved descaling solution
Optional tools & supplies
Affiliate disclosure: We may earn a commission when you buy through these links. How our links work.
Use what you already have. Choose supplies that fit your task, and check instructions and current prices.
 Rubbermaid Commercial microfiber cloths, 16-packLowe’s · Product
Use a clean cloth approved for the surface; keep dirty or gritty cloths away from delicate finishes.
 Dawn Platinum Original dish soap, 56 ozLowe’s · Product
Use only where the surface or appliance maker permits dish soap. Follow dilution and rinsing directions.
Let’s do this
Step by step
- 01
Identify the head and finish
Find the brand and model or its care sheet. Chrome, matte black, brass-toned and specialty coatings may have different restrictions. Choose the care method before mixing a cleaner.
- 02
Wipe loose deposits
Turn the water off. Clean with a soft cloth and mild soapy water, rinse and dry. If the head has flexible rub-clean nozzles, gently rub them with a fingertip rather than inserting sharp tools.
- 03
Treat remaining scale selectively
Follow the maker’s specified cleaner, dilution and contact time. Some Moen models allow equal parts white vinegar and water, but that permission is not universal. Keep cleaner off surrounding stone and stop if the finish changes.
- 04
Rinse and test the spray
Rinse thoroughly and briefly run the shower. Check each spray setting. If the pattern stays uneven, consult the model instructions for an accessible inlet screen; do not dismantle hidden plumbing blindly.
- 05
Recheck any disturbed connection
If your model required removal, reinstall according to its sealing instructions and inspect for leaks. A persistent weak shower while other fixtures are also weak may indicate a supply problem, not a dirty head.
Do you need a new shower head?
Try approved cleaning before replacing a sound fixture. Cracked parts, a damaged hose or a worn connection are separate issues. Photograph the connector before shopping so you can check compatibility.
A quick final check
- Finish instructions checked
- Nearby stone protected
- No sharp tools used
- Cleaner rinsed and spray tested
Common questions & sticking points
Can I leave a vinegar bag on overnight?
Not as a general rule. Long acid exposure can harm finishes and nearby materials. Use only the contact time approved for your model.
Should I poke blocked holes with a pin?
Avoid sharp tools unless the manufacturer specifically instructs it. They may damage nozzles or alter the spray.
Sources & further reading Optional
References used to check this guide. Follow your product’s own safety instructions where its design differs.
Last source check: September 24, 2026