A crooked or reduced stream can start at the outlet fitting. This guide covers a removable aerator identified in the faucet manual. Pull-out spray heads and unusual rectangular outlets may need another cleaning method.
Identify the aerator, protect the drain, remove it with the correct method, rinse and clean its parts, then reinstall and test for an even stream and leaks.
Go straight to the stepsBefore you begin
Turn the faucet handle off. Do not pry apart an unfamiliar outlet or crush its housing with pliers. Keep pieces out of the drain and vinegar off decorative finishes unless the faucet maker permits it.
What you’ll need
- Faucet make, model and aerator instructions
- Correct aerator key if the design needs one
- Cloth, small bowl and soft toothbrush
- White vinegar only if the part maker permits it
- Matching washer or aerator only if inspection shows damage
Let’s do this
Step by step
- 01
Identify the outlet and removal tool
Look at the end of the spout and check the model diagram. An exposed metal housing differs from a recessed aerator with integrated threads. Hidden designs need a key that matches their shape and size. Compare the supplied or replacement key with the model instructions; a key that nearly fits can slip.
- 02
Catch the parts and remove gently
Place a cloth over the drain and keep a bowl nearby. On an ordinary hand-removable housing, turn counterclockwise as viewed from below looking up at the outlet. For a recessed design, use its specified key. Stop if the housing deforms or the tool slips; extra force can turn a cleaning job into a replacement.
- 03
Record the assembly before separating it
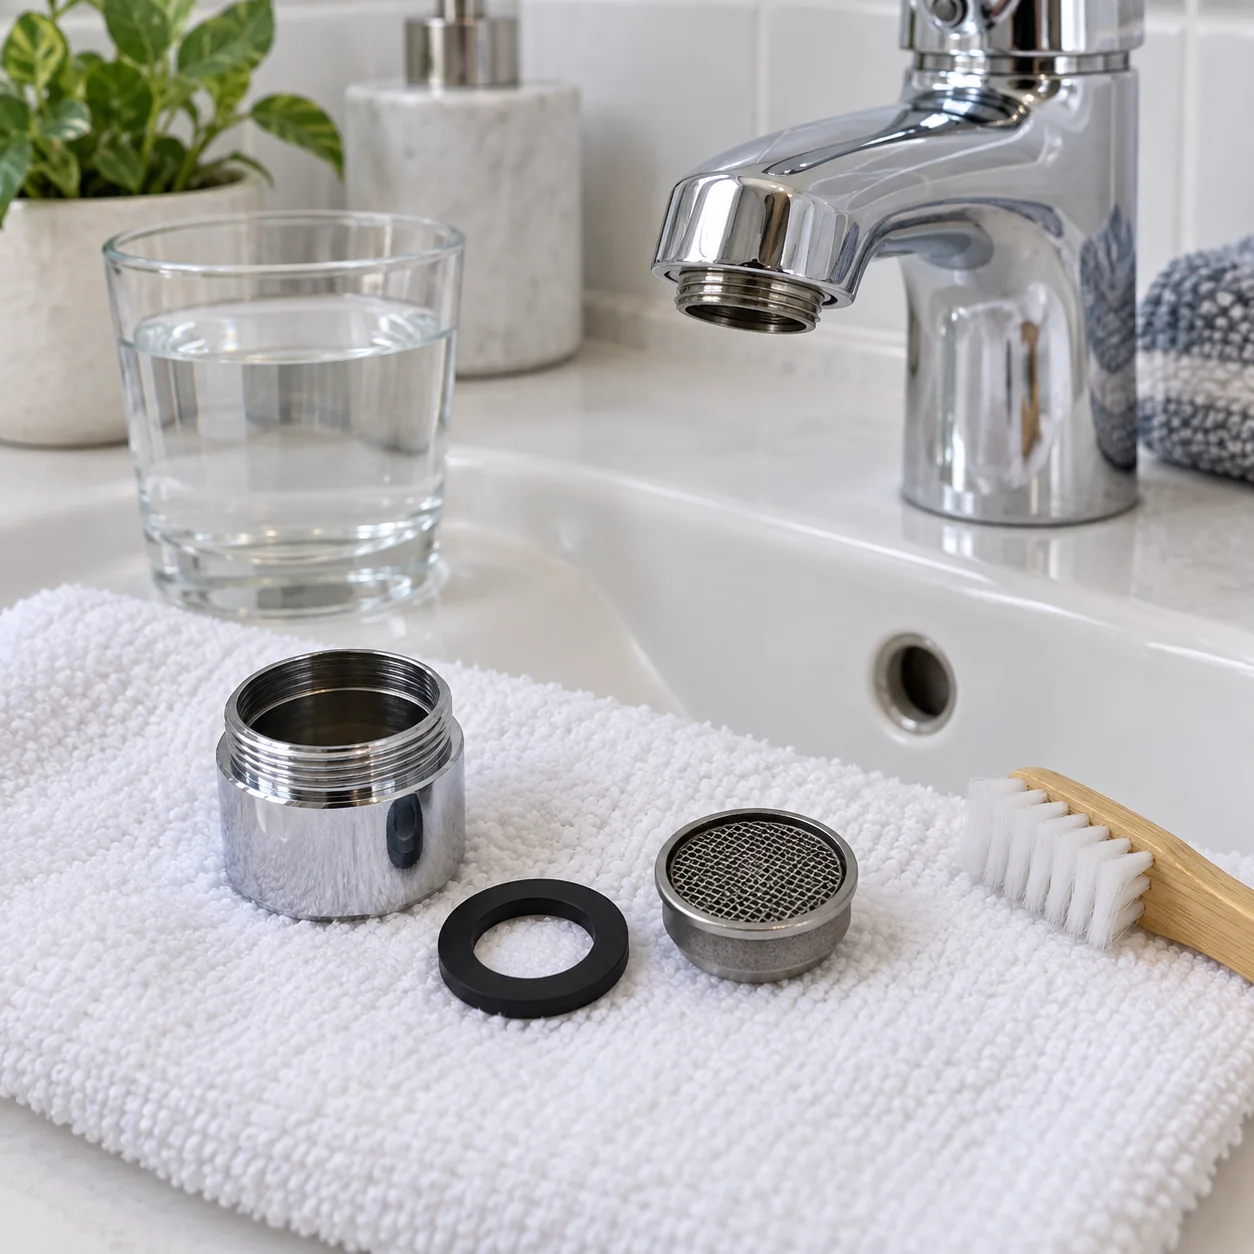
Photograph the order and orientation of the pieces. Check for a washer still sitting inside the spout. Put removable parts in order in the bowl, and follow the model diagram if the insert is not intended to come apart. Do not force a sealed cartridge into separate screens.
- 04
Rinse away debris and clean deposits
Turn the removable insert over and rinse out loose particles. If vinegar is approved for these parts, Health Canada describes a five-minute soak followed by gentle brushing and rinsing. Start with that short treatment rather than leaving parts overnight. Keep the detached parts in the bowl so cleaner stays off the faucet finish.
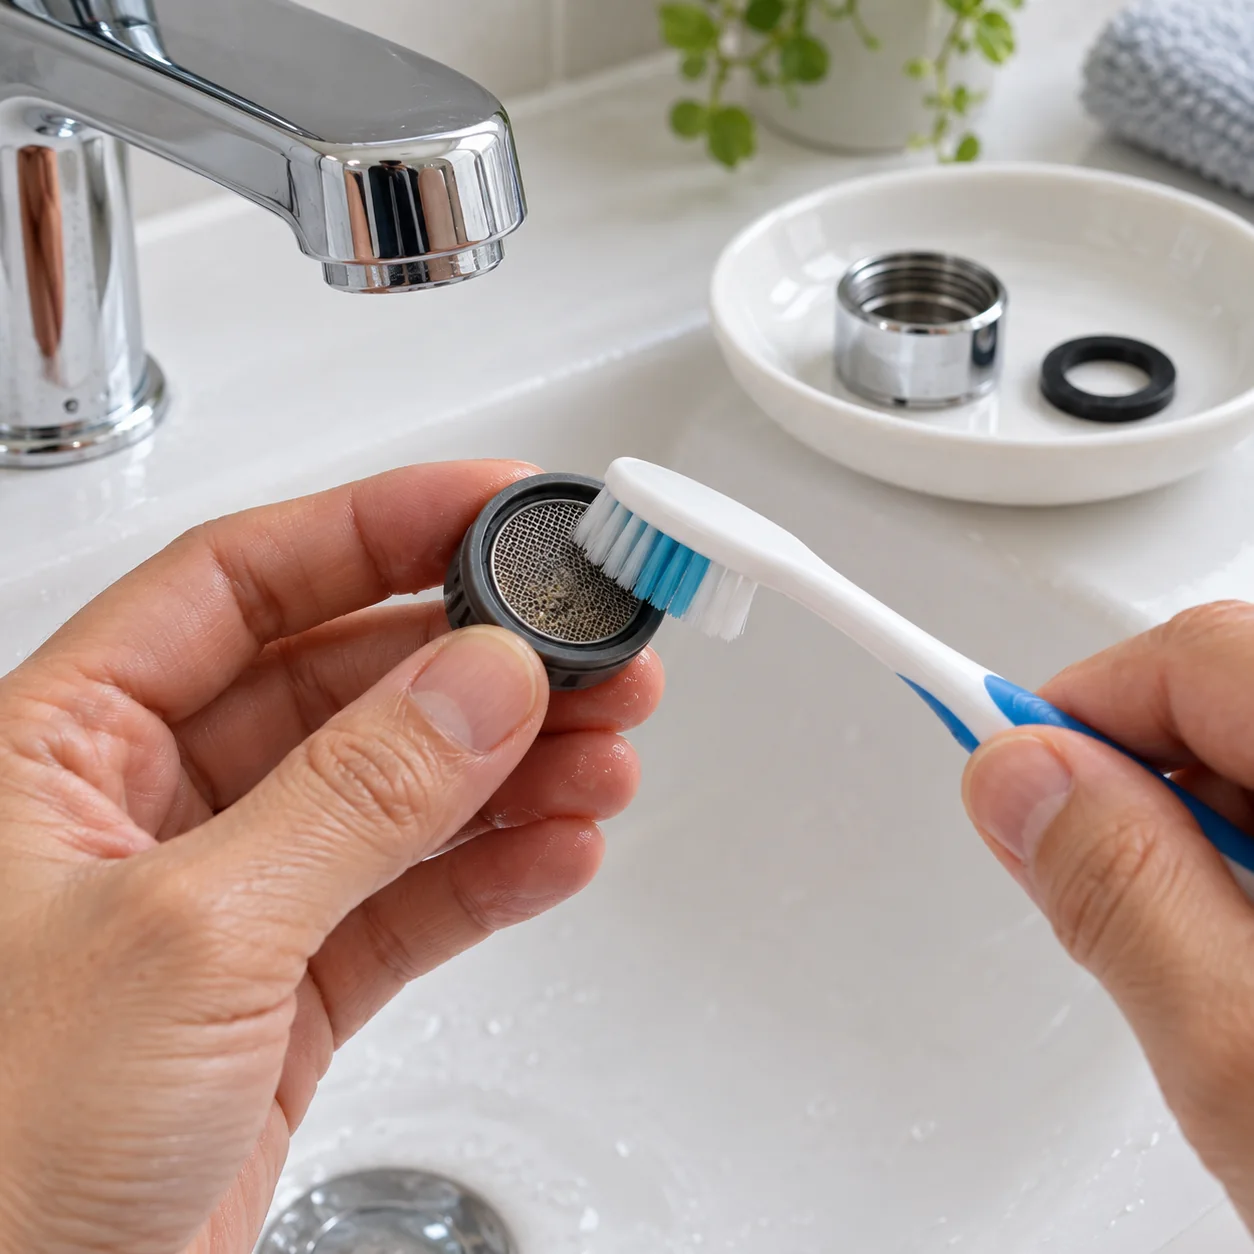
Keep the small parts together and brush the detached insert gently.Open full-size image - 05
Inspect and reinstall in the same order
Check the washer, insert and threads for damage. Reassemble without doubling a washer. Start threads squarely without force. Hand-tighten an ordinary exposed housing; recessed designs need the maker's key and stopping point. Do not overtighten a plastic insert.
- 06
Test the stream and keep the key
Open the faucet slowly. Check the stream and aerator joint for leaks. If the joint leaks, turn the faucet off and recheck the seal and assembly. Keep the removal key for next time.
Optional supplies on Amazon
Affiliate disclosure: As an Amazon Associate I earn from qualifying purchases. How our links work.
Use what you already have. These links open Amazon search results so you can compare suitable supplies; they are not individual product reviews.
Choose a replacement by fit
For a broken insert or seal, match male or female threads, size and the faucet's approved part specification. Appearance alone does not establish compatibility. Some designs accept an insert inside the existing housing; others need a complete model-specific aerator.
A simple inspection routine
Health Canada recommends inspecting aerators monthly and cleaning them every six months or after work affecting the water service. Follow the faucet maker's care instructions as well. Put the next check on your household maintenance list, especially if debris appeared after recent plumbing work.
A quick final check
- Parts returned in their original order with the correct seal.
- Aerator seats without forced threads or damage.
- Stream checked and no water leaking around the outlet fitting.
Common questions & sticking points
What if the key keeps slipping?
Stop and confirm the key size and shape. Neoperl supplies different keys for recessed, housed, rectangular and vandal-resistant designs. Seat the correct key fully. Do not replace it with a screwdriver or clamp harder on a plastic insert.
Why does the aerator leak around its edge?
Check the washer and thread engagement. A washer can stay behind in the spout. Replace a damaged seal with the specified part and follow the tightening instructions. Extra force cannot replace a missing washer.
What if cleaning does not restore the flow?
Use the faucet maker's troubleshooting instructions next. Record whether the problem affects hot water, cold water or both, and whether other faucets changed too. Aerator cleaning alone does not establish the cause of a continuing supply or faucet problem.
Sources & further reading Optional
References used to check this guide. Follow your product’s own safety instructions where its design differs.
- Delta: cleaning and reinstalling a removable aerator
- Neoperl: matching aerator installation tools
- Neoperl: aerator types, seals and replacement compatibility
- Health Canada: aerator cleaning and inspection
- Denver Water: cleaning a detached aerator