Removing hair first makes it easier to see where styling residue remains. Use the maker’s instructions to decide how much water the brush can tolerate; the shape of the handle alone does not tell you whether liquid can become trapped inside.
Remove loose hair, gently clean between the teeth with warm soapy water, rinse as directed and let the brush dry naturally.
Go straight to the stepsBefore you begin
Confirm that the brush permits washing. The pictured example is an all-plastic, open brush. Wooden brushes, natural bristles, cushioned bases, closed hollow bodies and electrical styling tools may need different care. Do not use this routine on a plugged-in or heated device.
What you’ll need
- The brush’s care instructions
- A small soft cleaning brush or clean spare toothbrush
- Warm water and a suitable mild soap
- A clean towel
Let’s do this
Step by step
- 01
Check the construction
Look at the teeth, handle and base. Find any care directions or product name. Stop if you discover an electrical connection or materials that are not covered by the washing instructions. Set up a towel beside the sink before beginning.
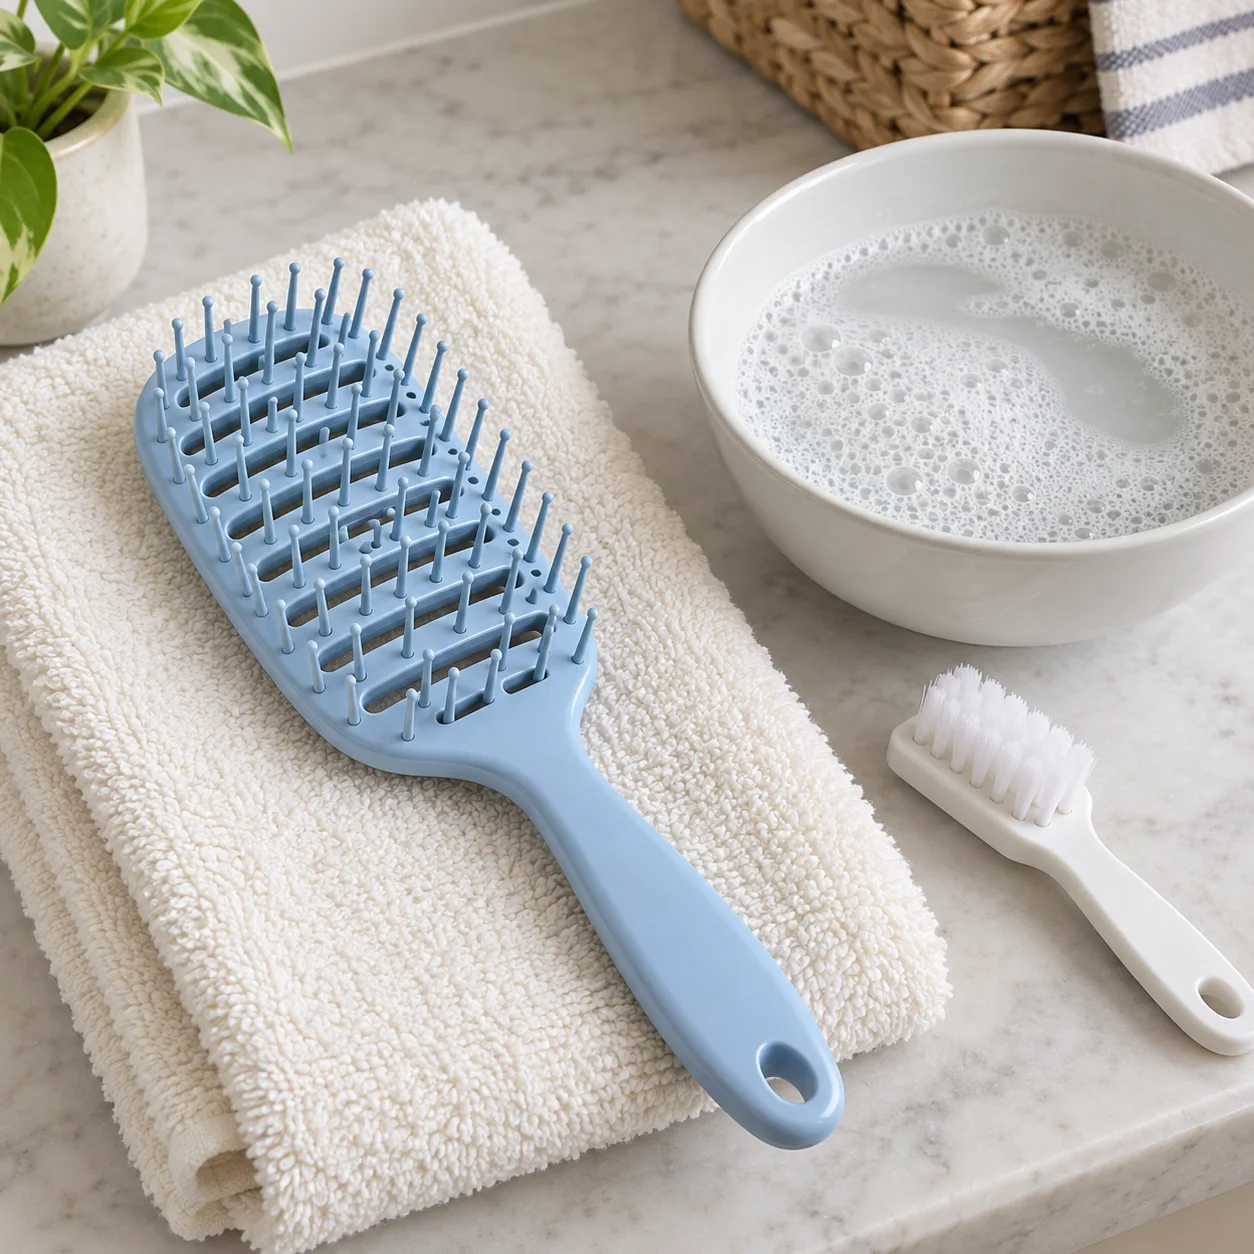
Confirm the brush permits washing before preparing water.Open full-size image - 02
Lift out the loose hair
Pull accessible strands from the teeth gently. Work in small sections rather than yanking a tightly wrapped bundle. Avoid bending or snapping the pins. Place removed hair in the trash so you can see the brush base clearly.
- 03
Clean between the teeth
Dampen a small, soft cleaning brush with warm soapy water. Gently work between the plastic teeth and across the accessible base to loosen residue. Tangle Teezer describes this approach for its compatible brushes. Focus on visible buildup rather than soaking the entire brush unnecessarily.
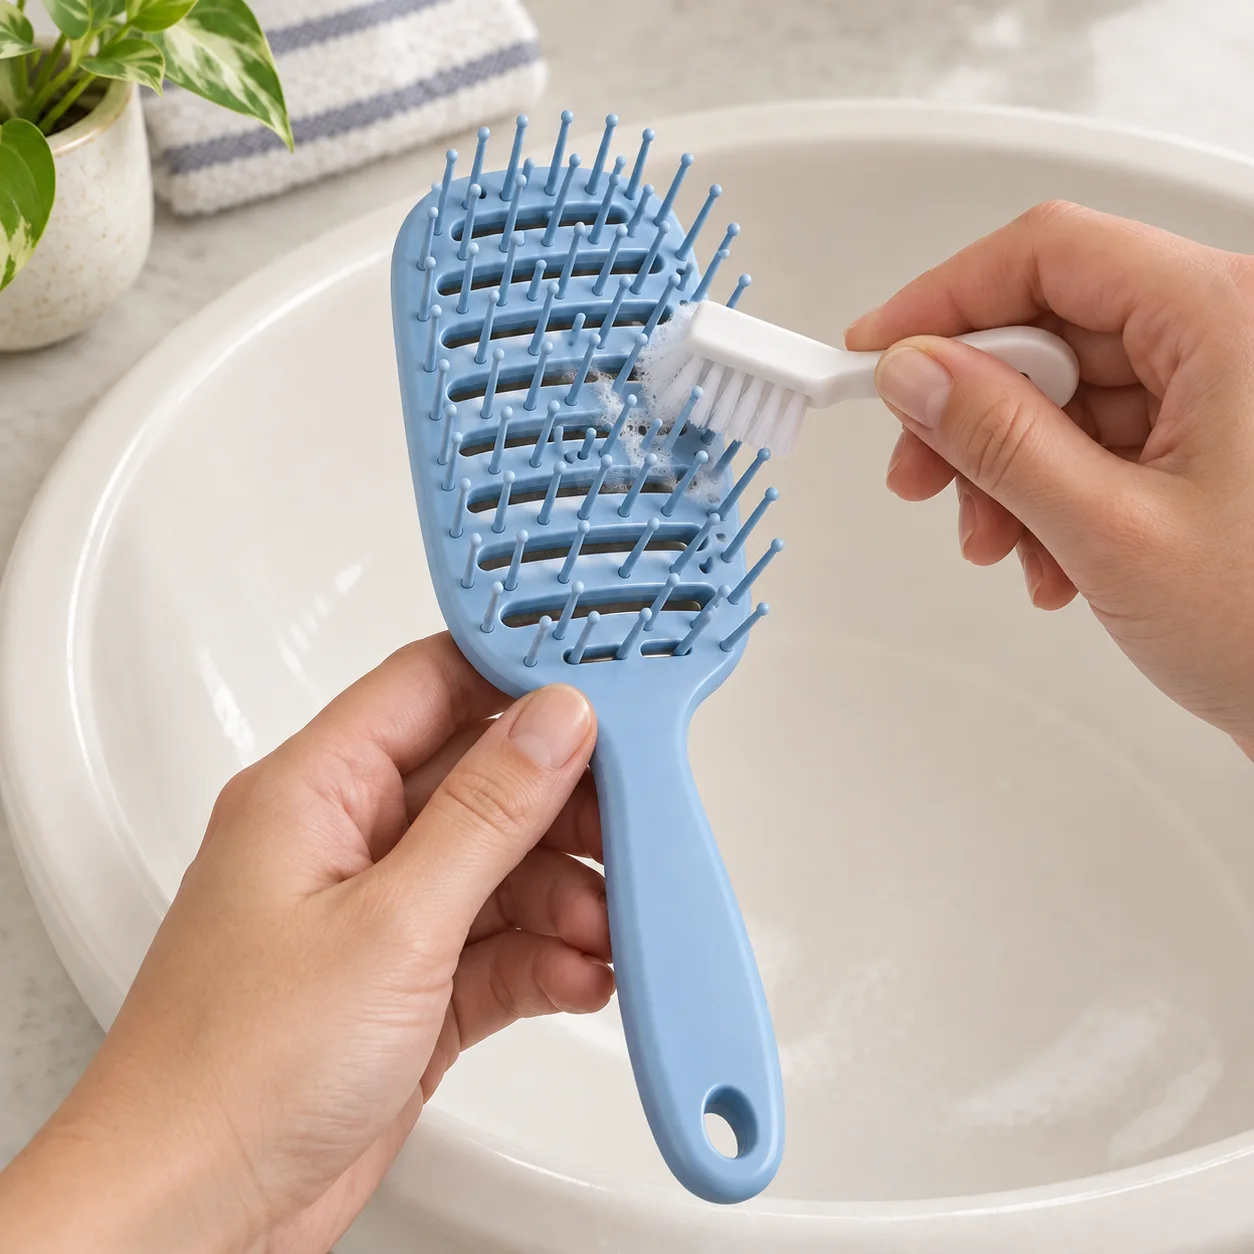
Work between the teeth with a small soft cleaning brush.Open full-size image - 04
Rinse according to the maker
Remove loosened residue and soap using the brush’s approved rinsing method. Check the base from several angles. If water becomes trapped inside a closed body, do not pry it apart; contact the manufacturer for advice.
- 05
Allow it to dry naturally
Place the brush on a clean towel in the orientation its maker recommends. Tangle Teezer specifies teeth upward for its ordinary detangling brushes. Let it dry naturally rather than applying heat. Clean your small cleaning brush and let that dry as well.
Optional supplies on Amazon
Affiliate disclosure: As an Amazon Associate I earn from qualifying purchases. How our links work.
Use what you already have. These links open Amazon search results so you can compare suitable supplies; they are not individual product reviews.
If cleaning reveals damage
Use the clearer view of the base to inspect for loose pins, sharp broken edges or cracks. Set a damaged brush aside while you check repair or replacement guidance. Cleaning is a useful opportunity to inspect it, not a way to repair broken plastic.
Keep the next cleaning simple
Remove accessible loose hair after use. Keep the product name or care link in a household note, especially if several different brush types share a drawer. That prevents a routine suited to this plastic brush from being copied onto a wooden or powered one.
A quick final check
- Loose hair and visible product buildup are removed.
- The teeth and base have been checked for damage.
- The brush is completely dry before storage.
Common questions & sticking points
Can I use this method on a wooden hairbrush?
Not without its maker’s instructions. Wood, natural bristles and cushioned bases can require different care from an open plastic brush.
Should I use a hairdryer to finish quickly?
Follow the brush instructions. Ordinary Tangle Teezer detangling brushes should air-dry; heat permission for a blow-styling brush does not apply to every model.
Do I need to open the handle to get water out?
Do not force a closed brush apart. Ask its manufacturer how to address trapped water without breaking the body.
Sources & further reading Optional
References used to check this guide. Follow your product’s own safety instructions where its design differs.
Last source check: September 23, 2026