A clean cooking grate is only one part of grill maintenance. Old grease also collects below the food, including trays that are easy to overlook. This is a cool-cleaning routine for a conventional gas grill; charcoal, pellet and electric models have different ash, fuel and electrical requirements.
Let the grill cool, shut off its fuel, clean approved removable parts from top to bottom and empty the grease collection system.
Go straight to the stepsBefore you begin
Work outdoors with the grill off and completely cool. Shut off the gas supply as the manual directs. Never clean during a grease fire, disconnect unfamiliar gas fittings or wet electrical components.
What you’ll need
- Grill manual
- Grate-compatible cleaning tool
- Plastic scraper if approved
- Cloths, warm soapy water and approved cleaner
- Replacement drip-pan liner if used
Let’s do this
Step by step
- 01
Identify the surfaces
Check whether the grates are coated cast iron, stainless steel or another material. Select a compatible brush or scraper and cleaner. A metal tool that suits one grate may scratch another. Put a container nearby for cold greasy debris.
- 02
Clean the cool grates
Remove or clean the grates as the manual permits. Loosen stuck food gently rather than grinding through a coating. If you use a bristle brush, inspect it and the cleaned grate for loose bristles. Discard a shedding brush and remove all fragments before food returns.
- 03
Work down through the cookbox
Remove heat shields only as directed and keep their order clear. Lift away loose carbon and grease using approved tools. Avoid damaging igniters, sensors and burner openings. Photograph the arrangement before removing similar-looking pieces.
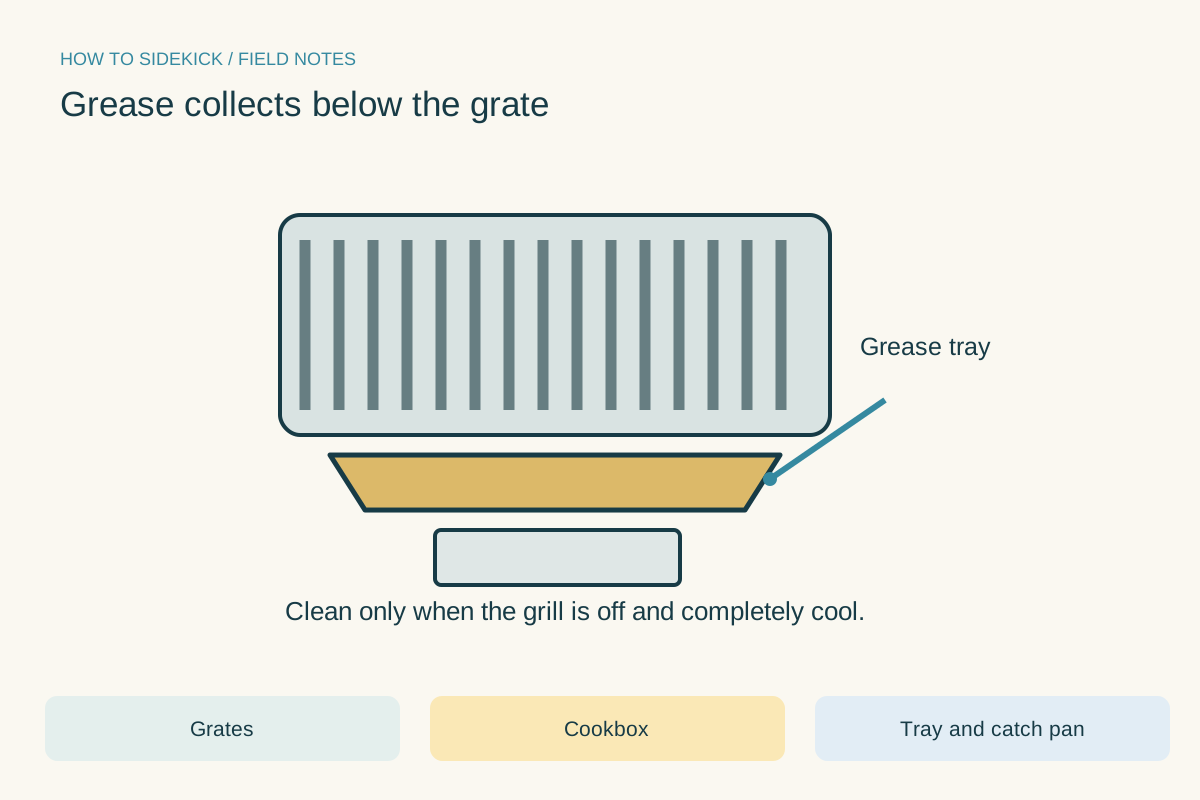
Grease collects below the grate. Use the instructions below for the full procedure.Open full-size image - 04
Empty the grease tray and catch pan
Once everything is cold, scrape accumulated grease into waste, not a household drain. Wash permitted removable parts and replace a disposable liner when needed. Do not line a tray with foil unless the grill maker specifically allows it; airflow and grease paths must remain open.
- 05
Finish the exterior and reassemble
Use a cloth and cleaner appropriate to each finish, wiping stainless with its grain. Rinse or wipe away residue as directed and dry components before assembly. Check that grease collection parts are seated correctly, then follow the normal pre-use inspection before lighting.
A realistic maintenance rhythm
Check the grease collection area before cooking, and clean at the frequency your model and use require. A long fatty cook can leave much more residue than a short vegetable session. Keep an extra suitable liner available if your grill uses them.
What to leave to service
Stop using a grill with damaged fuel parts, abnormal flame behavior or a gas odor. Cleaning the exterior is not a repair for a gas leak. Follow the manufacturer’s emergency directions and keep ignition sources away.
A quick final check
- Grill fully cool and fuel off
- Grate free of cleaning-tool fragments
- Grease tray emptied
- Parts dry and properly reinstalled
Common questions & sticking points
Can I use oven cleaner on the grill?
Only if both the grill instructions and cleaner label allow it on the exact surface. Many finishes and internal parts need a different cleaner.
Can I hose out a pellet grill?
Do not transfer this gas-grill routine to a pellet model. Pellets, augers and electrical parts must stay protected; use that model’s instructions.
Sources & further reading Optional
References used to check this guide. Follow your product’s own safety instructions where its design differs.
- Weber: gas-grill maintenance
- Weber: deep-cleaning gas, charcoal and pellet grills
- Weber: grease-tray care