Food residue under the rubber splash guard can smell even when the visible sink is clean. This routine is for a working disposal that drains normally. Humming, unusual rattling, leaking or a backed-up sink needs troubleshooting before another cleaning cycle.
Isolate power, clean the accessible splash guard and residue, then reassemble and rinse according to the disposal manual.
Go straight to the stepsBefore you begin
Unplug the disposal, or switch off its circuit if hardwired, and verify it cannot run before cleaning. Return its switch to OFF after that check. Never put your fingers in the grind chamber.
What you’ll need
- Disposal manual
- Dish soap and a suitable long-handled brush
- Flashlight
- Cleaning gloves
- Optional disposal-compatible cleaner
Let’s do this
Step by step
- 01
Read the cleaning directions
Identify the model and which parts are removable. A removable baffle can be washed separately; a fixed one should not be pried out. Check what cleaners the manufacturer allows, including any restriction on acidic products.
- 02
Isolate power and prepare the area
With dry hands and a safe, dry workspace, disconnect the power source. Verify the unit does not start, then leave its operating switch off. Keep the plug or breaker controlled so someone else cannot turn it on while you work.
- 03
Clean the splash guard
Remove the guard only if designed for removal. Scrub residue from its folds and underside using dish soap and a suitable brush. For a fixed guard, keep your hand above the opening and use the brush; do not push your fingers through the flap.
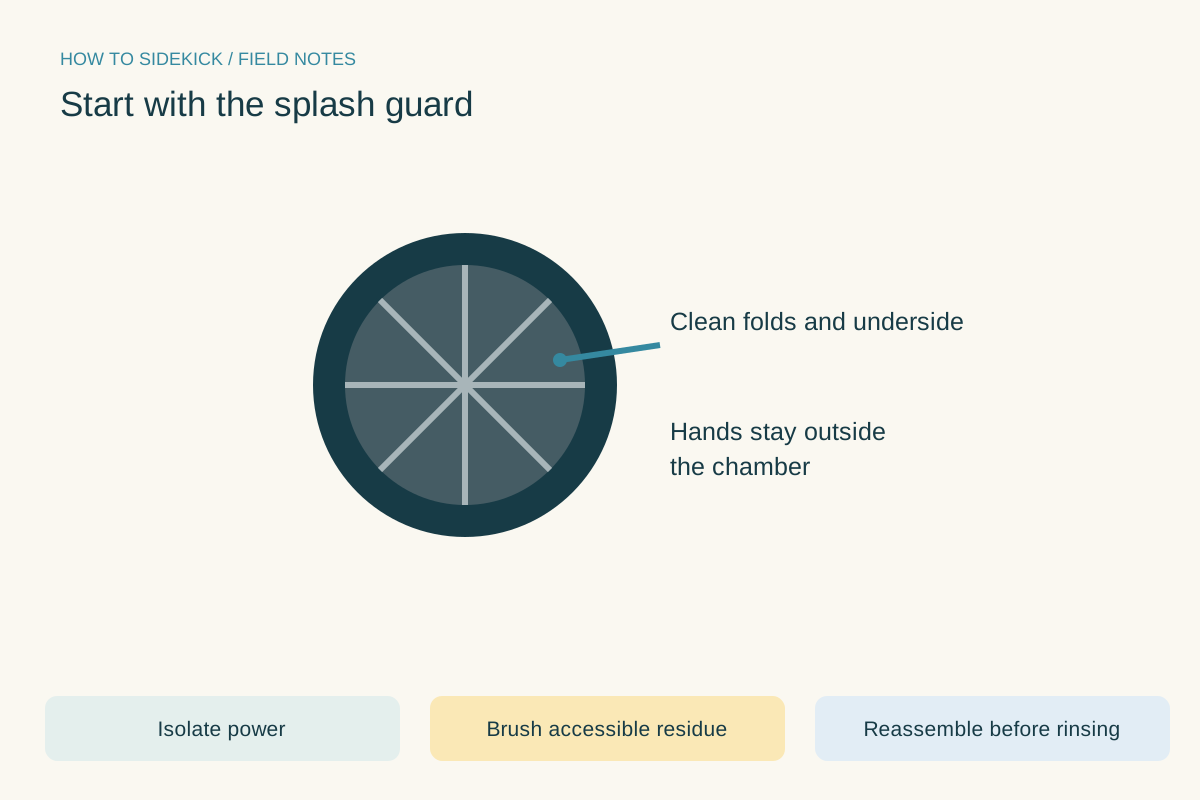
Start with the splash guard. Use the instructions below for the full procedure.Open full-size image - 04
Inspect without reaching inside
Use a flashlight to check accessible surfaces. Remove loose visible objects only with an appropriate tool while power remains isolated. Stop if something is stuck or you cannot retrieve it without reaching into the chamber. Do not improvise a deep disassembly.
- 05
Reassemble and rinse
Remove every cleaning tool and reinstall the guard. Restore power only after everything is correctly assembled. Follow the model’s cold-water flushing instructions, keeping hands clear. If using a disposal-cleaning product, use its own sequence and amount rather than combining it with a home recipe.
Keep the smell from returning
Use the disposal only for permitted food scraps, feed it gradually and flush as the manual directs. Keep grease and unsuitable fibrous waste out. Add the splash guard to your sink-cleaning routine instead of waiting for a strong odor.
When cleaning is not the fix
A smell with a persistent drain backup, a leak below the sink or repeated jamming needs investigation. Masking it with citrus or fragrance does not resolve a plumbing fault. Switch off a struggling motor and arrange service when the cause is unclear.
A quick final check
- Power isolated for brushing
- Hands stayed outside chamber
- Guard reinstalled
- Tools removed before rinse
Common questions & sticking points
Can I pour bleach or drain cleaner into it?
Do not improvise chemical treatments. Use only products permitted by both the disposal manual and cleaner label, and never mix cleaners.
Does ice sharpen disposal blades?
A disposal uses a grinding mechanism, not kitchen-knife blades to sharpen with ice. Some manufacturers allow ice for cleaning; follow your model’s instructions without assuming it repairs worn parts.
Sources & further reading Optional
References used to check this guide. Follow your product’s own safety instructions where its design differs.
Last source check: September 24, 2026