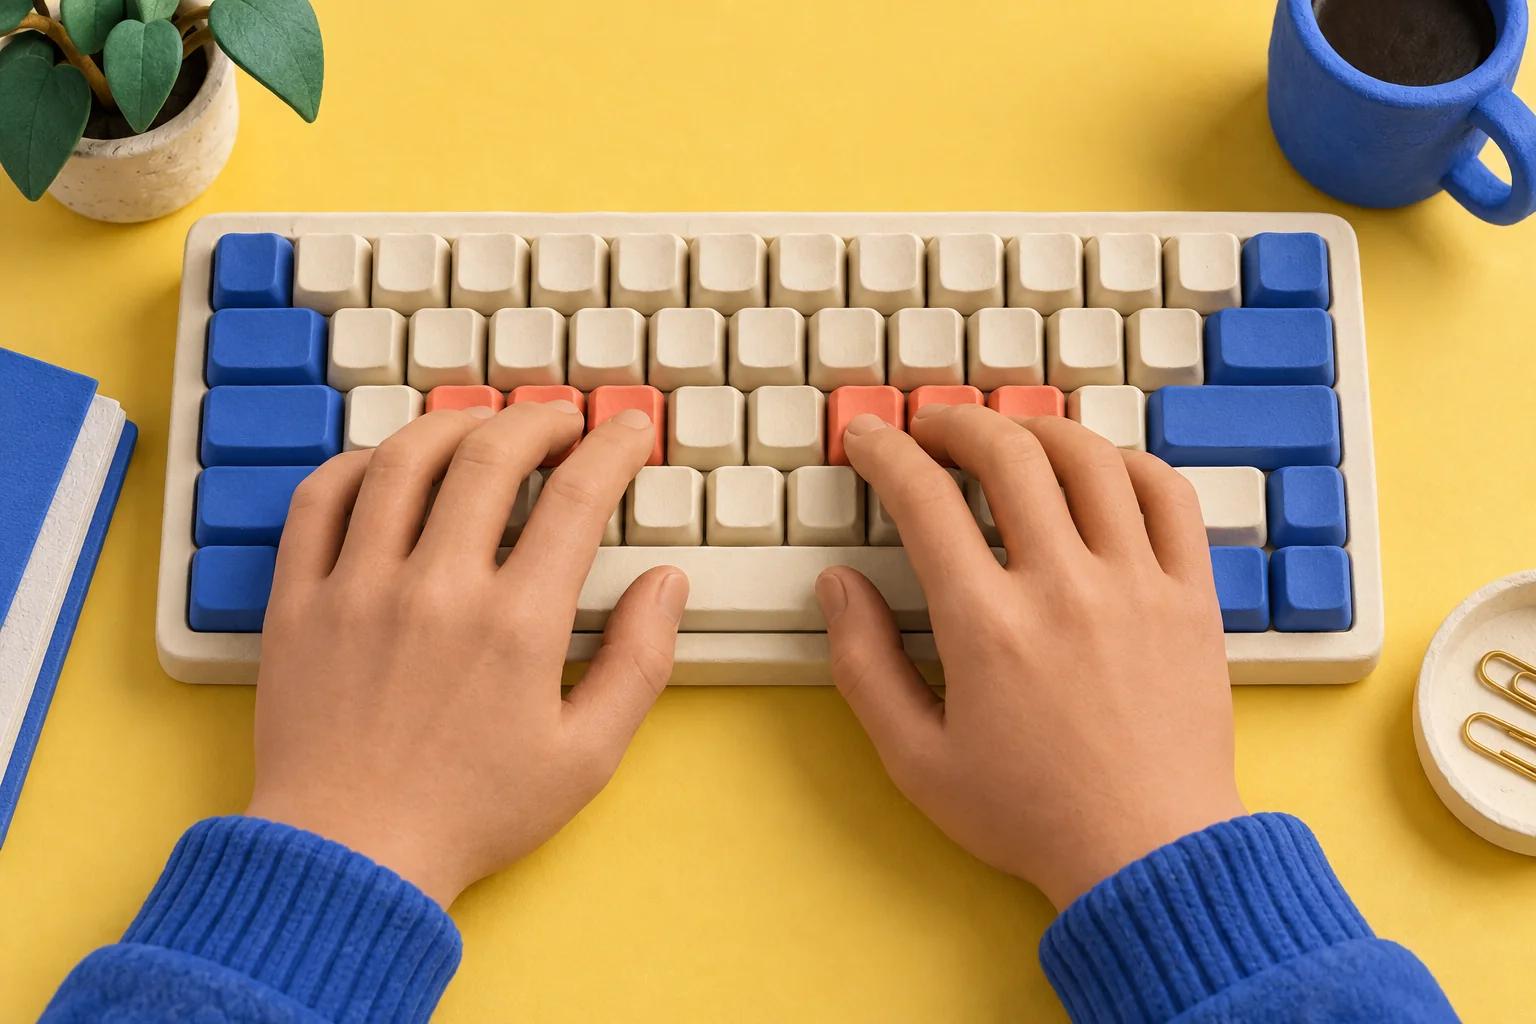
Touch typing means finding keys by feel rather than hunting for each letter. Your first goal is a small set of reliable movements. You do not need to reach a particular words-per-minute score today, and switching from a familiar typing habit can feel slower at first.
Start with the home row on a physical keyboard, practice a few keys accurately, then add letters and short sentences. Track mistakes as well as speed.
Go straight to the stepsBefore you begin
These key positions describe an English QWERTY keyboard. Choose a lesson matching your layout. Adjust the setup for comfortable movement and stop if practice causes pain.
What you’ll need
- A physical keyboard using the layout you want to learn
- A beginner typing lesson such as Typing.com or TypingClub
- A short, uninterrupted practice window
Let’s do this
Step by step
- 01
Find your starting position
Place your left fingers over A, S, D, F and your right fingers over J, K, L, semicolon. Feel the small raised marks on F and J. Let your thumbs sit near the space bar; keep your shoulders relaxed.
- 02
Start a beginner lesson
Use its finger-placement guide and a small set of keys. Look at the exercise on the screen. If you lose your position, reset using F and J rather than trying to recover at full speed.
- 03
Slow down at the problem keys
When the same letter goes wrong repeatedly, pause and identify the intended finger. Repeat a short exercise that includes that key. Treat an accurate run as the goal before increasing pace.
- 04
Add short words and sentences
Progress through the course instead of jumping immediately to a long speed test. Include capitals and punctuation as the lessons introduce them. Practice the actual keyboard you normally use.
- 05
Keep a simple practice record
Write the date, exercise, accuracy, and one key to revisit. Compare similar exercises over several sessions. A higher speed on an easier passage is not necessarily an improvement.
Try this ten-minute session
Spend two minutes locating the home row and doing familiar material, five minutes on the next lesson, and three minutes typing a few original sentences. This is a suggested routine, not a requirement or a promise about how quickly you will learn.
Finish with a concrete note: “I mixed up E and R” is more useful than “I am bad at typing.” Next time, begin with that pair. If you can practice only briefly, keep the exercise small enough to finish with attention rather than rushing to complete a daily target.
A useful progress check
Once a week, type a short paragraph you have not memorized. Keep the same time limit and include punctuation. Save the result with its error count. Look for fewer corrections and less looking down, not just a bigger score.
A quick final check
- My lesson matches my keyboard layout.
- I can find F and J by feel.
- I know which letters need the next practice session.
Common questions & sticking points
How long does it take to learn touch typing?
There is no universal timetable. Prior habits, practice, layout, and accessibility needs differ. Use accurate performance on increasingly varied text to judge progress.
Do I need a paid course?
Typing.com and TypingClub offer beginner practice. Check each service’s current account and feature options; a paid subscription is not required to try the basics.
Sources & further reading Optional
References used to check this guide. Follow your product’s own safety instructions where its design differs.
- TypingClub: Home-row teaching sequence
- Typing.com: Beginner lessons
- TypingClub: Learning time and progress measures